Section 15 00-02-0730
2019-01-15 - 4 -
Installation with a Weld Collar
The weld collar, P/N 15050375, must be welded into the wall of the
pressure vessel according to code standards and good welding
practices.
Follow above instructions for installation directly into the wall of the
pressure vessel.
NOTE: Weld collar 15050375 is not recommended with
a 1-inch float extension.
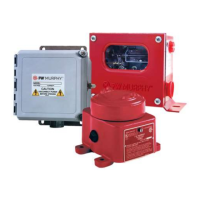
Installation Using FW Murphy External Float Chamber
Install the FW Murphy float chamber 15051098 or 15700799 on the outside wall of the
pressure vessel using 1” NPT piping. Position the 2-inch NPT threaded connection at the
height where you want the level switch to operate. The 2-inch NPT threaded connection
must be positioned away from the tank wall.
NOTE: If using Float Chamber 15051098,
best practices recommend a surface mount
installation.
A tee and bleed valve are typically installed at the
bottom of the lower 1-inch pipe riser to allow draining
of the float chamber for servicing or replacement.
NOTE: A typical installation with blocking
and bleed valves is shown at right.
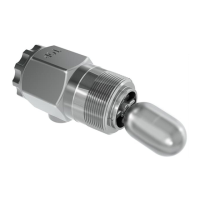
Install the MLS-020 in the 2-inch NPT connection of
the float chamber. BE SURE float travel is not
restricted and that the float is tight onto the counter-
balance.
To complete the installation and wiring, follow the
instructions for mounting directly into wall of the vessel
and for wiring.
 Loading...