P
P
G
G
-
-
6
6
0
0
0
0
0
0
T
T
h
h
r
r
e
e
a
a
d
d
D
D
i
i
a
a
m
m
e
e
t
t
e
e
r
r
G
G
a
a
g
g
e
e
O
O
p
p
e
e
r
r
a
a
t
t
i
i
o
o
n
n
M
M
a
a
n
n
u
u
a
a
l
l
Setting Up the PG-6000 Gage (continued)
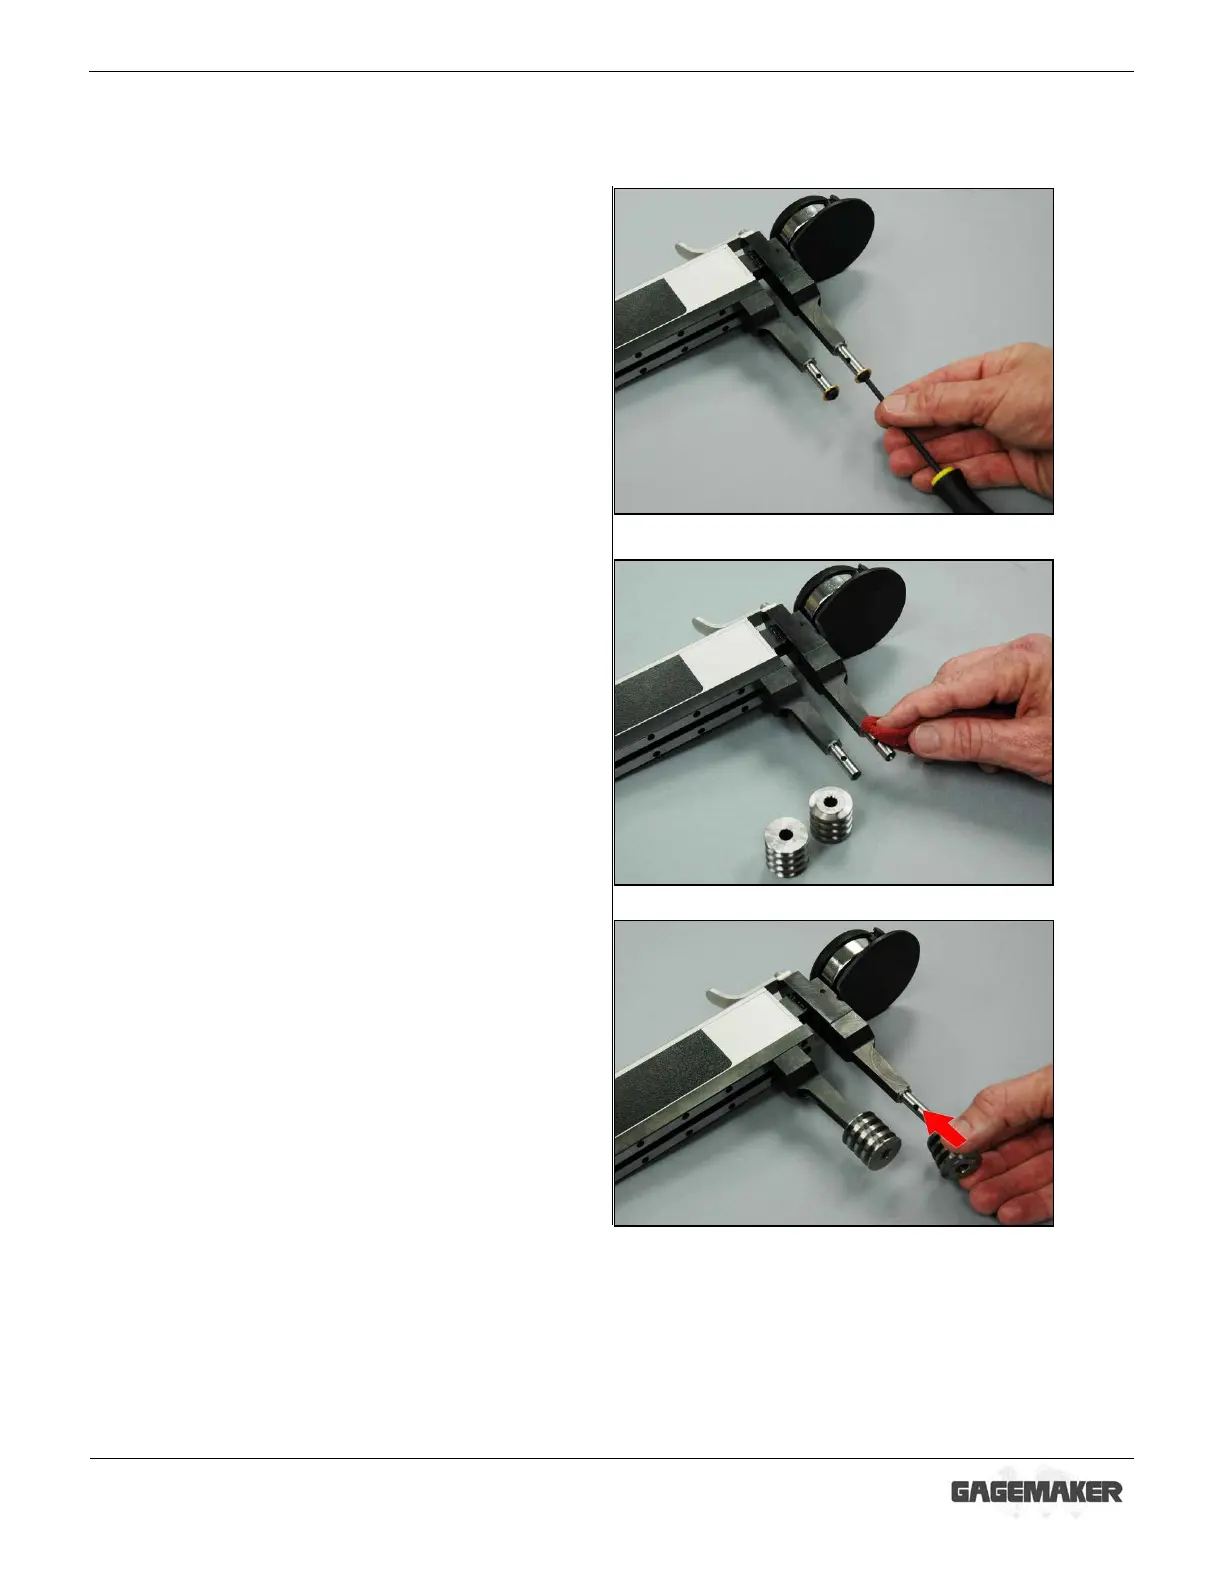
9. Using the 1/8” hex wrench, remove the lock
screw and washer from each roll pin.
10. Clean the thread rolls and the roll pins
on the gage to ensure they are free
from debris.
11. Slide a thread roll on each of the gage’s roll
pins. The face of the thread roll that is marked
with lines and the thread roll type should face
outward.
Note: Be sure there is no dirt between the thread
roll and the roll pin, to enable the thread
rolls to spin freely.