15
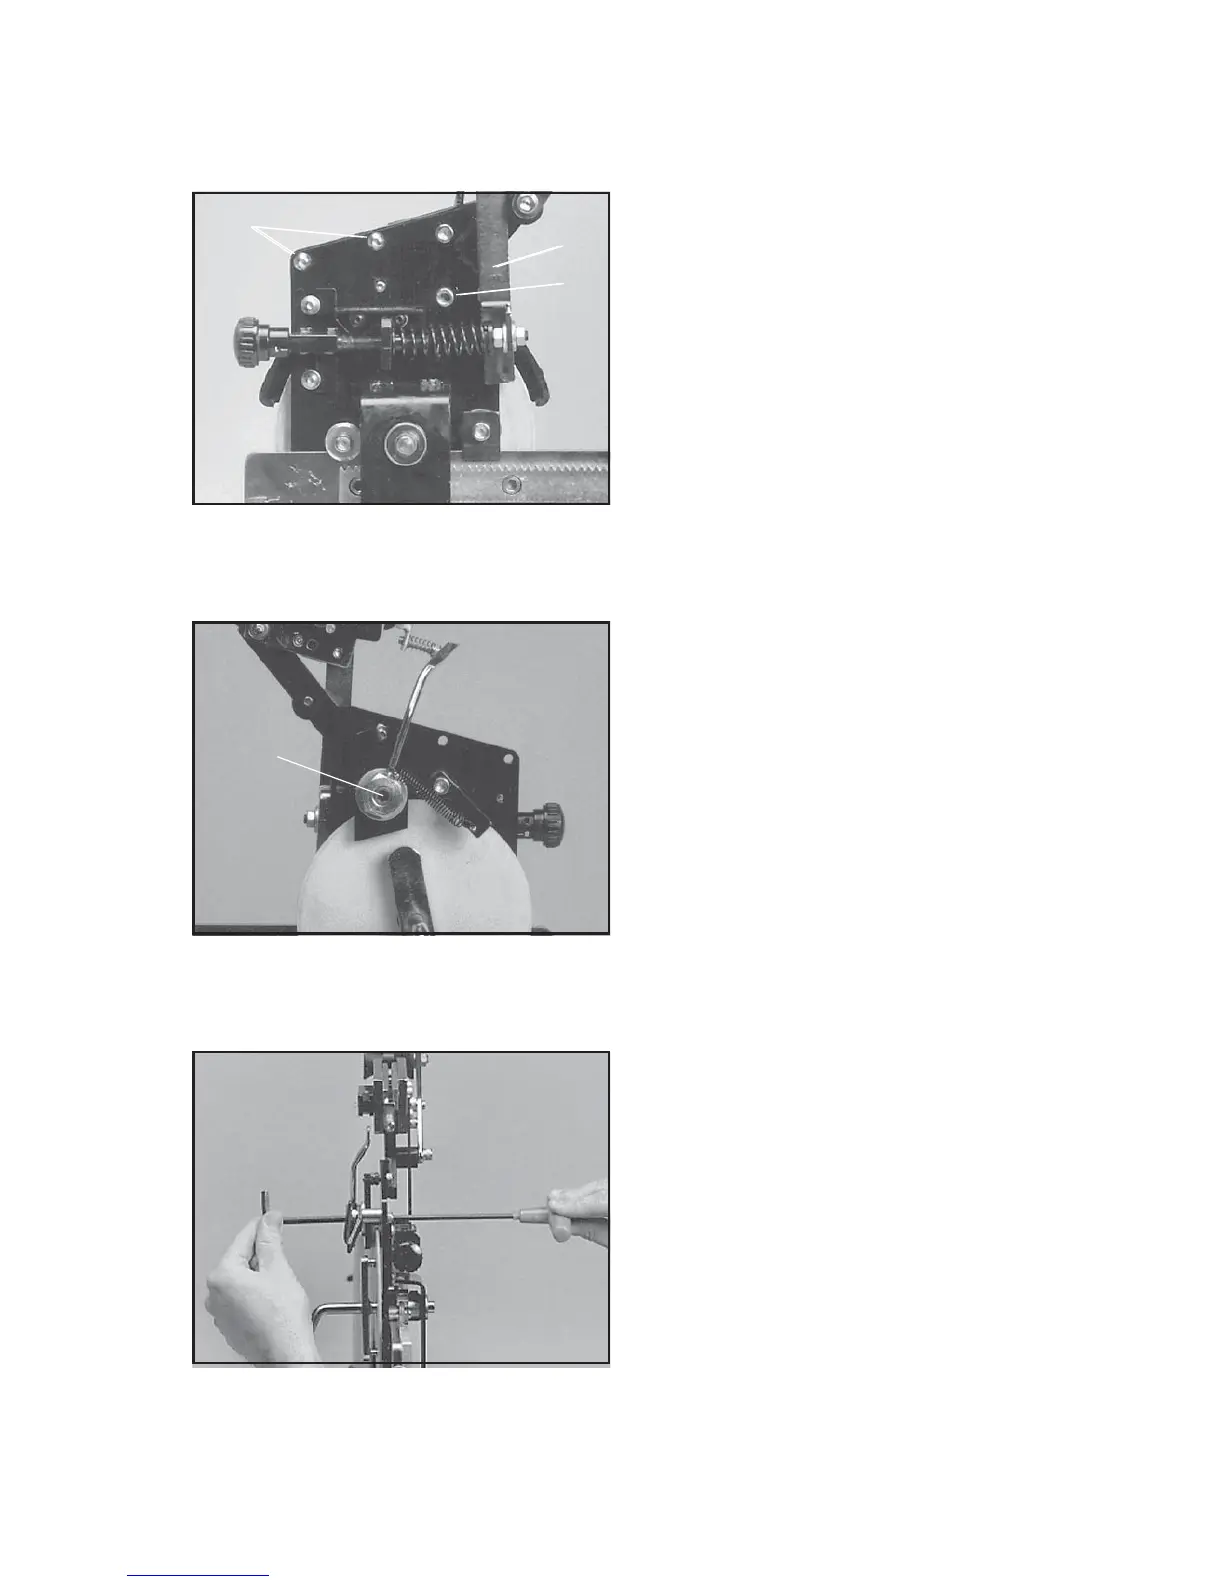
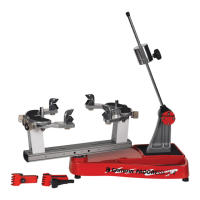
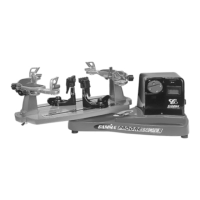
A - Cover Screws B - Lock Bolt
A
B
A
Adjusting the Tensioner Brake
Step 1
After stringing many racquets, the brake of
the tensioner may need to be adjusted. To
tighten the braking mechanism, the cover of
the tensioner must be removed. To remove
the cover, remove the 2 button head screws
located on the back side of the tensioner
frame near the top of the frame, and the flat
head screw located behind the tensioner
lever on the back side of the tensioner frame
using the 3 mm hex wrench. With the brake
lever released remove the cover.
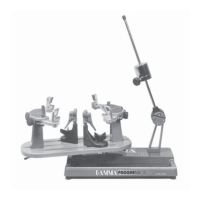
Adjusting the Tensioner Brake
Step 2
With the cover removed, and the brake lever
engaged, loosen the lower hex bolt located
on the back side of the tensioner frame with
the 10 mm box wrench. Note: The hex bolt
should only be loosened until loose enough
to turned by hand and must not be removed
completely.
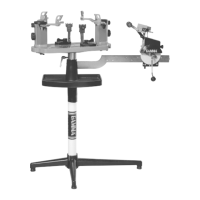
C - Brake Adjustment Bolt
C
Adjusting the Tensioner Brake
Step 3
With the hex bolt loosened and the brake
lever engaged in the latch, insert the 6 mm
hex wrench into the set screw locted inside
the nut located at the base of the brake lever.
To tighten the braking mechanism, turn the
set screw counter clockwise by about 1/8
tunr. Retighten the hex bolt on the back side
of the tensioner frame and check for brake
tightness. The tensioner should move freely
along the track with the brake lever engaged
and should hold tension with the brake lever
released. If more adjustment is needed, repeat steps above until properly adjusted. After
adjustment is complete, replace the tensioner cover by aligning the holes of the cover with the
holes in the tensioner frame and secure with the 2 button head screws and flat head screw.
MAINTENANCE