10
G
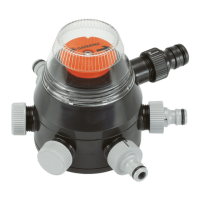
The water inlet (3) can be fitted
with the enclosed “Profi” Maxi-
Flow System Tap Connector (5) or
the Original GARDENA System
Tap Con nector (7).
When operating a GARDENA
Sprinkler System the “Profi”
Maxi-Flow System Tap Con nector
(5) should be used. The con nec-
tion to the Water Computer/ Water -
timer is, in this instance, carried
out with a 19 mm (3/4
"
) hose and
the “Profi” Maxi-Flow System
Con nector Set (Art. no. 1505).
If used in connection with other
watering systems or -acces -
sories (Micro-Drip-System or
sprinklers), please use one of
the en closed Original GARDENA
System Tap Connectors (7).
The connection to the Water
Computer/Watertimer is, in this
instance, carried out with a
13 mm (1/ 2
"
) hose and Original
GARDENA Hose Connection
System Parts.
To prevent any malfunction of the
unit, please insert the enclosed
dirt filter (4) into the water inlet and
remove the washer of the threaded
Tap Connector before connecting
the tap connector..
The connection of the GARDENA
Sprinkler System is carried out
with a 19 mm (3/4
"
) hose and the
“Profi” Maxi-Flow System Con-
nector Set (Art. no. 1505).
If using the Sprinkler System
Connector Art. 2761, the thread
must be sealed with white teflon
tape available from a from a good
DIY store (or GARDENA Teflon
Tape Art. 7219).
If you connect other watering
systems or -accessories
(sprinklers, Micro-Drip-System),
please use the enclosed Original
GARDENA System Tap Connec-
tors (7).
Please close off unused water
outlets with the enclosed end
caps (8).
If you require accessories in
ex cess of the enclosed, please
visit your GARDENA stockist.
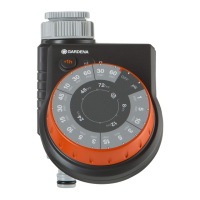
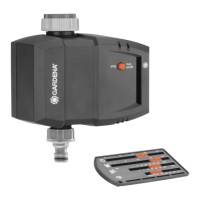
5.2. Connection of watering accessories, watering system
Adjust the dial disc (2) to position 1.
To accomplish this remove the
protection cap (1) by turning the
unit to the left. Pull the dial disc (2)
slightly upwards and turn it to the
right until the arrow points to water
outlet 1. Then fix the pro tection
cap (1) again.
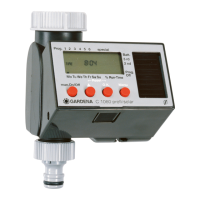
Now
program your GARDENA
Water Computer 1060. Be sure
to differentiate using the following
text with regard to Automatic
Water Distributor support between
models with or without “Special
Program”. When program ming
the water computer without the
“Special Program”, it is important
that all 6 pro grammes are pro-
grammed and the numbers of the
programmes (1– 6) of the respec-
tive water outlets on the Automatic
Water Distributor (1– 6) are cor -
rectly ordered. Ensure that with
all 6 programmes the same
watering days are entered.
If you do not use all 6 water out -
lets, the unused outlets must still
be programmed into the com puter
to ensure the Automatic Water
Distributor returns to its original
setting at all times. We recom-
mend a watering run time of
1 minute for all unused outlets.
Please also note the following
hints:
A
To ensure correct function
of the switch mechanism,
please leave between the end
of one programme and the be -
ginning of the next a gap of
10 minutes. The time gap bet-
ween each programme step
increases to 30 minutes if you
switch from a sealed unused
outlet to the next outlet.
6. Operation
Example:
Programme/ Start Time Run Time Mo Tu We Th Fr Sa Su 2nd 3rd
water outlet
1 19:00 0:30 X X X
2 19:40 0:30 X X X
3 20:20 0:30 X X X
4 21:00 0:05 X X X
5 Sealed un- 21:15 0:01 X X X
6 used outlets 21:46 0:01 X X X
}
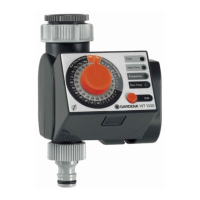
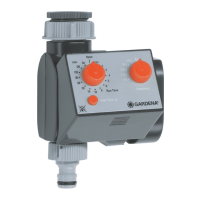
5.1. Connection to the Water Computer 1060