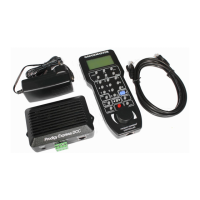
Getting Started
Introduction
Note Although there are Quick-start instructions on the back of the Cab/ Handheld, please read these
instructions thoroughly to better understand and enjoy your Prodigy Express DCC system.
Specifications and Features
Input: 13-16 volts DC, 2 Amps. It comes with a universal switching power supply (good for USA and Europe)
Output: DCC signal with 13.8 VA, for HO and N scales
Maximum Current: 2 Amps
Note Although you can draw more than 2 amps for short periods of time, it is not recommended
Maximum number of Cabs: Use up to 20 Cabs
Address Capability: 2-digit (1-127) or 4-digit (1-9,999)
Speed Steps: 14/28/128
Accessory Functions: 29 (F0-F28)
Advanced Consisting
Program Loco on Program Track
Program Loco on Main Track
Read Loco on Program Track
Quick Start
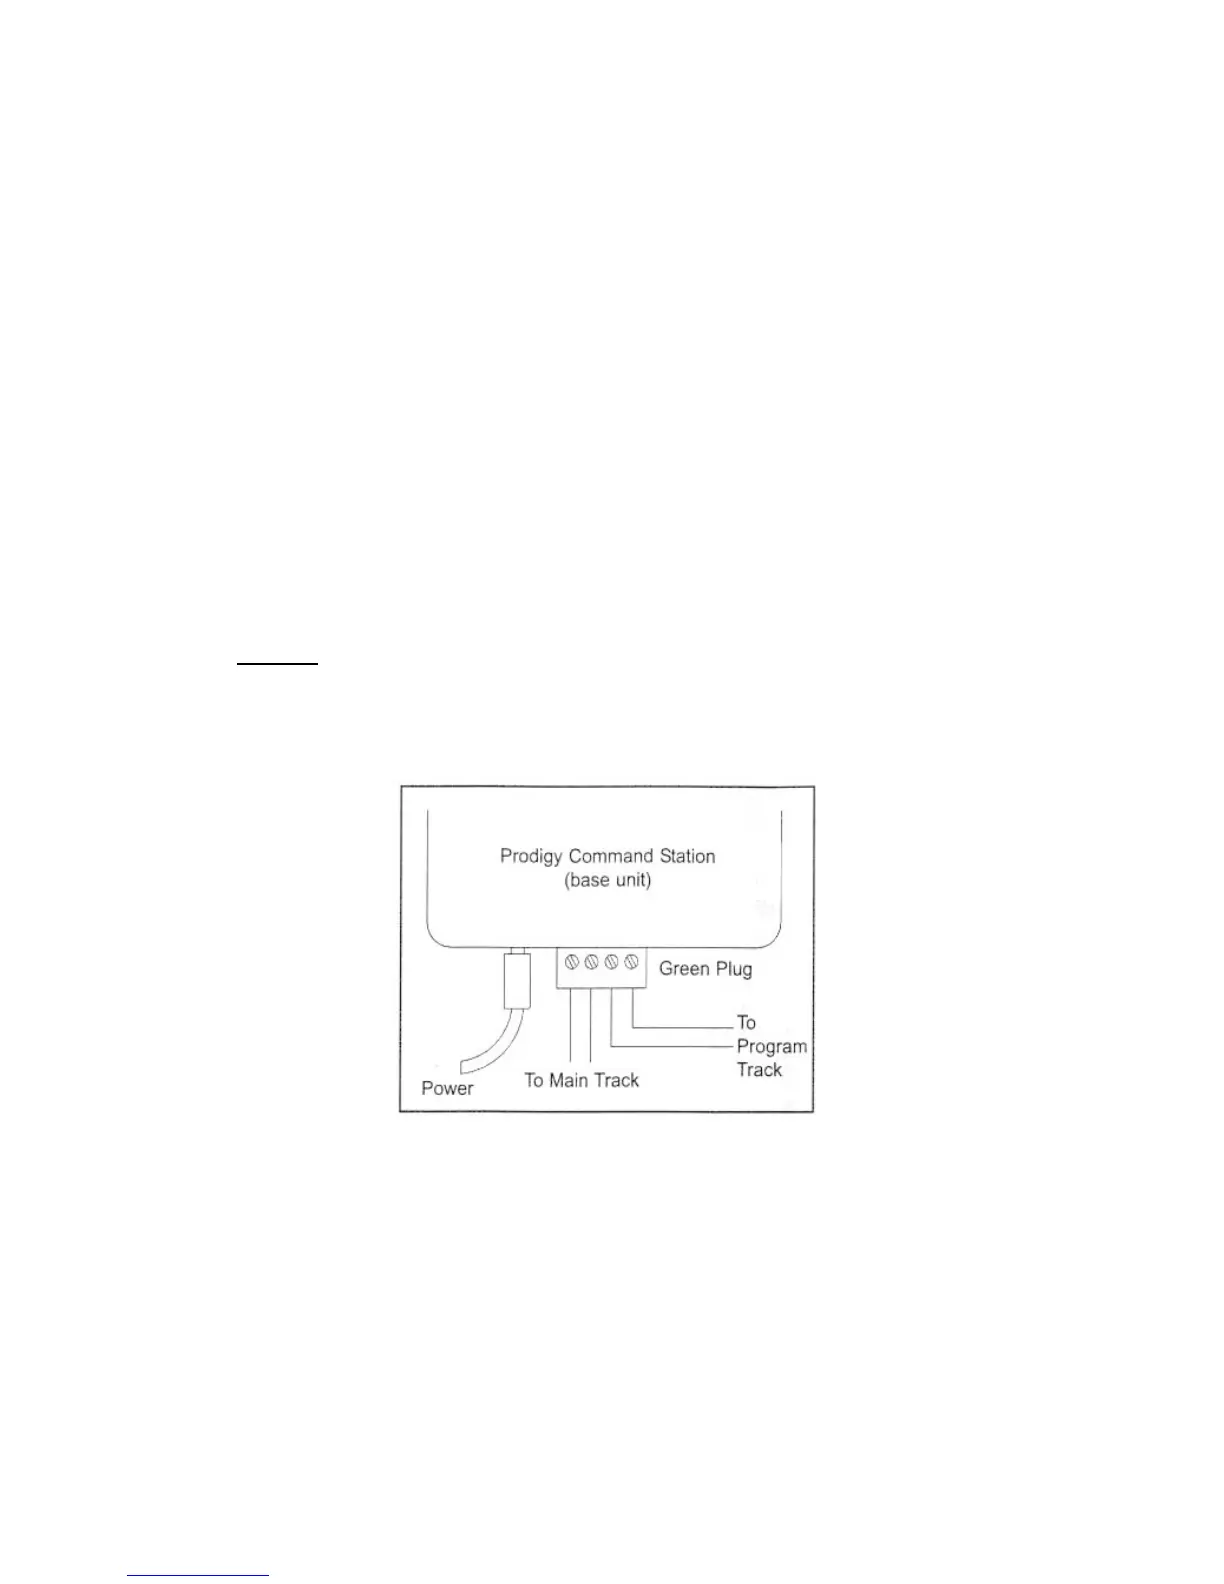
Connecting to Your Layout
1. Using a small flat-bladed screwdriver attach two wires from the Main Track layout to the terminals marked
Main Track and two wires from the Program Track to the terminals marked Program Track.
2. Plug one end of the Cab Lead into the Walkaround Controller and the other end into the base unit Cab
Jack socket - DO NOT plug this lead into the Booster Bus socket
3. Plug the power supply into the base unit.
4. Plug the AC line cord into a wall outlet.
5. Double check all wiring, the power light should be on and you are ready to run your decoder equipped
locos.
Running a Loco
To run a loco, you have to first know its address. Most decoders you purchase have the factory default ad-
dress #3. Read your decoder and/or loco manual for your decoder address.
To select a loco, press the LOCO key. Using the numeric keypad (0 - 9), enter the loco address.
Press ENTER. You have just acquired the loco.
The Cab will automatically remember the loco address for later recall.
Use the DIRECTION key to set the loco’s direction. Turn the THROTTLE knob slowly to increase the loco’s
speed. The selected loco, or current loco, will begin moving. You can also tap the +1 or -1 to adjust the loco’s
speed. Do not hold the -1 key, since this is also the DEL key and will delete the loco. To toggle the headlight
(F0) on or off, press 0.
Controlling Accessory Functions
To control accessory functions F1 - F9, press 1 - 9. To control F10 – F28, press SHIFT, then input the two
digit function number. Only functions up to F12 will show in the display, F13 to F28 will be activated but will
not be displayed on the screen.