5
HOW TO ASSEMBLE
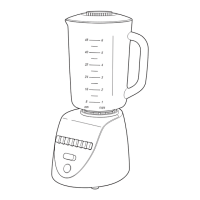
Control Panel
Before First Use: After unpacking the blender, wash everything except the blender base
in hot, soapy water. Dry thoroughly. Wipe the blender base with a damp cloth or sponge.
DO NOT IMMERSE THE BASE IN WATER. Care should be taken when handling the cutting
blades as they are very sharp.
1. Before starting, make sure that the blender cord is unplugged and that the power
switch, located on the middle of the blender base is in the “off” position.
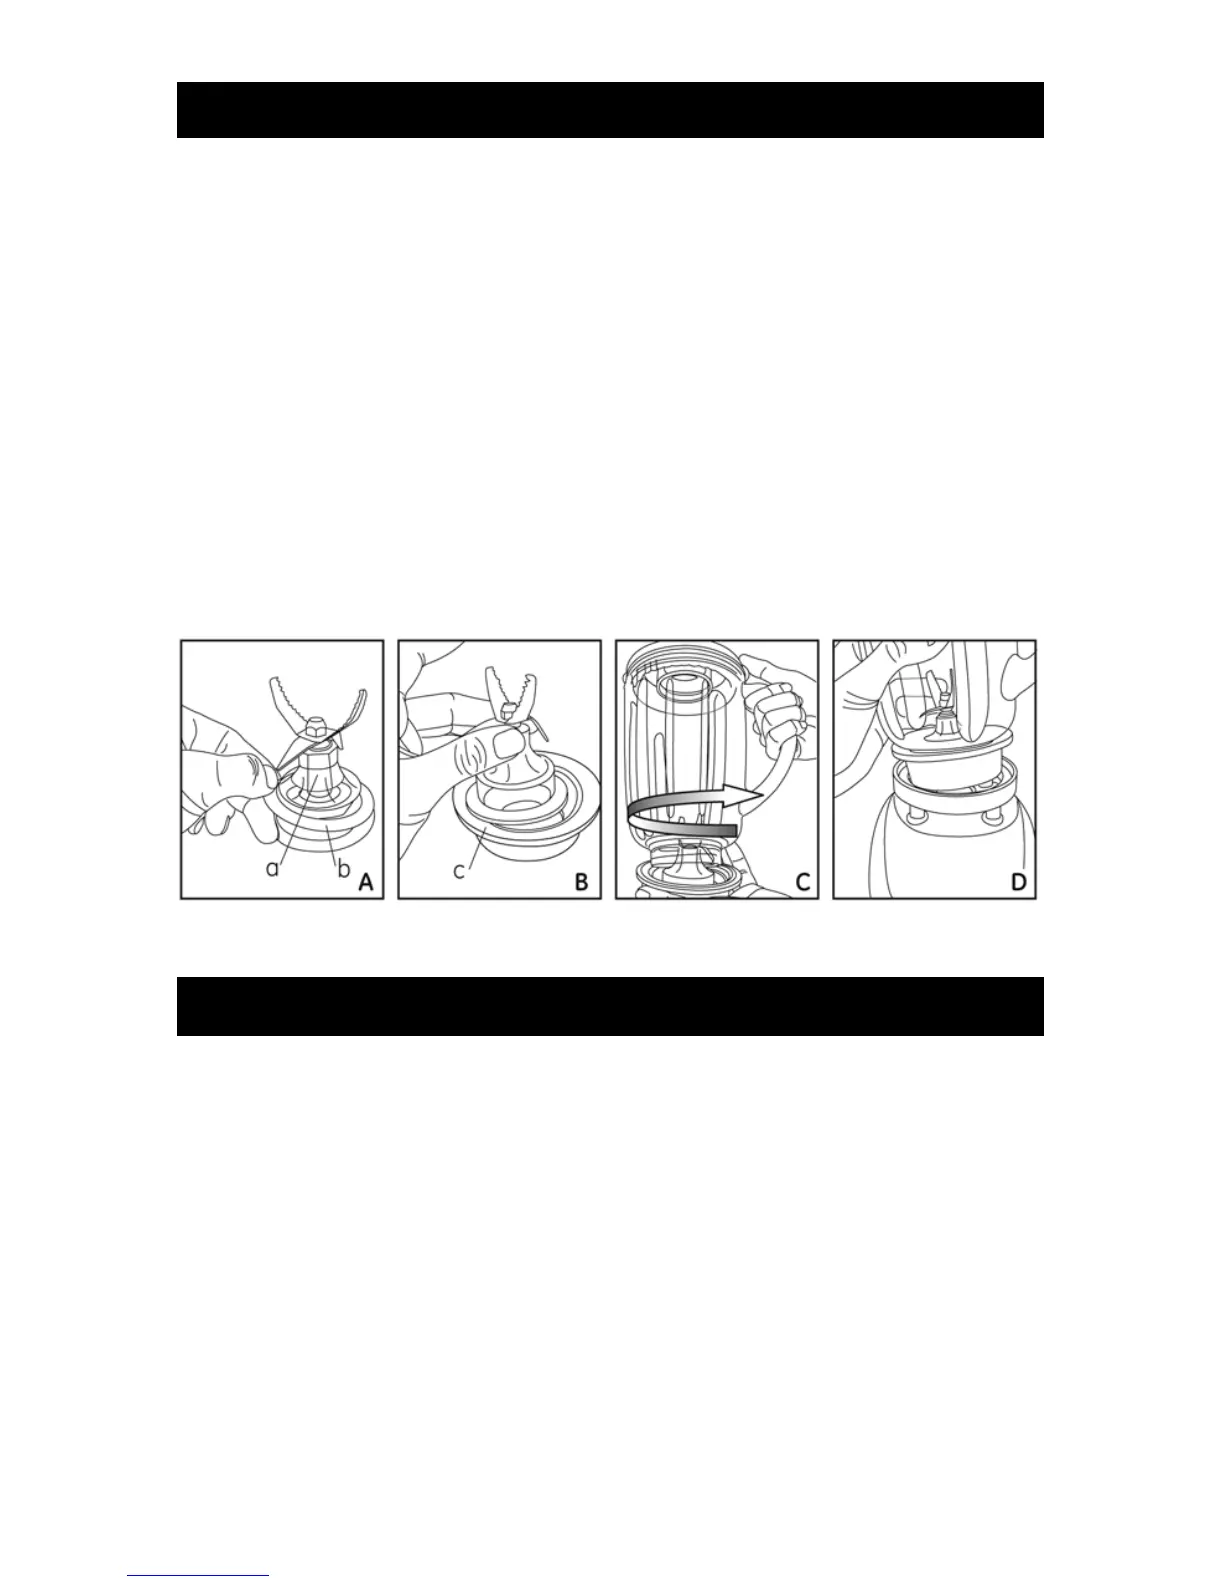
2. Check the jar to be certain that the cutting blade assembly gasket (a), rubber seal (b),
and jar gasket (c) are in the proper positions. Cutting blade assembly must be
securely tightened to the jar before placing food or liquid in the jar. Tighten the cutting
blade assembly by holding the jar and rotating the cutting blade assembly clockwise.
3. Place the jar assembly on the blender base so that it is firmly seated and not tilted to
one side. Never place the blade assembly on the blender base without the jar being
completely assembled and securely tightened.
1. Add ingredients to be processed and place lid on the jar. Be sure lid is fully seated. Be
sure the power switch is still in the “off” position before plugging the blender into the
wall outlet.
2. Blue light indicates power on. You can start to operate the unit.
3. Turn the power switch to your desired setting.
On— For ingredients that require continuous processing to a smooth mixture, use
“on” setting.
Pulse— Short bursts of power. It is used for chopping and ice-crushing. You can hold
the power switch down in the “Pulse” position for continuous processing until
desired texture is achieved.
Off— To stop processing, turn the power switch to “off” position.
4. Always be sure to switch the power switch to the “off” position when you are
not blending.
OPERATING INSTRUCTIONS