GE
Digital Energy
GE Information
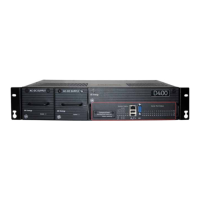
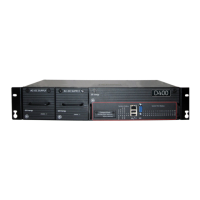
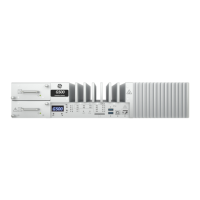
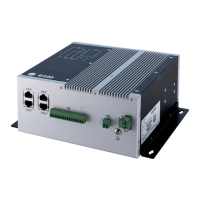
D400 Substation Gateway
Quick Start Guide
Start the D400
The tasks performed to set up the D400 for operation are:
• Task 1: Connect to the D400
• Task 2: Create User Accounts
• Task 3: Change the Root Password
• Task 4: Set the IP Address
• Task 5: Create a Supervisor Password
• Task 6: Access the D400 HMI
In the following procedures, the term “enter” indicates that the menu item number is typed in and then the Enter key is pressed.
Task 1: Connect to the D400
1. Connect the supplied null modem cable (GE part number 977-0529) to your computer serial communications port, and
to the D400 front panel serial communications port.
2. Start a terminal emulation application. For example, Tera Term.
3. From the Windows start menu, select All Programs > Tera Term folder > Tera Term.
4. Click the Serial option, and click OK.
5. On the Tera Term VT window, select the Setup menu > Serial port... command
6. Select the communications settings and click OK:
• Port: Select the appropriate communication port (for example COM3)
• Baud rate: 19200
• Data: 8 bit
• Parity: none
• Stop: 1 bit
• Flow control: none
7. On the Tera Term VT window, select the Setup menu > Terminal... command.
8. Select the terminal setting: Terminal: VT100, and click OK.
9. At the D400 login prompt, type the default username root and default password geroot.
Task 2: Create User Accounts
Since you cannot use the root user account to access the D400 remotely, you must create administrator-level user accounts for
this purpose. This must be done first when you connect to the D400 front serial communications port and run a terminal session.
To create a new administrator-level user account:
1. At the D400#>> prompt, type d400cfg and press Enter.
2. Enter 1. Configure Authentication.
3. Enter 6. Administrator Group Users.
4. Respond to the on-screen prompts as required to create a new administrator-level user. You may now use this user
account to access the D400 remotely through TELNET or SSH.