49-60726-2 11
BEFORE YOU BEGIN
Read these instructions completely and carefully.
• IMPORTANT – Save these instructions for
local inspector’s use.
• IMPORTANT – Observe all governing
codes and ordinances.
• Note to Installer – Be sure to leave these
instructions with the Consumer.
• Note to Consumer – .HHSWKHVHLQVWUXFWLRQV
for future reference.
• Skill level±,QVWDOODWLRQRIWKLVDSSOLDQFHUHTXLUHV
basic mechanical skills.
• Completion time±5HIULJHUDWRU,QVWDOODWLRQ
15 minutes
• Proper installation is the responsibility of the
installer.
• Product failure due to improper installation is not
covered under the Warranty.
WATER SUPPLY TO THE
ICEMAKER (On Some Models)
,IWKHUHIULJHUDWRUKDVDQLFHPDNHULWZLOOKDYHWREH
connected to a cold water line. A GE Appliances
water supply kit (containing tubing, shutoff valve,
fittings and instructions) is available at extra cost
from your dealer or by visiting our Website at
GEAppliances.com (in Canada at www.geappliances.
ca) or from Parts and Accessories, 1.877.959.8688.
REFRIGERATOR LOCATION
• 'RQRWLQVWDOOWKHUHIULJHUDWRUZKHUHWKHWHPSHUDWXUH
ZLOOJREHORZ)&EHFDXVHLWZLOOQRWUXQ
often enough to maintain proper temperatures.
• 'RQRWLQVWDOOWKHUHIULJHUDWRUZKHUHWKH
WHPSHUDWXUHZLOOJRDERYH)&EHFDXVH
it will not perform properly.
• 'RQRWLQVWDOOWKHUHIULJHUDWRULQDORFDWLRQH[SRVHG
to water (rain, etc.) or direct sunlight.
,QVWDOOLWRQDIORRUVWURQJHQRXJKWRVXSSRUWLWIXOO\
loaded.
INSTALLATION INSTRUCTIONS
CLEARANCES
Allow the following clearances for ease of installation,
proper air circulation and plumbing and electrical
connections.
6LGHV ´PP
7RS ´PP
%DFN ´PP
,IWKHUHIULJHUDWRULVWREHLQVWDOOHGQH[WWRDZDOORQWKH
KLQJHVLGHDOORZƎPPGRRUFOHDUDQFH
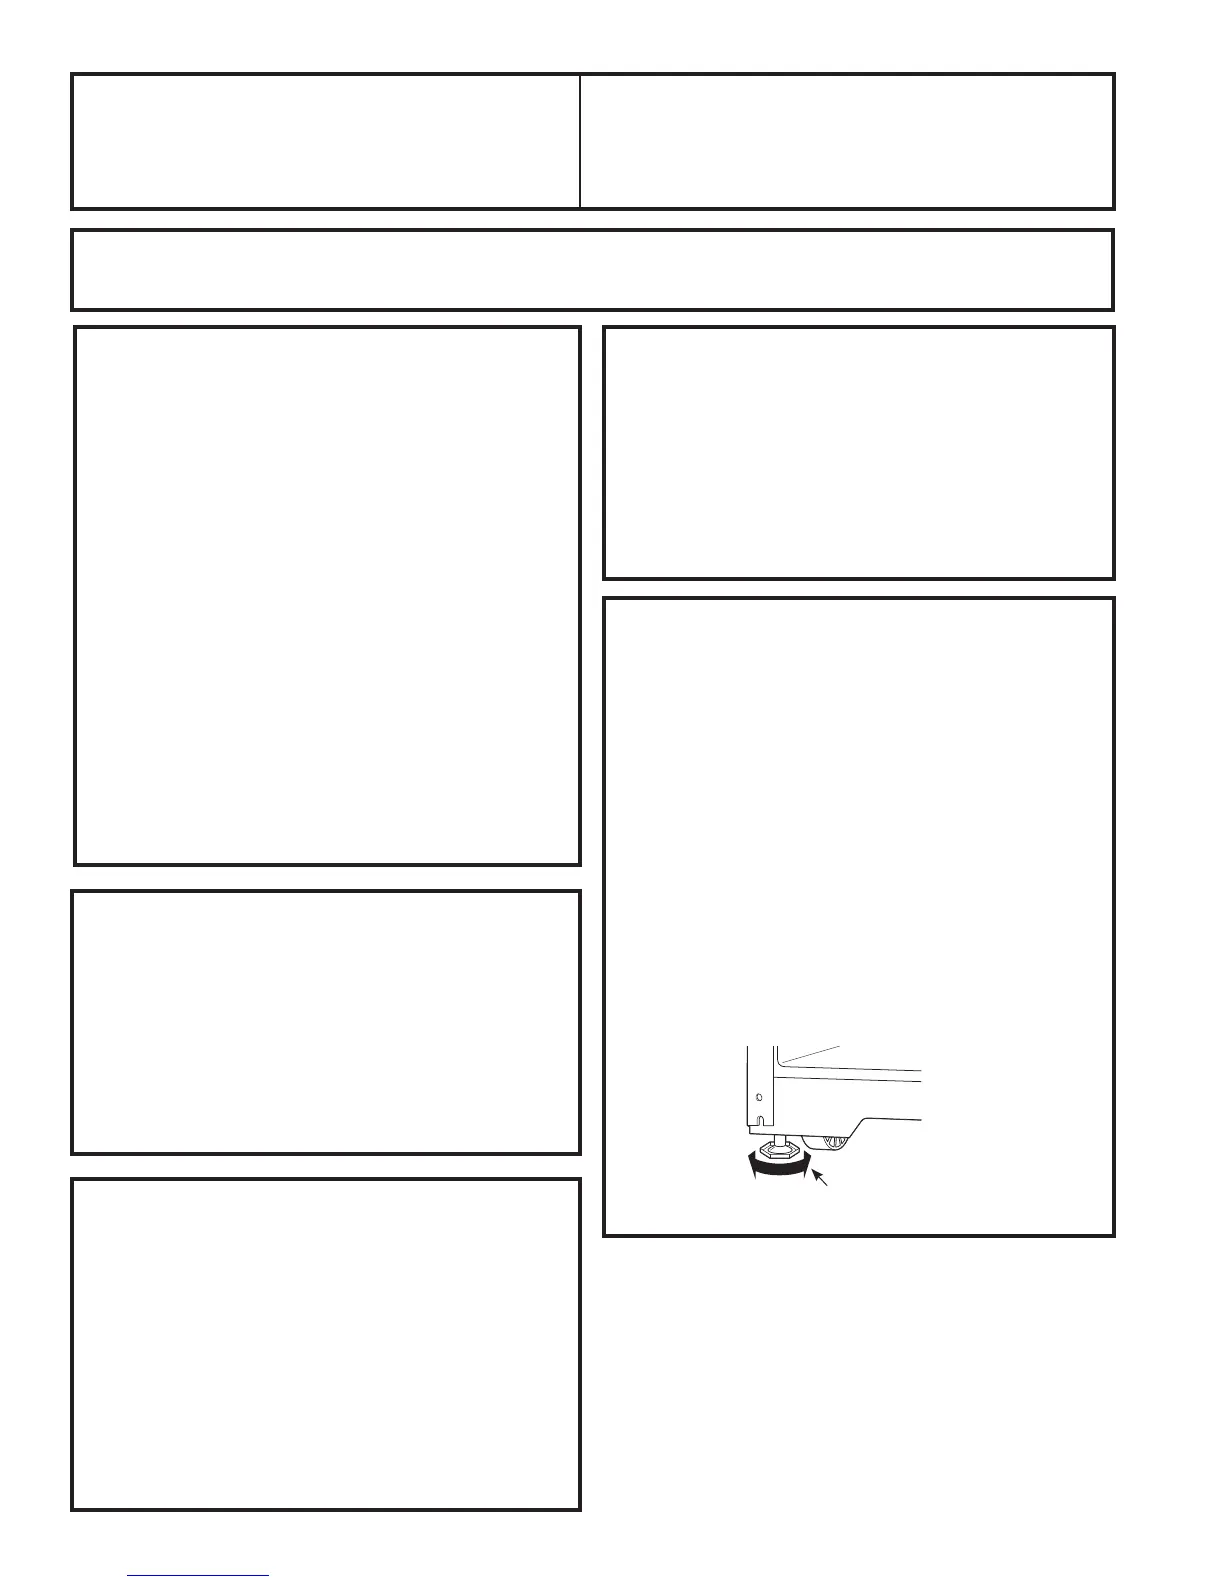
ROLLERS AND LEVELING LEGS
Leveling legs near each front corner of the refriger-
DWRUDUHDGMXVWDEOH7KH\¿UPO\SRVLWLRQWKHUHIULJHU-
ator and prevent it from moving when the doors are
opened. Leveling legs should be set so the front of the
refrigerator is raised just enough that the doors close
easily when opened about halfway.
Turn the leveling legs clockwise to raise the refrigera-
tor, counterclockwise to lower it.
Rollers next to the leveling legs allow you to move the
refrigerator away from the wall for cleaning.
Turn the legs counterclockwise until the weight of the
refrigerator is transferred from them to the rollers.
After rolling the refrigerator back into place, turn the
legs clockwise until the legs again bear the weight of
the refrigerator.
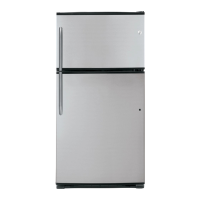
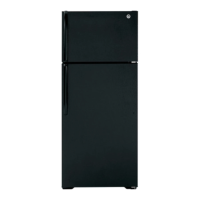
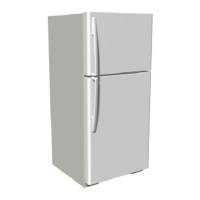
Installation
Instructions
Refrigerator
Models GTE21 and GIE21
Questions? Call 800.GE.CARES (800.432.2737) or visit our Website at: GEAppliances.com
In Canada, call 1.800.561.3344 or visit our Website at: www.GEAppliances.ca
Clockwise to raise
refrigerator