Installation
Instructions
Refrigerator
Models 11and 12
BEFORE YOU BEGIN
Read these h)structions completely and caxefully.
•IMPORTANT - S.,e_he_ei._,.c..._
for local inspector's use.
•IMPORTANT - O,._e..e.,>e..i._
codes and ordinances.
• Note to Installer - Be sure to leave these
instructions with the ()msume_:
• Note to Consumer - Keep these instructions tor
fllture reference.
• Skill level - Installation of this appliance requires basic
mechanical skills.
• Completion time - Refi_igerator Installation
15 minums
Reve_ing the Door Swing
1 hour
• Proper installation is the responsibility of the installe_;
• Product tailure due to improper installation is not
covered under the _'arrantv.
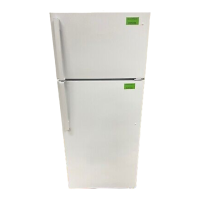
REFRIGERATOR LOCATION
• Do not install the refrigerator where the temperature
will go bel_>w 55°F (l 3 °C) because it will not run often
enough to maintain proper mmpemmres.
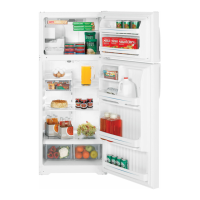
• Install it on a floor strong enough to support it
fifllv loaded.
• Do not install it closer than 5" (13 cm) next to a range.
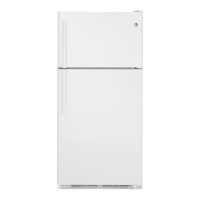
CLEARANCES
Mlow the fi)llowing clearances fi)r ease of installation,
proper air circulation and plumbing and electrical
connections.
• it (
• Sides 1 (9.:) cln)
• Top4 (102cm)
• Back 2" (5 cm) from the coiling on the back to the wall
To help with proper spacing and xenfilation, make sure
the metal spacer or twist-on rubber bumper (at the back
of some models) is in place.
LEVELING LEGS
Adjustable legs at the ffo]_t comers ot the refl'igerator
shol_]d be set so the rei}igerator is t?m_]y positiom_ed oN_
the floo_; amid the fi'o]_t is _aisedjmt em_ough that the
door doses easily whe]_ operated abol_t half\<_v.
To adjast the leve_g legs, mm the legs clockwise m
raise the rei)Jge_:_to_; counterclockwise m lower it.
Toraisethe refrigerator
8