11
Installation Requirements.
INLET/OUTLET PLUMBING REQUIREMENTS
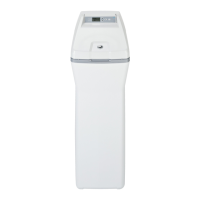
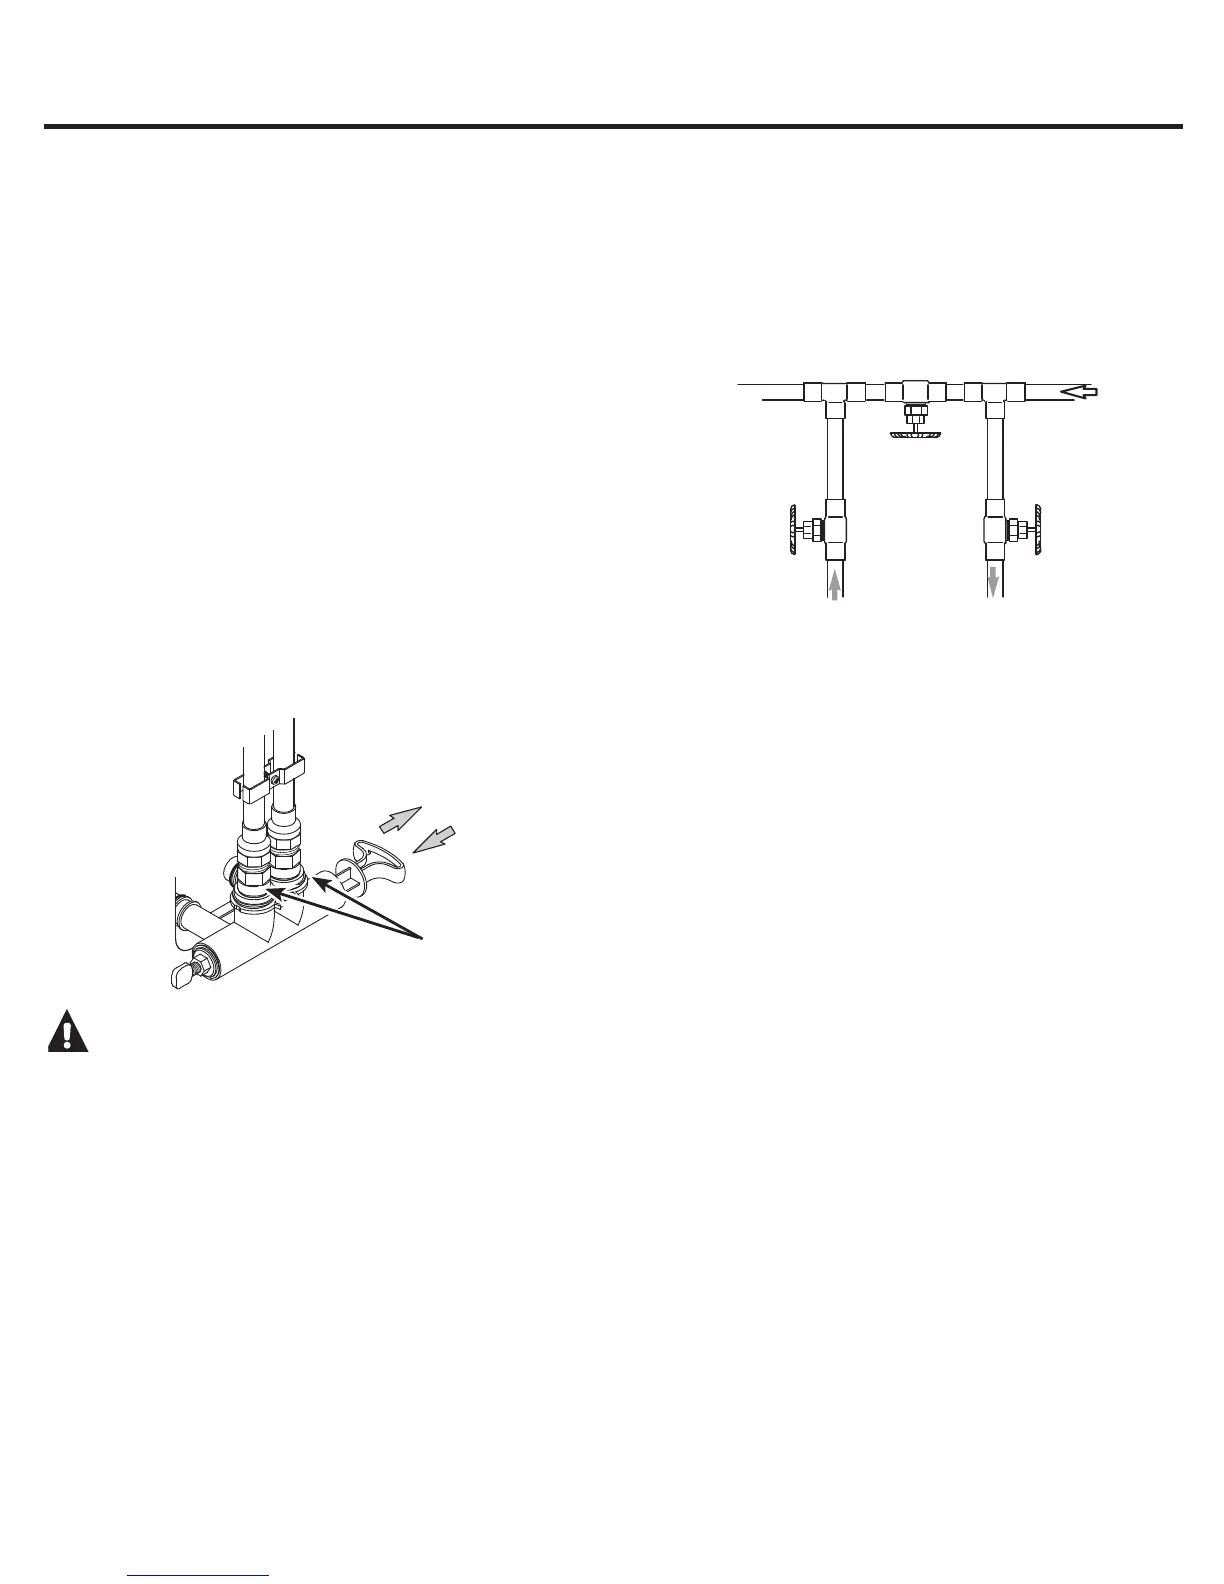
Always install either a single bypass valve
(provided),as shown in Figure 4, or, if desired, parts
for a 3 valve bypass system (not included) can be
purchased and assembled, as shown in Figure 5.
Bypass valves allow you to turn off water to the
softener for maintenance if needed, but still have
water in house pipes.
Pipe fittings must be 1/2” minimum.
Use:
&RSSHUSLSH
7KUHDGHGSLSH
3(;&URVVOLQNHG3RO\HWK\OHQHSLSH
&39&SODVWLFSLSH
2WKHUSLSHDSSURYHGIRUXVHZLWKSRWDEOHZDWHU
IMPORTANT: Do not solder with plumbing
attached to installation adaptors and single
bypass valve. Soldering heat will damage the
adaptors and valve.
DANGER:
Electric Shock Hazard:
Install metal ground clamp to metal house
water supply pipe before beginning
installation. Securely tighten connection in
center of metal ground clamp. Failure to do
so can result in death or electric shock.
3-VALVE BYPASS SYSTEM
For soft water service: Open the inlet and outlet
valves and close the bypass valve.
To bypass the softener and send hard water to
the home: Close the inlet and outlet valves and
open the bypass valve.
3 VALVE BYPASS
Bypass
Valve
Outlet
Valve
Inlet
Valve
From Water
Softener
To Water
Softener
Figure 5
SINGLE BYPASS VALVE
Pull out for “Service”
(Soft water)
Push in for
“Bypass”
Figure 4
Installation
adaptors
 Loading...