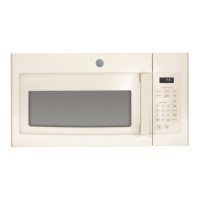
Reemplace la tapa de la ventilación de la unidad
y asegure la misma a la unidad, reemplazando los
dos tornillos que fueron retirados, con uno en el
agujero medio y uno del otro lado.
9
6
Instrucciones de Instalación
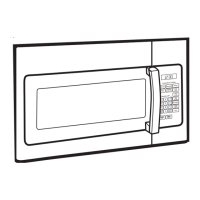
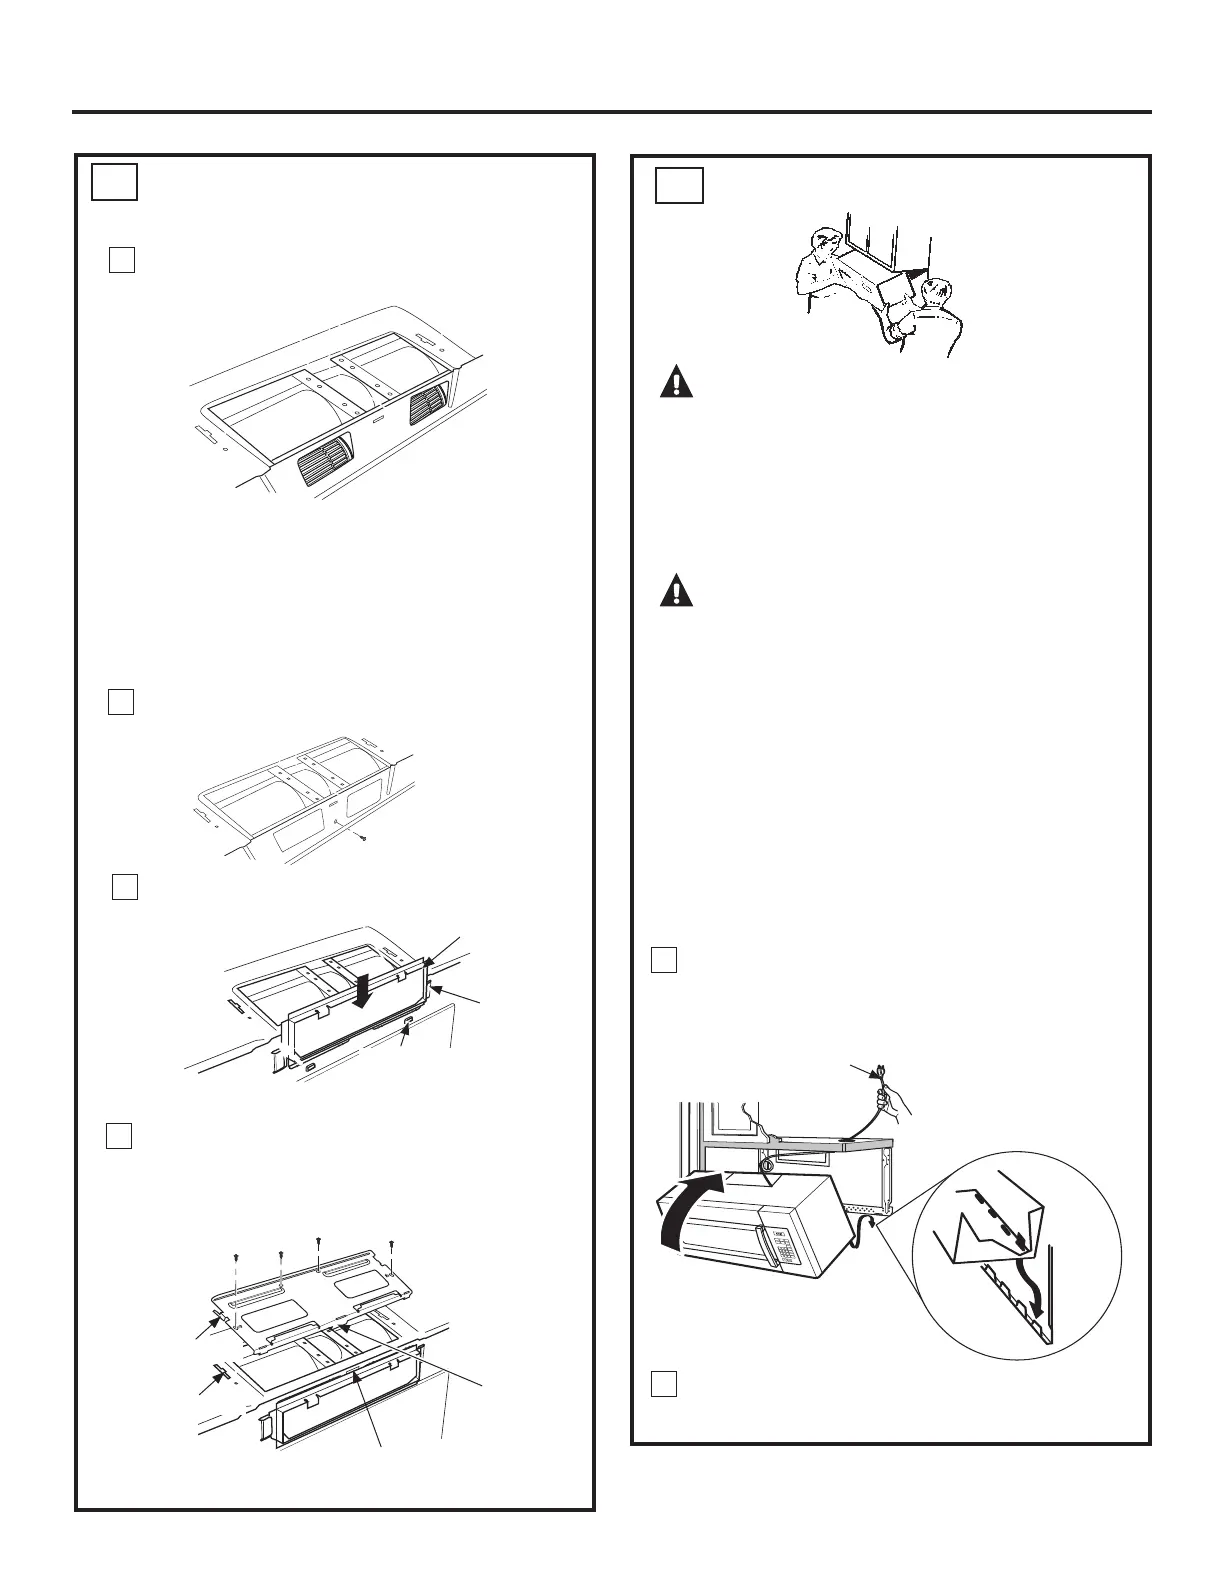
MONTE EL HORNO MICROONDAS
C5
PRECAUCIÓN: $ILQGHHYLWDUHO
riesgo de lesión personal (lesión en la espalda u
RWUDVOHVLRQHVGHELGRDXQSHVRH[FHVLYRGHOKRUQR
PLFURRQGDVRGDxRVVREUHODSURSLHGDGGHEHUi
contar con la ayuda de dos personas para instalar
HVWHKRUQRPLFURRQGDV
IMPORTANTE: No tome ni use la manija durante la
instalación.
ADVERTENCIA: Riesgo de Descarga
Eléctrica. Puede ocasionar lesiones o la muerte: Si
LQVWDODODXQLGDGFRQHQFLPHURVGHPHWDOFXEUDHO
DJXMHURGHOH[WUHPRGHOFDEOHGHVXPLQLVWURGH
FRUULHQWHFRQDLVODQWHSDUDHOFDEOHGHVXPLQLVWURGH
corriente.
IMPORTANTE: Si no se usan bloqueos de filtro, se
podrán producir daños en la caja debido al ajuste
excesivo de los tornillos.
NOTA: Al montar el horno microondas, haga pasar
el cable de corriente a través del agujero de la parte
inferior del gabinete superior. Mantenga el mismo
apretado siguiendo los Pasos 1 a 3. Evite cortes en el
cable o que se levante el horno microondas por tirar
del cable.
Levante el horno microondas, incline el mismo hacia
adelante, y enganche las ranuras en el extremo
inferior trasero sobre las cuatro lengüetas inferiores
de la placa de montaje.
Gire el frente del horno contra la parte inferior del
gabinete.
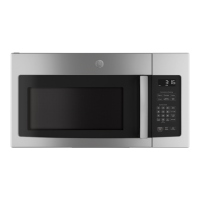
1
2
P
o
p
co
r
n
Co
n
v
e
n
i
e
n
ce
Co
o
k
in
g
E
xp
r
e
s
s
Co
o
k
P
ot
a
t
o
St
a
r
t
Pa
u
s
e
Ca
n
ce
l
O
f
f
B
ev
er
a
g
e
R
e
h
e
a
t
S
e
t
C
l
o
ck
T
u
rn
t
a
b
l
e
S
u
r
f
a
ce
L
ig
h
t
V
en
t
A
d
d
3
0
S
e
c
.
P
o
w
e
r
L
e
ve
l
0
8
5
2
7
4
1
9
6
3
C
o
o
k
T
i
me
D
e
f
r
o
s
t
W
e
i
g
h
t
/
T
i
m
e
T
i
me
r
O
n
/
O
f
f
Power Cord
ADAPTACIÓN DEL CALEFACTOR PARA
EL ESCAPE TRASERO EXTERIOR (cont.)
C4
Lengüeta Lateral
Ranura Lateral
Ranura Lateral
Lengüeta
Trasera
7
Reemplace el tornillo de la parte trasera de la unidad.
Tornillo
8
Deslice el regulador sobre la parte trasera de la
unidad con la bisagra en la parte superior.
Deslice el
adaptador del
escape en las
guías de la
parte trasera
del horno
microondas.
Adaptador
del Escape
Regulador (lado
de la bisagra
hacia arriba)
Lengüetas
de Bloqueo
Parte Trasera
del Horno
Microondas
22
De forma suave vuelva a colocar el ventilador en
la cavidad con la parte del escape del ventilador
arriba y enfrentando la parte trasera de la unidad.
NOTA: Asegúrese de que los cables permanezcan
dirigidos hacia las aberturas de la estructura del motor.
Para evitar daños sobre el cableado del motor del
ventilador, inserte el motor cuidadosamente de forma
tal que el cableado del motor del ventilador no tenga
contacto con el soporte del cable de encendido del
microondas.
 Loading...