DIAGRAMS
DIAGRAMAS • DIAGRAMMES • DARSTELLUNGEN
4
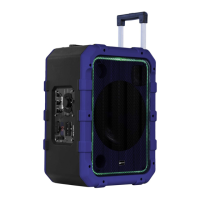
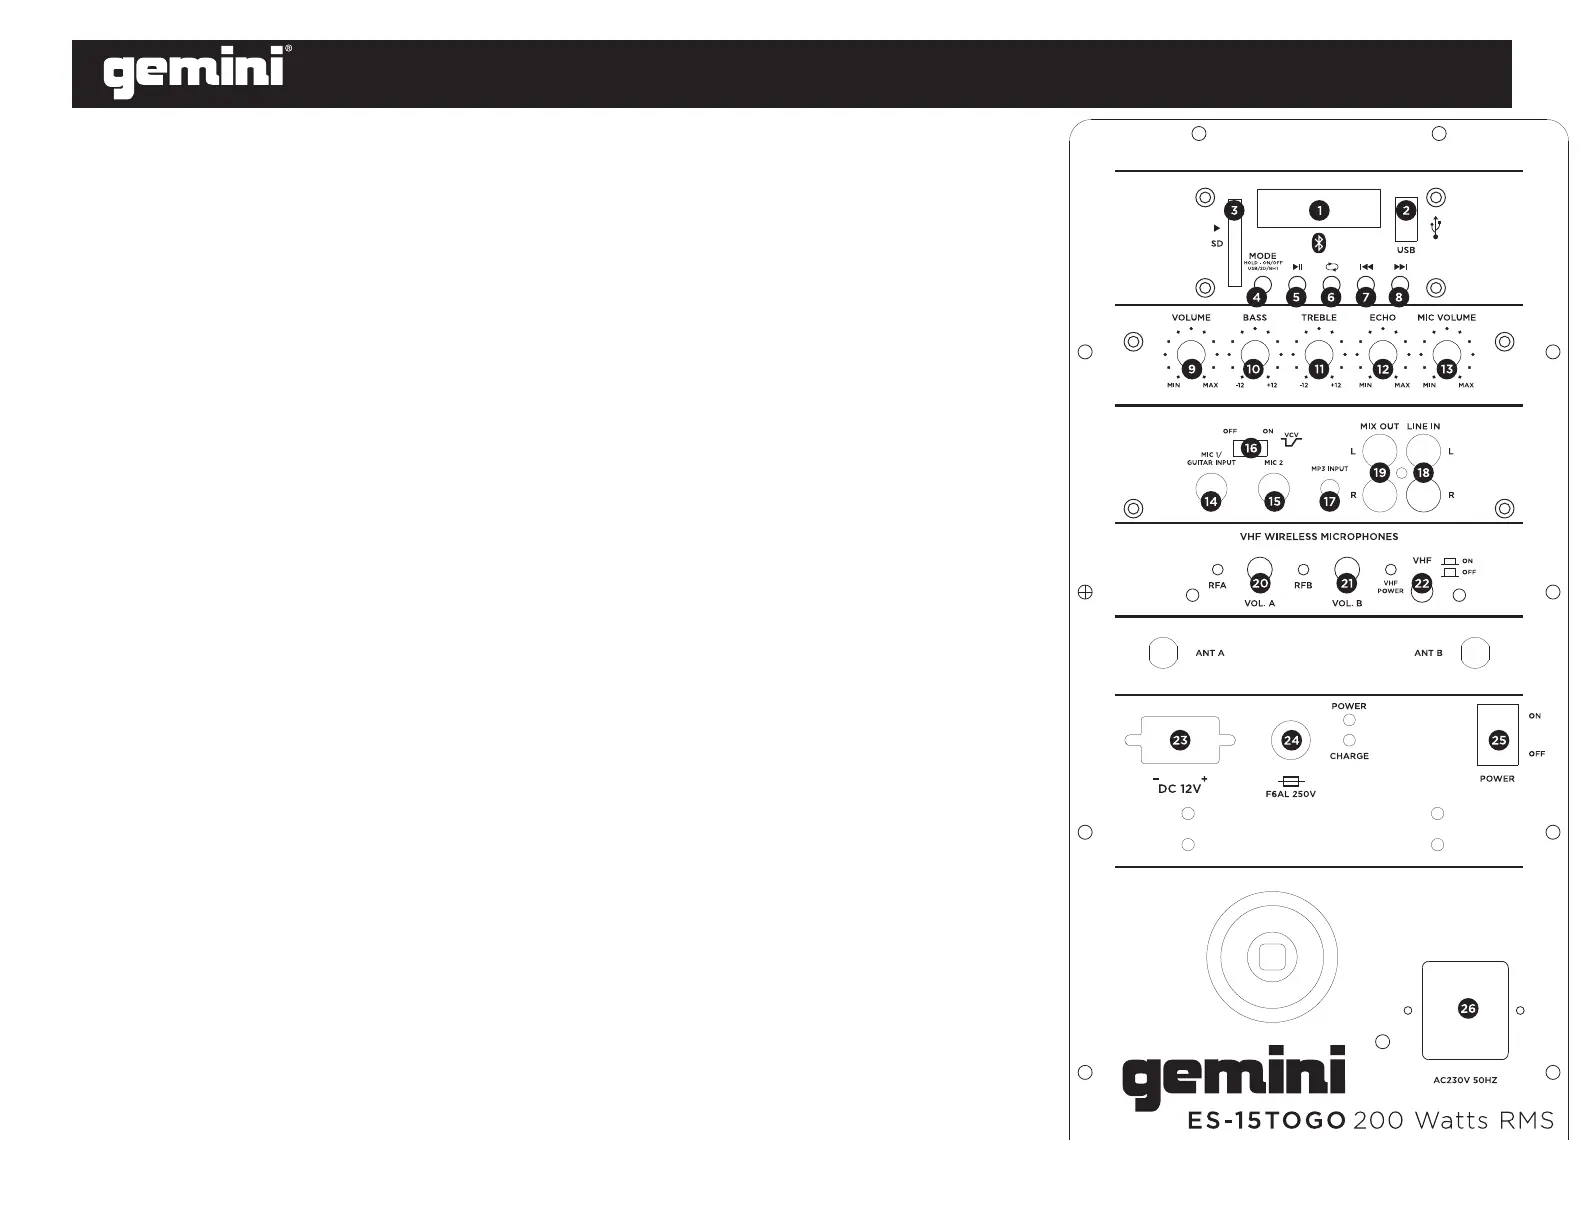
1. LCD: Displays the Media Panel modes for Bluetooth, USB, SD and Aux.
2. USB Port: Connect your USB flash drive to play music.
3. SD Card Slot: Insert your SD card here.
4. Mode: Switches modes from Bluetooth, SD, USB, and Aux.
5. Play/Pause: Play/Pause the USB, SD, or Bluetooth source.
6. Repeat: Repeat the current playing USB or SD track (ONE), repeat all of the tracks
(ALL), or shuffle the track order (Pd0).
7. Back: Navigates through USB and SD tracks. Plays the previous USB, SD, or Bluetooth
track.
8. Forward: Plays the next USB, SD, or Bluetooth track.
9. Volume Adjusts the speaker.
10. Bass EQ: Increases or decreases the bass (low) frequencies of the speaker at a range
between -12dB to + 12dB.
11. Treble EQ: Increases or decreases the treble (high) frequencies of the speaker at a
range between -12dB to + 12dB.
12. Echo: Increases the amount of echo effect.
13. Mic Volume: Adjusts the volume for the wireless microphones.
14. Mic 1/Guitar Input: Connect a microphone or guitar to this 1/4” input.
15. VCV Switch: This switch activates the microphone talk over.
16. Mic 2: Connect a microphone to this 1/4” input.
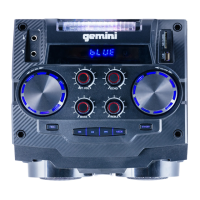
17. MP3 Input: Connect a CD player, digital media player, or other audio source to this 1/8”
stereo MP3 input.
18. Line In: Connect a CD player, digital media player, mixer, or other media source to this
input.
19. Mix Out: Connect this RCA output to another active (powered) speaker.
20. VOL A: Increases or decreases the volume for Wireless Microphone A.
21. VOL B: Increases or decreases the volume for Wireless Microphone B.
22. VHF POWER: Turns the VHF Wireless Microphones on or off.
23. DC 12V: Connect an external battery to this connection to power the speaker.
24. F6AL 250V Fuse: Removable fuse for repair.
25. Power ON/OFF Switch: Turns unit on or off.
26. Power Cable Input (IEC): Insert the included power cable here to power the unit.
ENGLISH
 Loading...