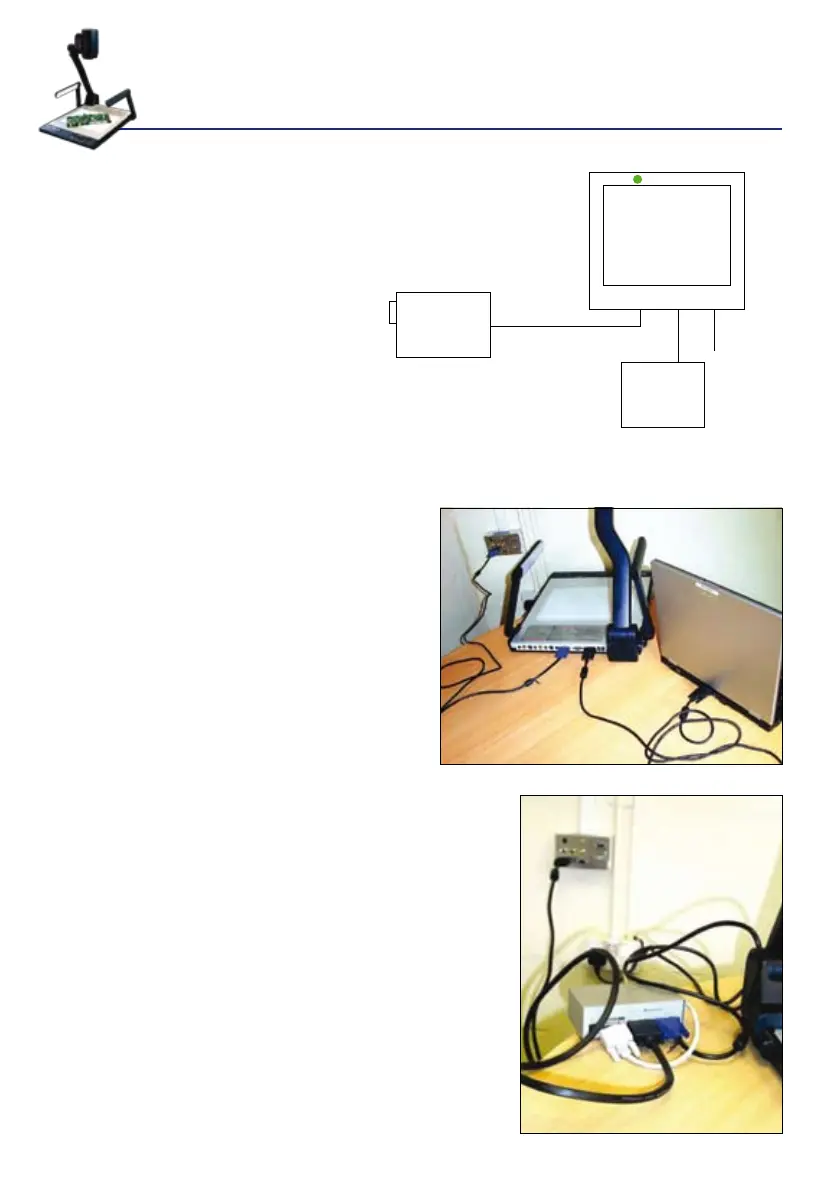
By linking your visualiser back to your PC or laptop,
you can simply switch the projector inputs between
the camera and computer.
You will need:
The power pack
The VGA cable
A second VGA
This new lead goes from the
‘COMPUTER IN’ socket on the
visualiser back to the VGA socket
on your computer.
By pressing the CCD/PC1/PC” button on
the visualiser (which will change from blue
to green), we can now switch the projector
inputs between the camera and the PC/laptop
desktop (you may have to clone the
computer’s screen to see this). With certain
Genee Vision models, a 3rd digital input can
be switched in.
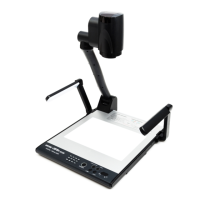
Your classroom PC and interactive whiteboard might
have a splitter box somewhere at the back with 3 VGA
leads going into it.
The simplest way of dealing with this is to follow the
VGA lead from the wall plate and remove it from the
splitter, then plug it into the visualiser ‘PROJECTOR’
socket.
Now use the additional VGA lead to link the vacant
splitter socket back to the PC to achieve the same
eect as above.
P.S. The visualiser acts as a splitter box in itself and
could actually replace the existing box.
Linking your Genee Vision visualiser to a PC or laptop
‘COMP IN’
VISUALISER
PROJECTOR
VGA
LAPTOP/PC
VGA
CCD/PC1/PC2