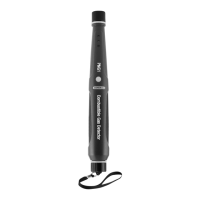
COMBUSTIBLE GAS DETECTOR
11
(3) Enter the Measuring Mode
Place the tip of the leak-detector probe as close as
possible to the site of the suspected leak. Try to
position the probe within 1/4 inch (6mm) of the
possible leak source.
Losing sensitivity gradually. Using the reference leak
source to check: normally (new sensor), with the
sensitivity set to high, when you move the check
bottle to the sensor, the detector responds very fast
(immediately detects the gas with full LED lights on
and continuous beep).
Older sensors: over time, sensor sensitivity drops
and detection response time increases, whereby a
newer sensor would activate the red LED, as
opposed to an older sensor indicating a green LED.
Slowly move the probe past each possible leakage
point.
When the instrument detects a leak source, the
audible alarm will sound. Additionally, the visual
indicators will light from left to right; Green LED, then
Orange LED, then Red LED (highest concentration).
Increasing LED levels indicate the growing proximity
to the leak source.
When the Instrument signals a leakage, pull the probe
away from the leak for a moment, and then bring it
back to pinpoint the location. If the combustible leak is
large, setting the sensitivity switch to LOW will make it
easier to find the exact site of the leak.