Do you have a question about the GENI mojo scan I MJC-1XA and is the answer not in the manual?
| Brand | GENI |
|---|---|
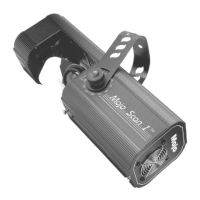
| Model | mojo scan I MJC-1XA |
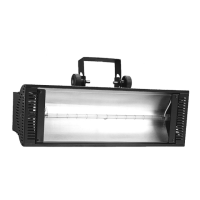
| Category | Flood Light |
| Language | English |
Explains the numerical values assigned to each dip switch and how they sum to create DMX addresses.
Demonstrates calculating DMX addresses for Mojo Scan I units based on their channel requirements.
Identifies and labels the various ports and switches on the back panel of Mojo products, including DMX connectors and dip switches.
Provides steps to diagnose and fix issues when a unit fails to respond to DMX signals.
Offers solutions for when the unit does not respond to audio input or cues.
Lists technical details including voltage, power consumption, dimensions, weight, and lamp type for MJC-1XA/1YA models.
Outlines cleaning, connection checks, and general upkeep for the scanner.
Details the procedures for safely replacing the scanner's lamp and fuse, including fuse cover removal.
Provides initial steps to resolve common operational issues like no light or no movement.
Explains the functions of dip switches for audio modes, show selection, and program control when not used for DMX addressing.
Details the specific effects and parameters controlled by each DMX channel for pan, tilt, and color/strobe.
Guides users through connecting units in series and setting DMX addresses for controller operation.
Step-by-step instructions for safely installing the lamp in the MJC-1XA model, including cover removal and securing.
Lists package contents and advises on initial checks before beginning setup.
Provides detailed steps for installing the lamp in the MJC-1YA model, including cover removal and securing the tube.
Explains how to set up single and four-unit systems for synchronized audio playback and effect changes.
Details how to link units for DMX control and connect to a DMX controller.