14
English
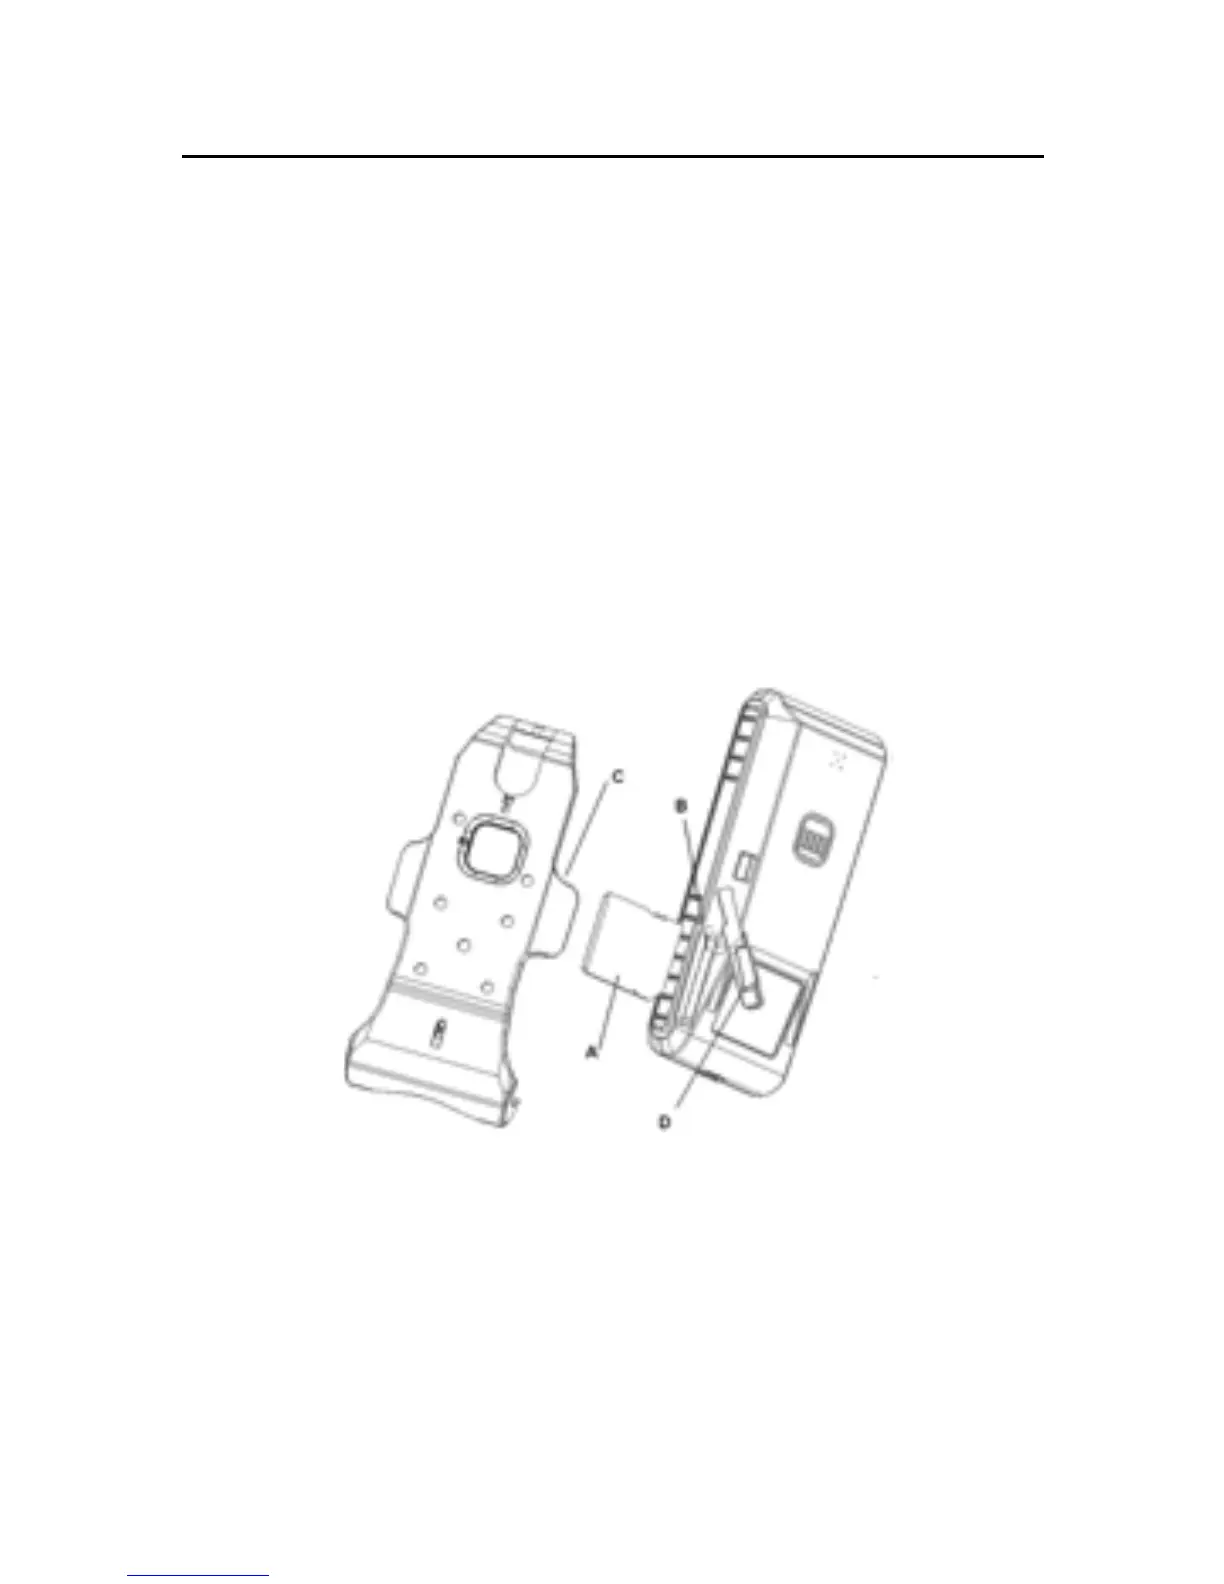
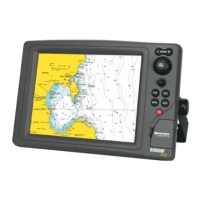
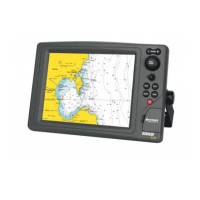
CARTRIDGE INSTALLATION
Installing the SD Card
Make sure that the unit is perfectly dry, switched off and not
connected to the battery charger.
Open the cartridge slot cover (D) located on the unit’s right
side. Insert the SD card (A) into the appropriate slot (B) with
the golden contacts turning to the unit’s front side and push
it down with the help of the projecting part (C) on the cradle
or a coin, until the coupling mechanism is released. Close the
cover (D) and check that it is perfectly closed, in order to
avoid any water infiltration.
To remove the SD card, once the cover (D) is open, push it to
the inside with the help of the projecting part (C) on the cradle
or a coin, until the coupling mechanism is released. When
removing the coin, the cartridge comes out so that it can be
extracted completely.
Cartridge Installation