Do you have a question about the GeoVision GV-SD200 and is the answer not in the manual?
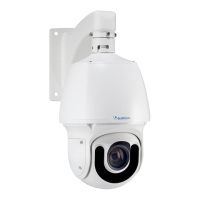
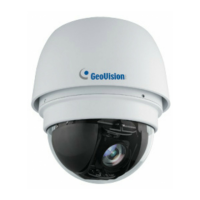
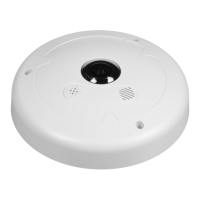
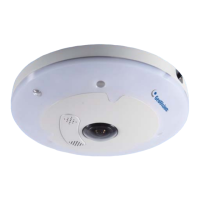
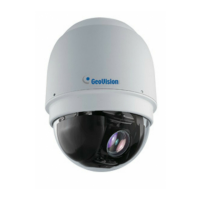
Lists key features of the GV-IP Speed Dome camera, including sensor, zoom, resolution, and protocols.
Specifies OS, browser, and software requirements for accessing the IP Speed Dome Camera via web browser.
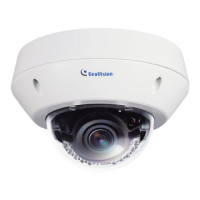
Details the components included in the package for both indoor and outdoor dome camera installations.
Describes various mounting accessories, their model numbers, and specifications.
Provides detailed dimensional drawings for the indoor and outdoor camera models.
Identifies and explains the connectors and buttons located on the camera's back plate.
Provides step-by-step instructions for connecting the camera's power and Ethernet cables.
Details three types of ceiling mounting methods: hard-ceiling, in-ceiling, and straight tube.
Step-by-step guide for performing a surface mount installation for the indoor camera.
Instructions for flush mounting the indoor camera using a T-Bar ceiling mount.
Guide for installing the camera using a straight tube mount, available in different lengths.
Covers wall mounting options including mini pendent, standard pendent, and wall box mounts.
Steps for mounting the camera using a mini pendent mount on a wall.
Instructions for installing the camera with a standard pendent mount on a wall.
Details for installing the camera using a wall box mount.
Explains corner mounting methods using corner plate or corner thin box.
Steps to install the camera using a corner plate mount.
Guide for corner mounting the camera with a thin box.
Covers pole mounting options including direct mount and box mount.
Instructions for performing a direct pole mount installation.
Guide for pole mounting the camera using a thin box.
Basic steps for connecting the IP Speed Dome camera to a network.
How to find the camera's dynamic IP address using the GV-IP Device Utility.
Procedure to assign a static IP address or configure ISP connection.
Navigating the camera's web interface and understanding the home page layout.
Configuring video resolution and format settings via the web interface's streaming menu.
Overview of the Home page, including its function buttons and controls.
Details on language support, digital zoom, screen adjustment, and talk/speaker functions.
Accessing system configuration categories like Security, Network, and Maintenance.
Settings for host name, time zone, and daylight saving time.
Managing user accounts, passwords, and authentication settings.
Configuring IP settings, QoS, SNMP, and UPnP for network connectivity.
Setting up IP address, subnet mask, gateway, and DNS server details.
Differentiating service levels for network traffic using DSCP values.
Configuring Simple Network Management Protocol (SNMP) settings.
Enabling Universal Plug and Play (UPnP) for automatic network access.
Setting up Dynamic Domain Name System (DDNS) for dynamic IP addresses.
Configuring SMTP server settings for sending email notifications.
Setting up File Transfer Protocol (FTP) for alarm message delivery.
Configuring alarm inputs, outputs, and triggered actions.
Setting up motion detection parameters and defining triggered actions.
Configuring alerts and actions for network connection failures.
Managing SD card storage, formatting, and viewing recording lists.
Setting up recording schedules for Micro SD/SDHC card recording.
Creating time frames for alarm, motion, and network failure detection settings.
Specifying storage locations for snapshots and live video recordings.
Accessing system logs for configuration and connection status information.
Reviewing added user login information and assigned privileges.
Displaying the entire system's parameter settings.
Instructions to reset the IP Camera to its factory default settings.
Displaying the current software version of the camera.
Procedure for upgrading the camera's firmware using the web interface.
Exporting system settings and uploading existing configuration files.
Configuring video format, compression, protocol, and frame rate for streaming.
Setting video resolution and format options for the camera stream.
Adjusting MJPEG and H.264 compression settings for video quality.
Selecting streaming protocols like RTP, RTSP, or MJPEG over HTTP.
Configuring the frames per second (fps) for video streams.
Setting audio transmission modes and input/output gain levels.
Controlling camera pan, tilt, zoom, and other movements.
Programming and recalling preset camera positions for quick access.
Setting up and running automated camera tours along predefined paths.
Configuring automatic panning paths for the camera movement.
Programming sequences of preset points for automated camera movement.
Creating and running custom tours combining presets, pans, and sequences.
Setting an idle state action for continuous monitoring when the camera is inactive.
Defining the camera's minimum and maximum tilt angles for movement.
Adjusting exposure settings like shutter speed, iris, and gain.
Configuring white balance for accurate color reproduction under different lighting.
Adjusting BLC, sharpness, exposure compensation, and flip settings.
Configuring WDR, auto calibration, 2DNR, and TV system settings.
Resetting camera settings to factory defaults.
Exiting the administrator session and returning to the login screen.
Instructions for updating the camera's firmware via the web interface.
Step-by-step guide for performing firmware updates through the web interface.
How to restore camera settings to their factory defaults using the web interface.
Process for adding and configuring IP cameras within the GV-System.
Adjusting camera settings like frame rate, codec, and resolution in the GV-System.
Controlling camera PTZ functions, including movement and zoom, via the GV-System.
Introduction to the optional power box, its components, and power input options.
Step-by-step guide for installing the optional power box.
Detailed electrical, mechanical, and environmental specifications for the power box.
Key specifications related to the camera sensor, zoom, white balance, and exposure.
Specifications for the optical lens, including megapixel count, focal length, and aperture.
Details on video codec, streaming capabilities, resolution, and frame rate.
Specifications for audio input/output and audio codec.
Network interface and protocol specifications.
Mechanical specifications including temperature detector, connectors, and storage.
Operational parameters such as pan/tilt travel, presets, and automatic functions.
| Max Resolution | 1920 x 1080 |
|---|---|
| Audio Compression | G.711 |
| Sensor Type | CMOS |
| Night Vision | Yes |
| Frame Rate | 30 fps |
| Day/Night | Yes |
| IR Distance | 20m |
| Minimum Illumination | 0 Lux (IR on) |
| Video Compression | H.264 |
| Ethernet | 10/100 Mbps |
| Protocols | HTTP, HTTPS, SMTP, FTP, DHCP, NTP, DDNS, RTP, RTSP, PPPoE, UPnP |
| Local Storage | Micro SD card |
| Power Supply | DC 12V |
| Resolution | 1920 x 1080 |
| Viewing Angle | 61.4° ~ 2.9° (Horizontal) |
| Night Vision Range | 20m |