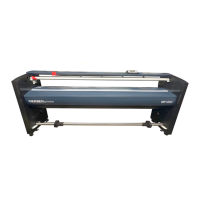
HOW TO REPLACE FLAT FLEXIBLE CABLE (FFC)
15 - Turn on and run a printing
test to assure correct function.
16 - Turn off the UWP.
17 - Assembly the rear cover
and the screw.
18 - Assembly the front cover.
19 - Finally, assembly right and
left side covers.
14 - Press the cables to have a
good xation.
7 - Place rst CON 10 single FFC
and after CON 9, CON 8 double
FFC.
9 - Assure connectors are
completelly plugged.
8 - Pass the connectors to the
electronic side and connect them
to the main board.
13 - Move the head by hand to
the right end, remove the adhesive
protection and stick the cable on
the aluminum prole.
Labels below connector
10 - Connect double connector
rst (1); then the single one (2).
WARNING: Be sure that connectors
are plugged, aligned and centered.
11 - Place the new clip in the
printhead board holes.
12 - Move the head by hand to
the left end and check the gaps.
1 - Turn off the UWP.
2 - Remove the right and left side covers.
3 - Disconnect CON 8, CON 9 and CON 10
from the main board.
4 - Remove the aluminum front cover.
5 - Remove the aluminum rear cover.
6 - Remove the FFC clip and disconnect
the FFC from the printhead.
CON10
CON10
CON9
CON9
CON8
CON8
1
CLIP
1cm
1cm
1cm
2

 Loading...