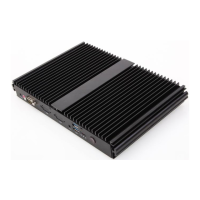
Unscrew (anti-clockwise) 2 screws from the
HDD Stand, and take off the HDD Stand.
Remark:
White screws are for WiFi/3G/SSD module.
Two black screws are for fixing HDD.
Four Circular Foot-paddings are for PC
stand.
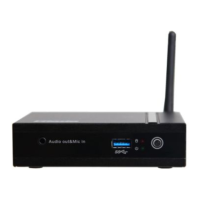
Take another two black screws from the
accessory bag and fix HDD to the HDD
Stand (two sides).
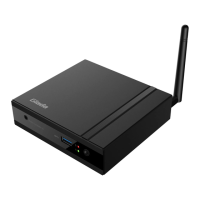
Install HDD to the Mother Board as the
picture shown, and fix it with the screws.
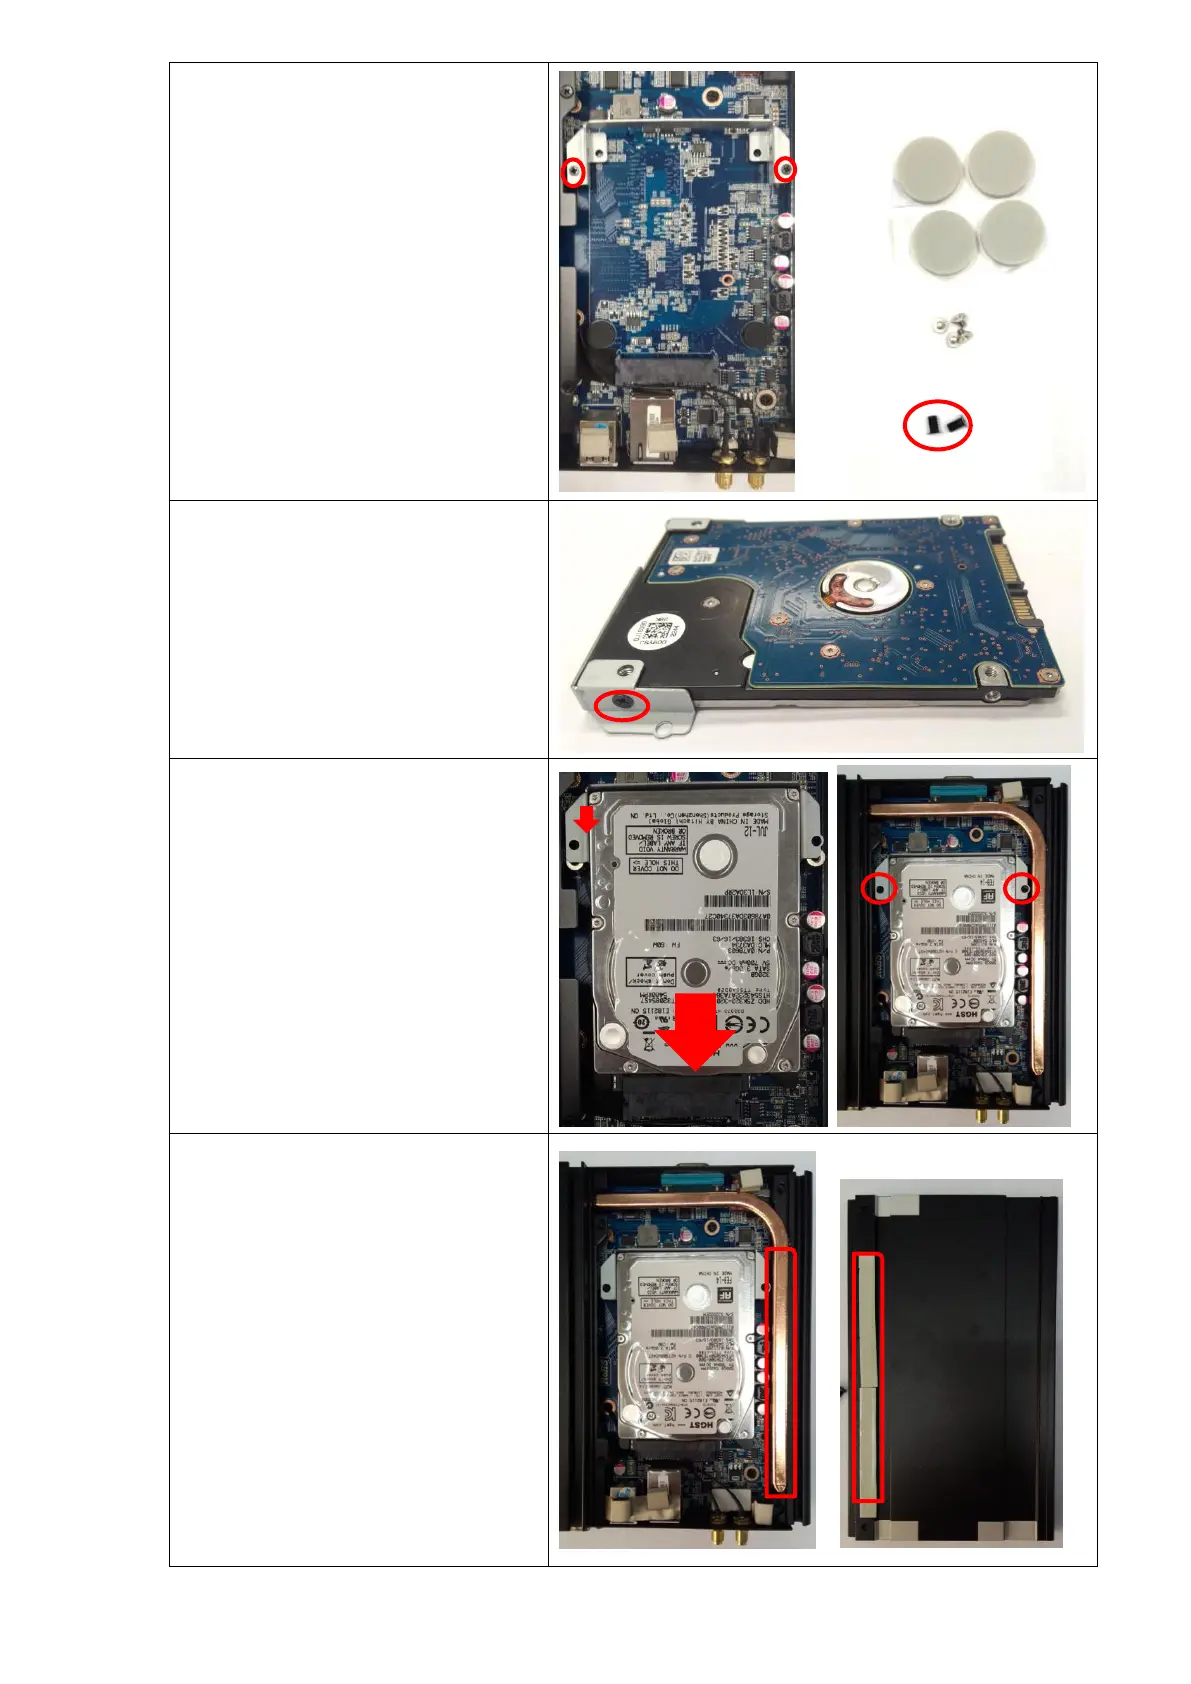
Push back the half of top panel and make
sure the Thermal conductive strip can paste
in place for better heat dissipation.
 Loading...