• You can change the functionality of an audio jack using the audio software.
• To congure 7.1-channel audio, you need to open the audio software and select Device
advanced settings > Playback Device to change the default setting rst.
• When removing the cable connected to a back panel connector, rst remove the cable from
your device and then remove it from the motherboard.
• When removing the cable, pull it straight out from the connector. Do not rock it side to side to
prevent an electrical short inside the cable connector.
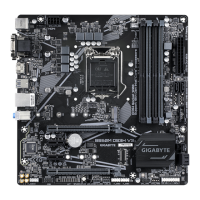
Audio Jack Congurations:
Jack
Headphone/
2-channel
4-channel 5.1-channel 7.1-channel
Line In/Rear Speaker Out
a a a
Line Out/Front Speaker Out
a a a a
Mic In/Center/Subwoofer
Speaker Out
a a
Front Panel Line Out/Side
Speaker Out
a
Please visit GIGABYTE's website for details on conguring the audio software.
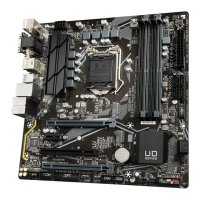
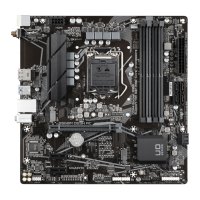
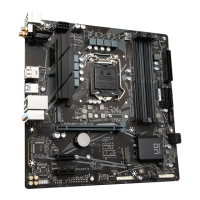
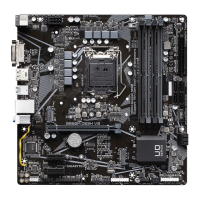
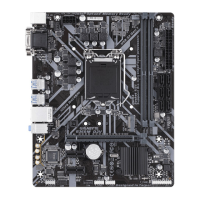
USB 2.0/1.1 Port
The USB port supports the USB 2.0/1.1 specication. Use this port for USB devices.
USB 2.0/1.1 Port (Q-Flash Plus Port)
The USB port supports the USB 2.0/1.1 specication. Use this port for USB devices. Before using Q-Flash
Plus
(Note)
, make sure to insert the USB ash drive into this port rst.
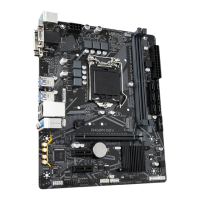
Line In/Rear Speaker Out (Blue)
The line in jack. Use this audio jack for line in devices such as an optical drive, walkman, etc.
Line Out/Front Speaker Out (Green)
The line out jack.
Mic In/Center/Subwoofer Speaker Out (Pink)
The Mic in jack.
- 11 -