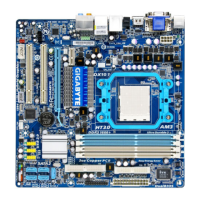
GA-MA78GM-S2H Motherboard - 88 -
Step 2:
Connect your microphone to the Mic in jack (pink)
on the back panel or the Mic in jack (pink) on the front
panel. Then configure the jack for microphone
functionality.
Note: The microphone functions on the front panel
and back panel cannot be used at the same time.
Step 3:
Locate the Volume icon in your system tray
and click it to open the volume control panel.
5-2-4 Configuring Microphone Recording
Step 1:
After installing the audio driver, the Audio Manager
icon will appear in your system tray. Double-
click the icon to access the Audio Control Panel.
4. Digital PCM Output Setup:
In the Audio Control Panel, click the Audio I/O tab.
In the upper left list, click Digital PCM Output.
Enable this function to allow digital audio sources
that are not digitally processed by DTS encoding to
be output from the S/PDIF OUT.
 Loading...


