- 16 -
1-3-2 Installing the Water Cooling Kit
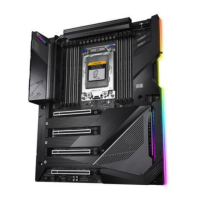
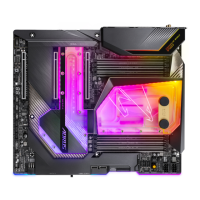
LED_CPU
LED_PCH
• Before installing the water cooling kit, ensure the motherboard can boot normally.
• After the water cooling kit is placed on the motherboard, use the OC Ignition button to check whether
thecoolinguidcanbeinjectedproperlyandthencompletetheinjection.Thenunplugthepower
supply and tighten the screws included in the water cooling kit.
• IfyouwanttoinstallanM.2SSD,youhavetoinstalltheM.2SSDrstbeforeinstallingthewater
cooling kit.
• The water cooling kit provides a G1/4" inlet and a G1/4" outlet. Please choose the barbs (not
included) that suit your requirements.
• Depending on your hardware requirements, apply appropriate amount of the provided thermal
paste on the water cooling kit.
LED_CPU
LED_PCH
Outlet
Inlet
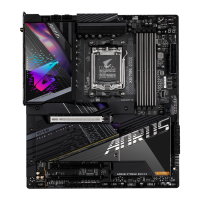
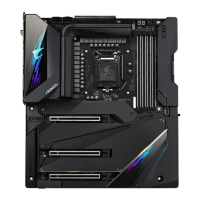
Refer to the pictures below to install the water cooling kit on the motherboard.
Step 1:
Carefully take out the water cooling kit out of its package and remove the protective cover from the thermal
pasteandtheprotectiveplasticlmsfromthethermalpads.
Step 2:
Align the water cooling kit with the motherboard in the direction as indicated below, connect the LED cables from
the water cooling kit to the LED_PCH header and then the LED_CPU header. Then place the water cooling kit
vertically on the motherboard.
Thermal Pad
Thermal Pad
Thermal Paste
Thermal Pad
 Loading...