NetComm Router Setup
1. Unbox the NetComm CPE and install the two antennas onto the contact points on the back
of the router. Plug the power cable into an available power socket.
2. Using the provided RJ45 Ethernet Cable, connect the blue WAN port on the NetComm router
to the Internet Port on your NBN NTD. See Figure 1 on page 1 for details.
3. It can take a few minutes for your connection to stabilise. You should see the Power,
Internet and LTE lights turn green on the NetComm router. This means you are now
connected to the Internet. Refer to Figure 2 on page 9 to see the meaning of LED indicators.
Plume Setup
We now need to set up the Plume Wi-Fi access points to distribute the Wi-Fi signal across
your store. Read the Plume Placement Guide before proceeding with Plume setup.
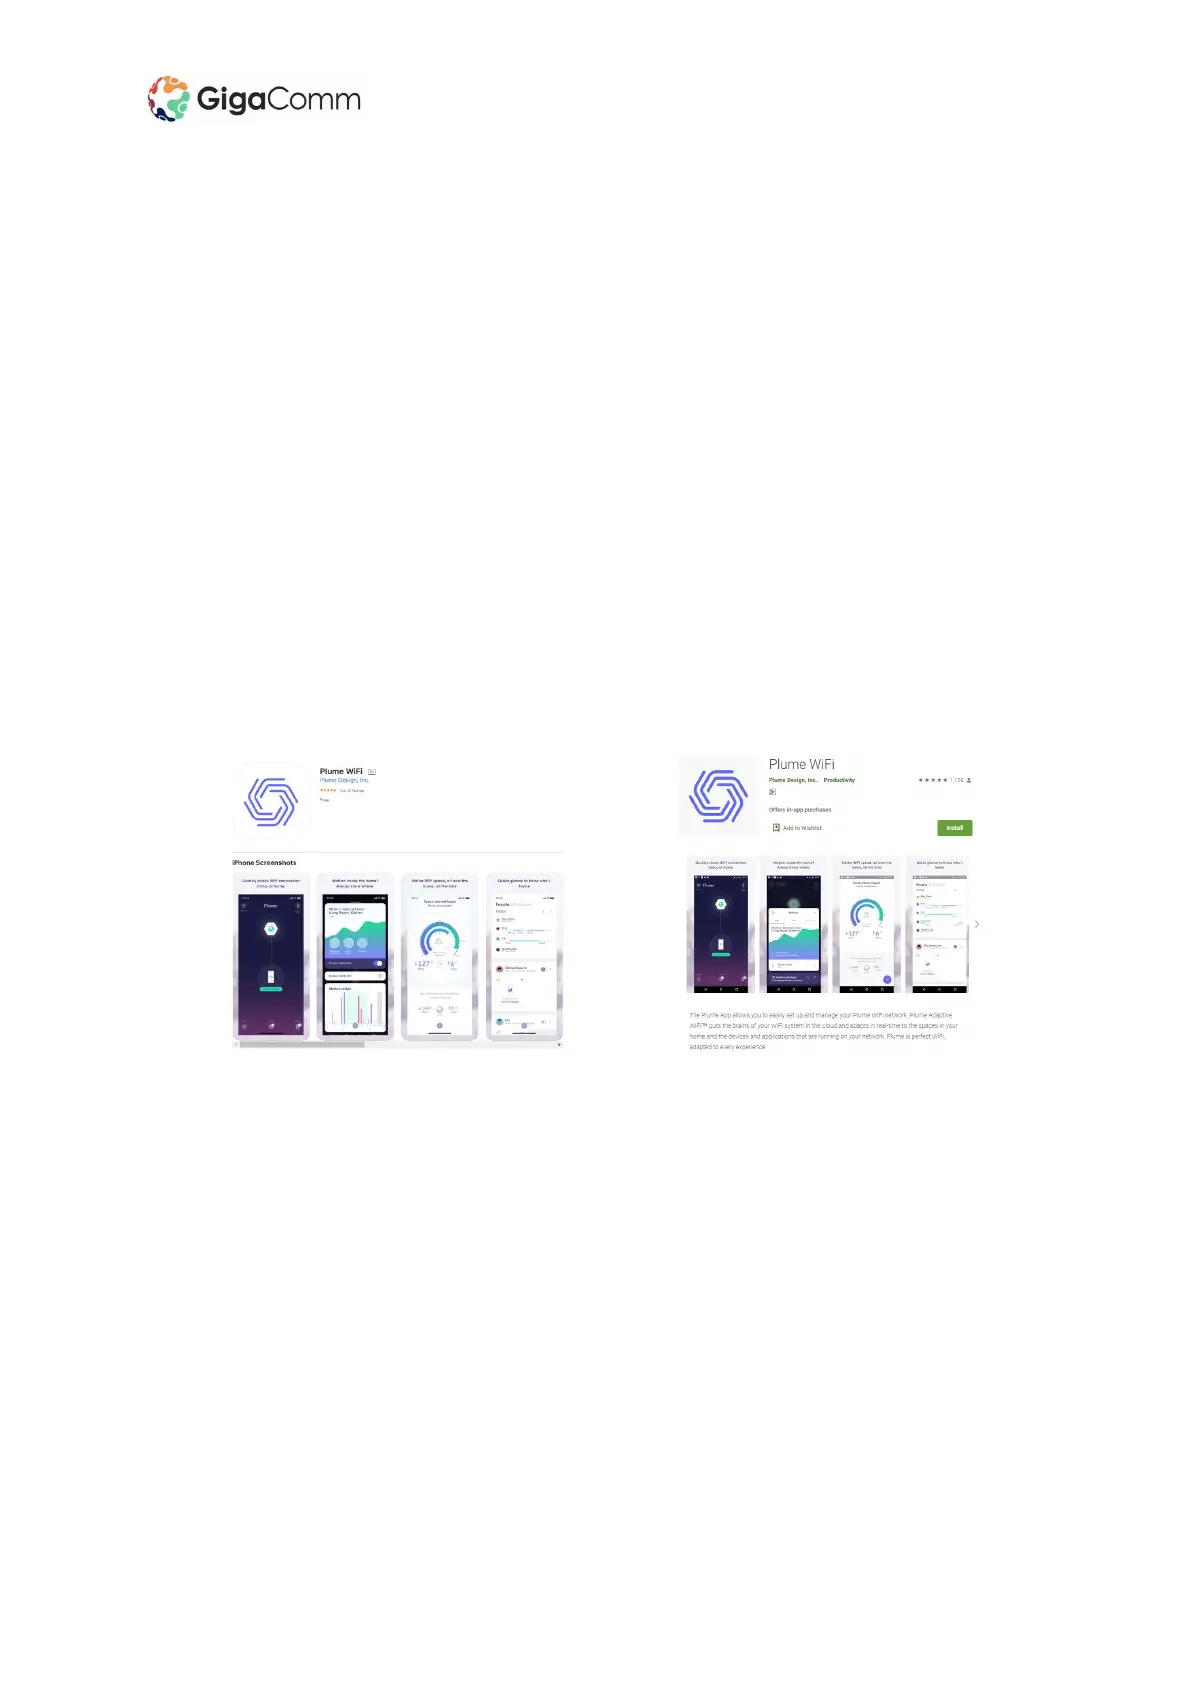
1. Download the Plume WiFi app from Google Play or the App Store.
2. Launch the Plume app and choose the Setup Plume option.
NetComm CPE & Access Point Setup Guide