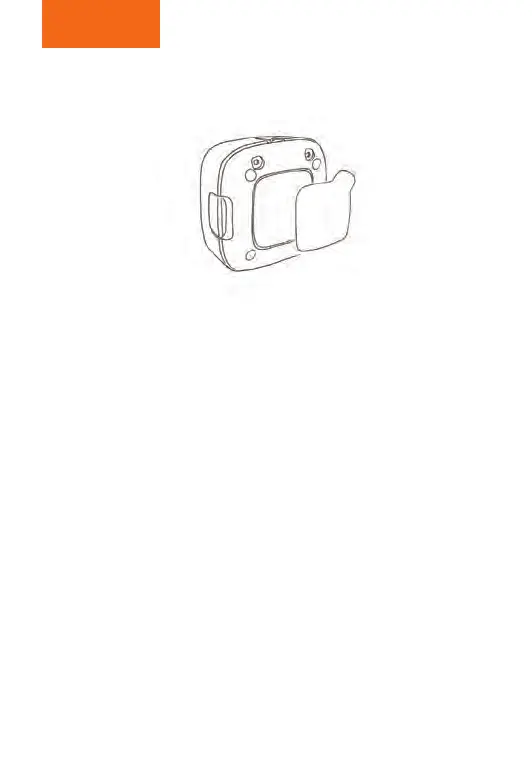
Step 3
Klebestreifen anbringen, Sensor montieren (direkt oder mit
Halterung), 15 Sekunden andrücken und mit Hilfe der App kalibrieren.
Unter „Regeln“ elements button kongurieren.
Attach the adhesive strip, t the sensor (with or without the bracket),
press for 15 seconds and use the app for calibration. Congure the
elements button under "Rules".
Installez la bande adhésive, montez le capteur (directement ou avec
support), pressez 15 secondes et calibrez à l‘aide de l‘application.
Sous« Règles », congurer elements button.
Applicare la striscia adesiva, montare il sensore (direttamente o con il
supporto), tenerlo premuto per 15 secondi e calibrare tramite l’App.
Congurare elements button sotto "Regole".
Plakstrip aanbrengen, sensor monteren (rechtstreeks of met houder),
15 seconden aandrukken en met de app kalibreren. Onder "Regels"
elements button congureren.
Coloque el adhesivo de doble cara, monte el sensor (directamente
o con el soporte), presionando durante 15 segundos, y calíbrelo con
ayuda de la app. Congure button en "Reglas".