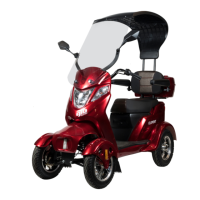
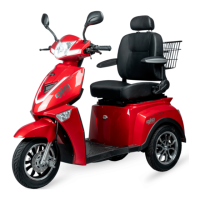
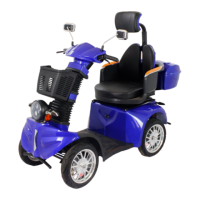
Using the electric features of you Scooter
The Element has several features that have controls also located on the
handlebars. On the right handlebar, the center toggle switch can be set to
all lights ON ( ☼ ) including headlight, daytime running lights only (>DⱭ<)
or lights OFF ( ○ ). When that switch is set to ON ( ☼ ) the headlight
brightness can be switched between low beam and high beam with the
top switch on the left handlebar. (See control diagram).
Your scooter has turn signals located on both the front and the rear. The
center switch on the left handlebar controls the turn signals by pressing it
in the desired turning direction.
Located just below the turn signal switch on the left handlebar is the
button to activate your scooter’s horn.
Your scooter is also equipped with an LCD display located on the top of
the steering column. This display shows your battery level along the
bottom, your current speed and odometer in the center and the current
setting for your speed and headlights on the sides. Please note at this
time the GIO Element only displays speed and distance in kilometers.
Charging your Scooter
Your scooter does not come fully charged and requires a full charge
before your first use. To maintain the batteries life charge after use and
don’t allow the battery to empty completely.
Locate the charging port just below the front of the seat, insert the
corresponding end of your charger and then plug into a standard wall
socket. The light on the charger will illuminate red while your scooter is
charging and will switch to green when charging is complete.
(Approximately 8-10 hours)
Avoid dropping your charger and keep away from moisture & cold
temperatures. Please note that your charger may become warm or emit
sound during charging, this is normal. Oppositely if it doesn’t, this does
not indicate a problem with your charger.
21
 Loading...