2 3
OperatOr, safety, and general maintenance manual:
giO electric bicycles, scOOter type e-bikes and 3 wheeler
TABLE OF CONTENTS
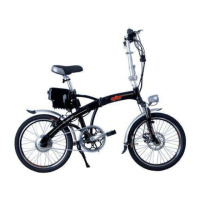
Chapter 1: Electric bicycle and its components.
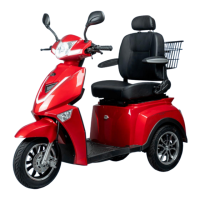
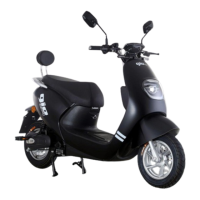
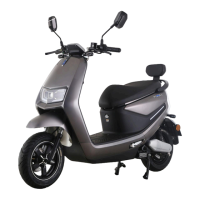
Chapter 2: Scooter type e-bikes and 3-wheeled mobility vehicle, components, and technical specs.
Chapter 3: Assembling an electric bicycle.
Chapter 4: Assembling a scooter type e-bike or 3-wheeled mobility vehicle.
Chapter 5: Initial and ongoing adjustments.
Chapter 6: Operating controls/security features of electric bicycles and scooter type e-bikes.
Chapter 7: Charger and correct usage.
Chapter 8: Battery care and instructions for longer battery life.
Chapter 9: Electric motor care and maintenance.
Chapter 10: Electronic speed controller care and attention.
Chapter 11: Stopping in an emergency.
Chapter 12: Electric bicycle circuit diagrams.
Chapter 13: Troubleshooting.
Chapter 14: New technical points.
Chapter 15: Serial number log, and local dealer or service centre location.
CHAPTERS
Chapter 1: Electric bicycle and its components
Photos and specs of electric bicycles sold in Canada)
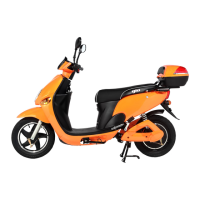
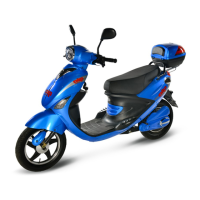
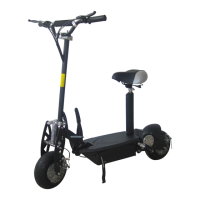
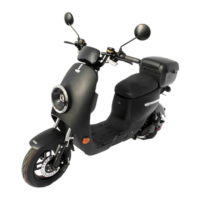
Chapter 2: Scooter type e-bikes and 3-wheeled mobility vehicle, components and tech. specs
(Photos of e-bikes)
PLEASE READ THE FOLLOWING BEFORE USE:
NOTE: BEFORE OPERATING PLEASE READ THIS MANUAL CAREFULLY TO
FAMILIARIZE YOURSELF WITH ALL ELECTRIC BICYCLE COMPONENTS
AND HOW THEY FUNCTION.
1. Please observe all local traffic laws. Remember: ignorance of the law is no excuse.
2. Children of any age, pregnant women, and the elderly should not use an electric bicycle.
3. For safety, the master power key switch should always be off when pushing bike manually.
4. Please check both front and rear brakes before operating and adjust if necessary.
5. Check often for loose fasteners, especially the wheel nuts, handlebars and saddle fasteners.
6. To prevent controller damage please have power switch on whenever bike is being driven.
7. Twist the right side handle grip to go, and combine both front and rear brake levers to stop.
8. For safety when charging please have both the charger and bike in a well ventilated area.
9. Avoid disassembling entire bike or wiring without proper knowledge.
10. Please be responsible and dispose of all old batteries through a local battery recycler.
11. Please consult your local dealer with any other questions.
Note: Some photos are for general reference, and may differ slightly from your model.