use cold lamination if you just finish the job of hot lamination. When Ready
LED turns on in green, put the paper into cold pouch, and insert the pouch
into laminator through Lamination Entry.
HOT LAMINATION
If you press the switch button to "Hot" position, you would have to wait for
about 5 minutes until the Green Ready LED turns on , and then put the
paper into pouch, and insert the pouch into laminator through Lamination
Entry.
CLEAR THE JAMMED POUCH
This laminator is designed with a manual release device to clear the jammed
pouch. When a misfeed or jam occurs, press down "ABS" button and pull
out the jammed pouch.
MAINTENANCE AND WARNING
1. When laminating an important document always do a test pouch (with
blank document) first.
2. To clean laminator exterior ensure the laminator is unplugged and cool.
Use a damp cloth with water. Avoid detergents and solvents.
3. Do not use this laminator in damp conditions.
4. Do not laminate anything that is more than 0.6mm thickness for best seal.
5. Do not laminate heat sensitive paper.
6. Do not insert open side of pouch into lamination entry, it may lead to
jamming or curling inside.
WARRANTY
See ‘Warranties Against Defects’ insert sheet for more information.
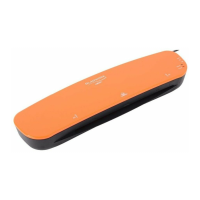
GBC Splash A4 Laminator
Instruction Manual
Model: LM401
Please read this manual carefully before use to ensure you get the best
results out of your machine.
Thank you for buying this GBC SPLASH laminator! This laminator features
a slim, compact and colourful design. It accepts pouches ranging from
75Mic to 125Mic up to A4 in size.