Warning: Performance and reliability issues that result from the controller parameters being changed from
the factory default settings are not covered under warranty.
Controller error codes:
➢ P1- Room Probe Failure
• Check to make sure the probe is connected to the controller
• Check the probe resistance (see “Checking the probe resistance” below)
➢ P2- Evaporator Probe Failure
• This error should only occur on MFV units. Verify that the unit is an MFV model.
• Check to make sure the probe is connected to the controller
• Check the probe resistance (see “Checking the probe resistance” below)
➢ dF- Indicates that the unit is in defrost
• Normal Scheduled defrosts can last up to 20 minutes at the factory default values
• If abnormal defrosts are suspected see “Resetting the program to factory default settings” below
➢ HA- Maximum Temperature Alarm
• The box temperature has exceeded the 75° maximum for more than 30 minutes
• See diagnostic flow charts below
➢ LA- Minimum Temperature Alarm
• The box temperature has deceeded the 25° minimum (-15° for MFV) for more than 30 minutes
• See diagnostic flow charts below
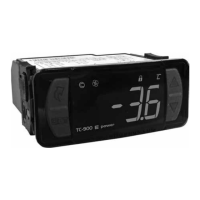
Checking the controller set point:
➢ Press the set button once to display the controller set point. Press again to return to the temp display.
Changing the controller set point:
➢ Hold the SET key for 3 seconds, release, and use the arrow keys to change the set point. The set point can be
changed from 33° to 65° on coolers and 0° to 28° on MFV's
• Factory Default set points are as follows: MFV 10°, Beer 34°, White Wine 50°, Red Wine 60°
• There is a 5° (8° for MFV) differential between cut in and cut out temps. If the controller set point is 35°
the range will be 35° to 40°. (MFV controller set point 10°, range will be 10° to 18°)
Checking the probe resistance:
➢ Verify the probe resistance is accurate at the box temperature
• Use a calibrated thermometer to check the cooler's temperature at the evap inlet where the probe is located
• Disconnect the probe from the controller
• Use a calibrated Ohm meter to measure the resistance of the probe at the box temperature
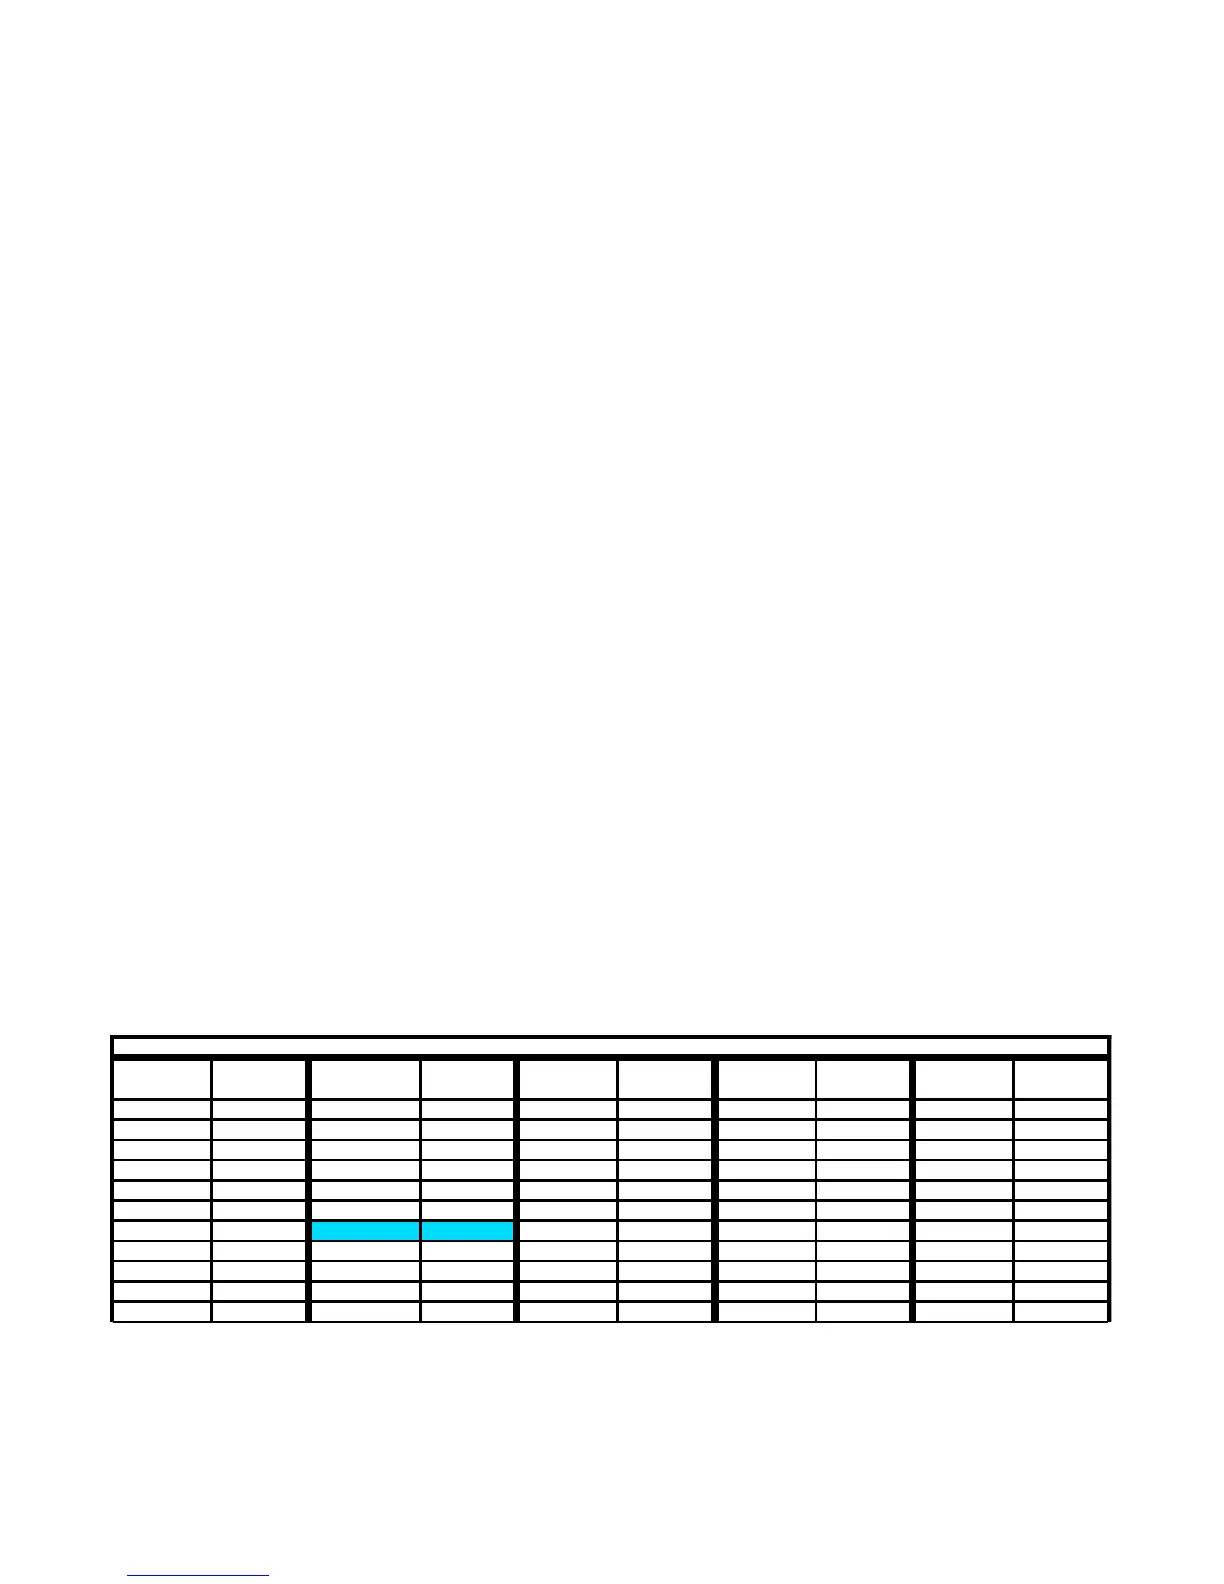
• The resistance of the probe should match the associated box temperature of the following table
➢ Fill a cup full of ice water (use a lot of ice), put the probe into the ice bath, stir for 1 minute, then measure the
resistance with a calibrated Ohm meter. Make sure to keep the probe in the center of the cup.
• The probe should have 27,280 Ohms of resistance in the ice bath. Replace the probe if it is not within 2
degrees Ohms range from Table 1 above.
F-755-028 Rev. E 9/16/16
Table 1
Temp Deg F Temp Deg F Temp Deg F Temp Deg F Temp Deg F
-4 67770 22 34852 42 21596 64 13246 86 8313
-2 64579 23 33900 44 20687 66 12668 88 8008
0 61388 24 33164 46 19778 68 12090 90 7703
2 58197 26 31693 48 18869 70 11626 92 7398
5 53410 28 30222 50 17960 72 11161 94 7093
8 49763 30 28751 52 17233 74 10697 95 6940
10 47332 32 (Ice Water) 27280 54 16507 76 10232 96 6816
12 44901 34 26118 56 15780 77 10000 98 6569
14 42470 36 24956 58 15053 78 9813 100 6322
16 40566 38 23793 59 14690 80 9438 102 6074
18 38661 40 22631 60 14401 82 9063 104 5827
Ohms
Resistance
Ohms
Resistance
Ohms
Resistance
Ohms
Resistance
Ohms
Resistance