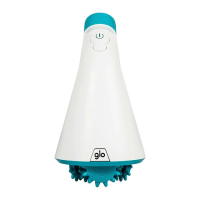
Quick Start to GLO Brilliant
™
Whitening
Get Ready to GLO
®
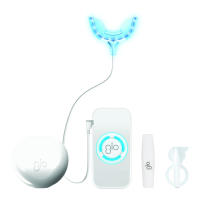
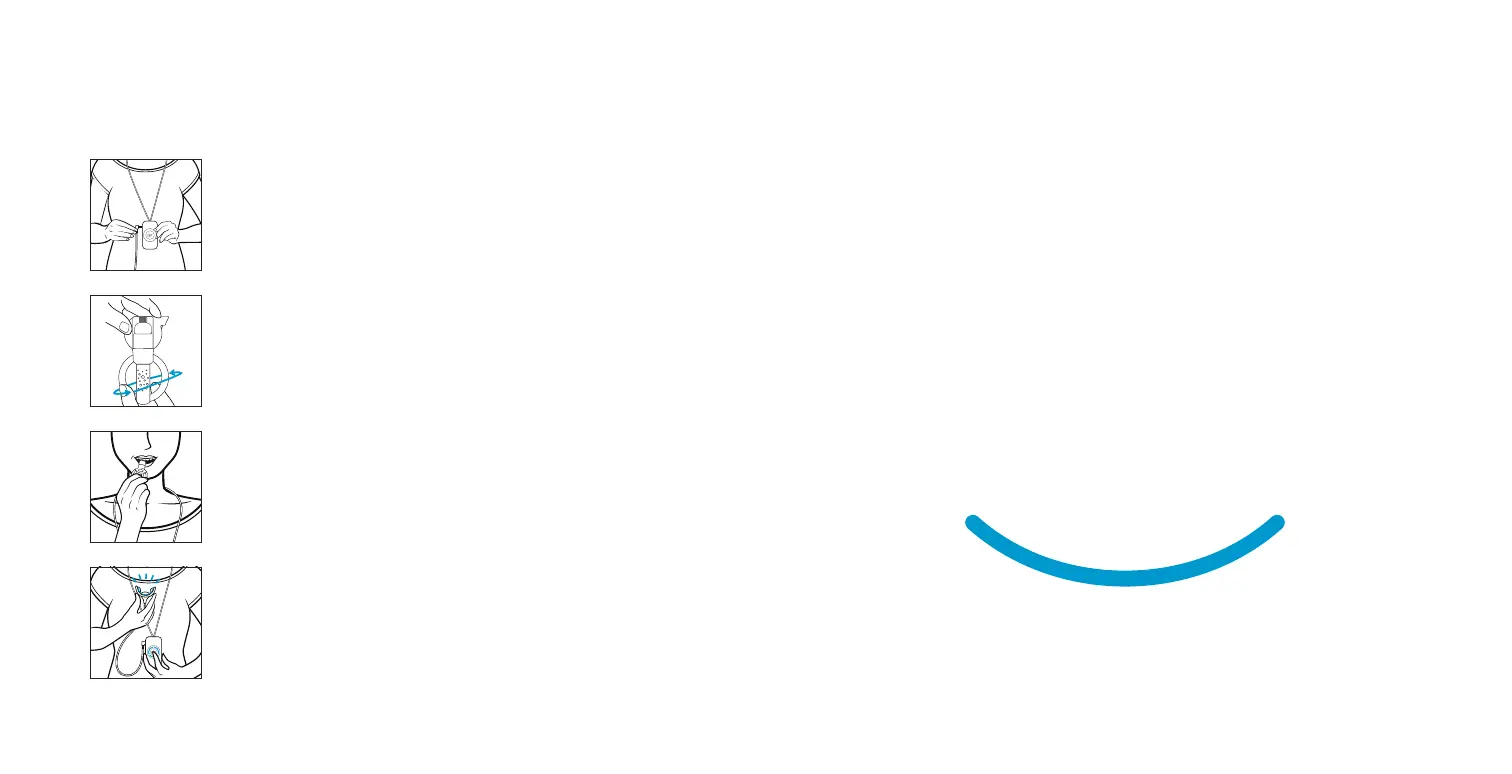
Start with a fully-charged control and place it around your neck.
Remove mouthpiece from case and rmly attach it into the side
of the control.
1 Apply Lip Treatment & Open G-Vial
Start with a fully-charged control and place it around your
neck. Remove mouthpiece from case and rmly attach it into
the side of the control.
2 Apply Whitening Gel
In a circular motion apply a thin layer of gel to the top and
bottom teeth, fronts only. Gel will foam.
Tip: Use one G-Vial for up to four whitening applications
in the session. Apply GLO Lip Treatment before each
application.
3 Press GLO
& Whiten
Press the GLO button on the control, and your mouthpiece lights
up a brilliant blue. Place mouthpiece in your mouth. The device
gently warms up with each application. After eight minutes,
your device will blink and automatically shuts off.
Tip: It is ok to swallow – the gel stays on your teeth. Repeat for
a total of four back-to-back applications
How to GLO
®
You are now hands-free and have eight minutes to multitask.
Apply a facial mask, answer emails, pack a lunch!
After each 8-minute application, spit out excess saliva – no need
to rinse your mouth. Rinse mouthpiece in warm water and begin
your next application. Repeat for a total of four back-to-back
applications using one G-Vial – it’s just 32 minutes to GLO and
a more brilliant smile!
When complete, rinse mouthpiece and place back in its case. Whiten
for ve consecutive days, and depending on starting shade, you can
whiten up to 10 days in a row. Your GLO Device will keep your smile
white all year long. Purchase extra G-Vials to keep your GLO.
Get ready to smile more – it’s never been easier!
 Loading...