12
❶PUSH BUTTON: It has two functions. 1 On/Off: Turns the device on and off. 2 LED therapy selection: press to change the LED light (red, green or blue).
❷INTENSITY SELECTOR: Rotates to increase or decrease the intensity of microcurrents and facial massage.
❸INDICATOR LIGHT: Indicates if the device is on and the selected intensity.
❹CHARGING PORT: Connect the USB cable to charge the battery (1.5 hours face with 5V/2A charger). After charging, remove the USB cable.
❺BATTERY INDICATOR LIGHTS: Blink during charging. Charging is complete when all 4 battery LED indicators are fully lit and have stopped flashing. The time
of use will depend on each attachment, as not all of them consume the same energy. Important: Fully charge for the rst use. Only works without cord.
❻USB CHARGING CABLE ❼STAND ❽ACOUSTIC WARNER: helps the application routine. 1min for facial massage. 30 sec for phototherapy.
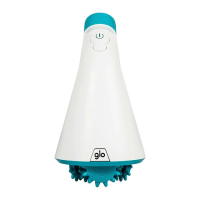
❾MASSAGE: Massage head ❿MAGNETIC AXIS: For easy positioning of the MASSAGE head. ⓫GLOW: PBM (Photobiomodulation) head.
⓬LIFT: Microcurrent head ⓭PLACEMENT GUIDE: Helps to place the LIFT microcurrent head and the GLOW light therapy head in their correct position.
⓮ELECTRICAL CONNECTOR: The LIFT and GLOW heads must fit with their electrical connection on the base to function.
⓯LOCK SYMBOLS: help to place the head and fix it. ⓰BEAUTY BAG: elegant and convenient for storage and travel.