Please carefully read the instructions before assembling and using the product. Keep the
instructions for future reference.
Be careful when unpacking and assembling the product.
This product must be assembled by a responsible adult.
Remove all the parts which are not necessary for play before giving the product to your child.
Warning! Secure the child in the harness at all times.
Warning! Do not step or stand on back of frame which will cause product overturned.
Tricycle mode: Warning! Not to be used by children over 36 months; insufcient strength to support.
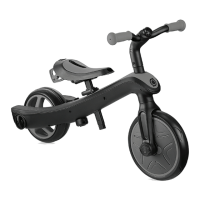
HOW TO ASSEMBLE EXPLORER TRIKE 3in1
1. The front wheel’s fork needs to be aligned with the frame of the trike; then insert the stem of
the front wheel’s fork into the frame.
2. Take the handlebars and align them with the front wheel by making sure the stem of the front
wheel’s fork slots into the handlebars’ column. Make sure the handlebars are placed in the
correct direction with the top column facing outwards, away from the seat. Push the handlebars
down until you hear a click to securely x them in place.
3. Turn the pedal locks of the front wheel in the direction of the unlocked symbol; place the
pedals in the front wheel’s slots. Turn the pedal lock in the direction of the locked symbol to
secure the pedals in the front wheel. You may need to hold the opposite pedal lock to ensure
that the pedal doesn’t spin freely.
4. To install the rear wheels, you need to unscrew the knob at the end of the wheel assembly. The
brakes of the rear wheels must be pointing inward when they are installed for all trike stages.
Place the wheel in the hexagonal slot at the rear of the trike frame and ensure that the brake is
upwards and doesn’t touch the ground. Once the wheel is in the correct position, you need to
re-screw the knob back into the wheel slot to ensure the wheel will remain securely in place.
5. To insert the saddle, you must rst open the clamp and press the bottom spring-loaded button
on the saddle stem. Then, push the saddle down until you hear a click. Close the clamp. The
saddle is adjustable with 2 available heights (31cm; 34cm). The minimum insertion depth is
where “MAX” is marked on the stem when placing the top spring-loaded button in the saddle’s
stem hole. This is the highest height of the saddle. The maximum insertion of the saddle is
pushing the saddle down until the saddle’s stem is all the way down. This is the lowest height
of the saddle.
6. Take the footrest and slide it up the saddle stem. You must press the spring-loaded button at
the bottom of the saddle stem; the footrest is secure once you hear a click and twist the knob
under the footrest to 90 degrees. The footrest must be facing forwards, not backwards, to be in
the correct position.
Warning! Check footrest is securely locked before every use.
7. To assemble the parent handlebar, take the top part of the parent handle, where there is the
black handle, and place it into the bottom shaft by pressing the spring-loaded button. There
are 2 available heights on the parent handlebar (92cm; 96.5cm). Make sure to align the spring-
loaded button with the holes; you must hear a click to ensure the handle is securely in place.
To secure the parent handlebar to the trike, carefully place the shaft through the saddle’s hole
and into the hole on the trike’s frame. Once you hear a click, the pole is secure.
To remove the parent handle, you must press the red button under the trike’s frame; then
release the shaft and carefully lift the parent handle out.
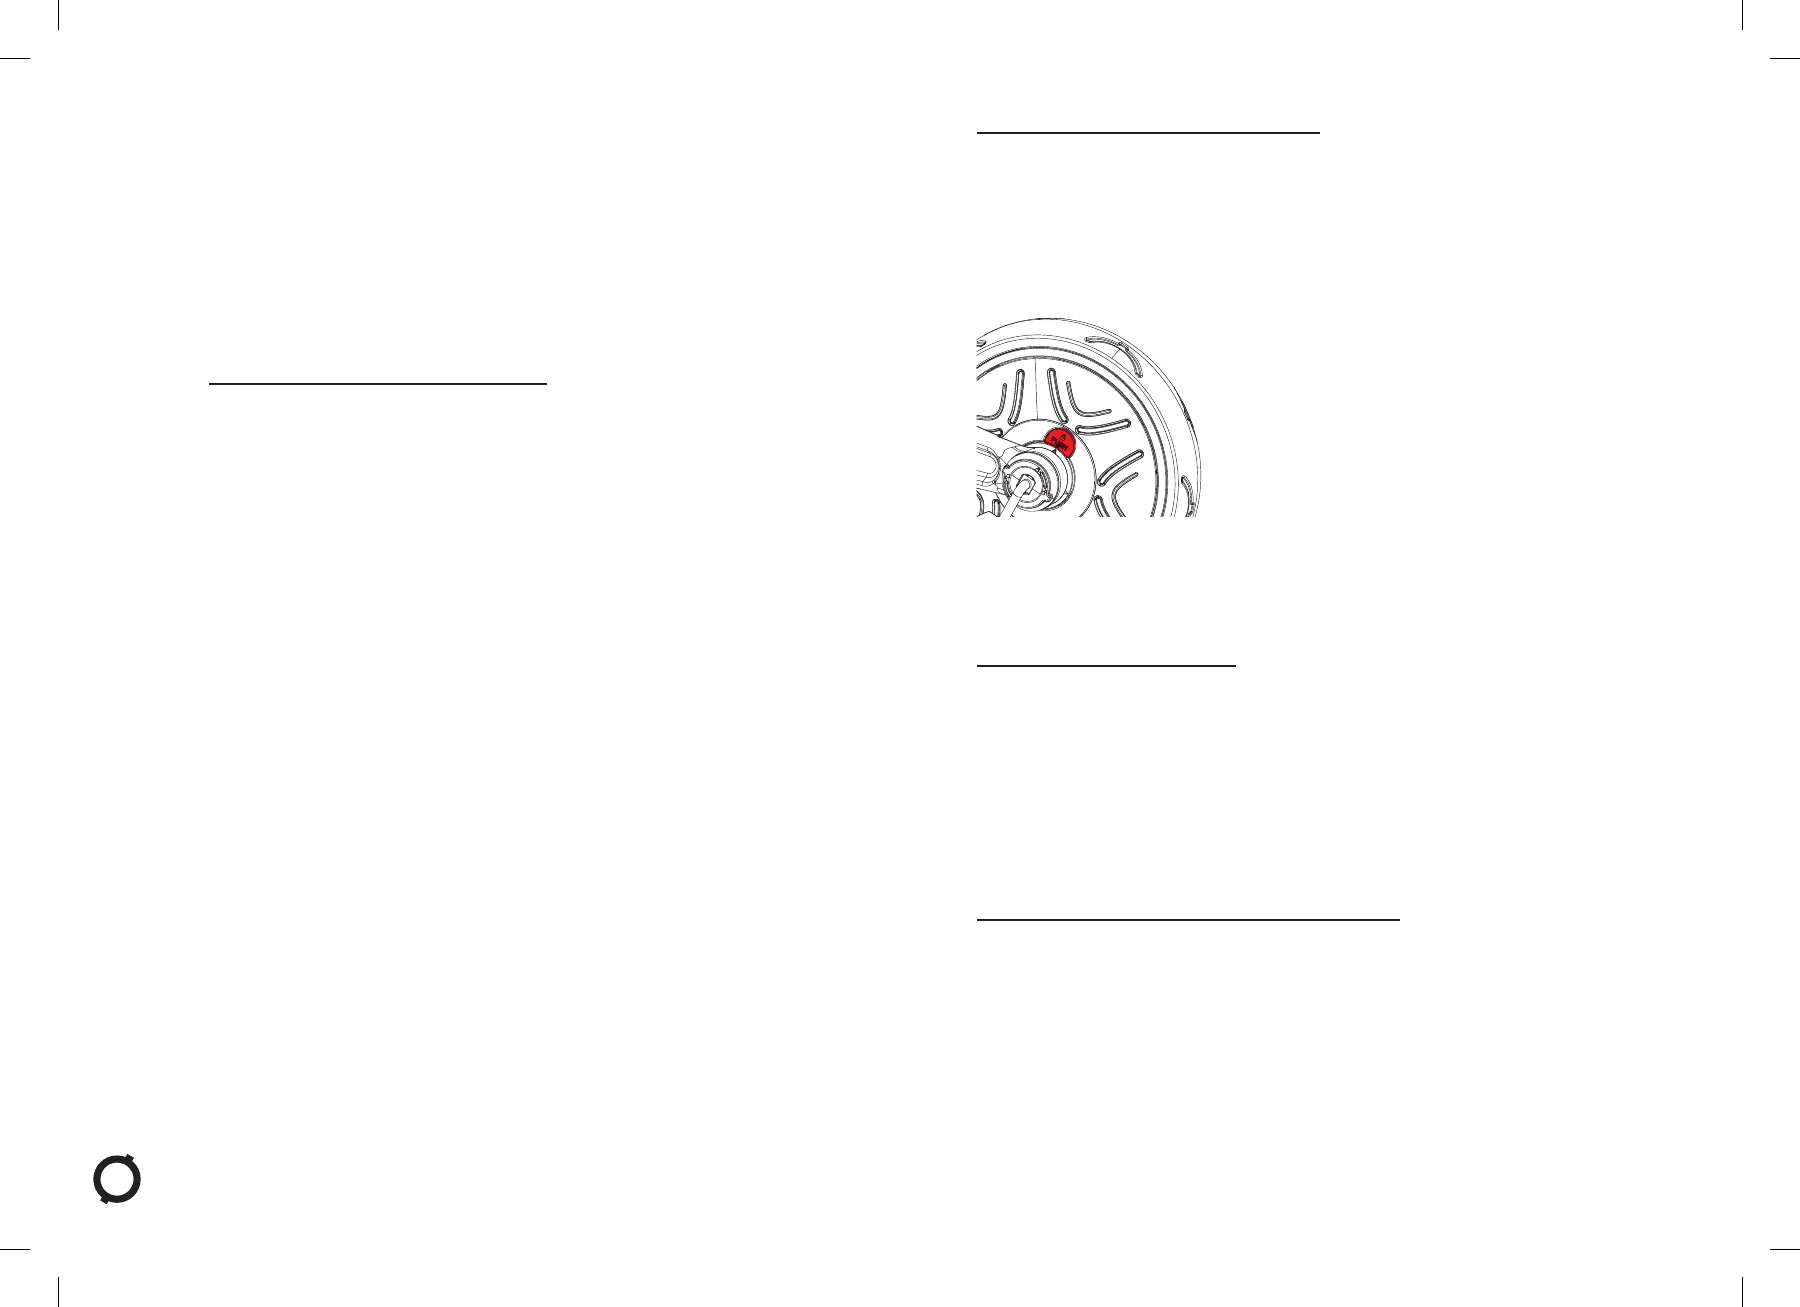
HOW TO OPERATE THE FREEWHEEL MODE:
The front wheel has two modes of operation.
Unlocked mode: when the pedals are turning independently from the front wheel.
Locked mode: when the pedals and the front wheel are connected together and move as one.
To put the front wheel in Locked mode, you need to align the spot on the red button to the arrows on
the inner hub; press the red button on the locked symbol side until you hear a click.
To put the front wheel in Unlocked mode, you need to align the spot on the red button to the arrows
on the inner hub; press the red button on the unlocked symbol side until you hear a click.
Warning! Freewheel function is to be used only with the parent handle (Push bar).
Warning! Check that the push bar (parent handle) is locked in position before use.
Warning! Automatic freewheeling ensures the tricycle can be pushed safely while the child’s feet
rest on the pedals without the pedals turning.
HOW TO OPERATE THE BRAKES:
The following explanation is only applicable for EXPLORER TRIKE 3in1 guided trike mode.
• To operate the rear wheels’ brakes, you need to push the rear brakes down by applying
pressure with your foot. You must always use both rear brakes when you need to stop the
tricycle from moving. The brakes are locked and the tricycle will remain stationary once you
hear a click after pushing down both brakes.
• To unlock the brakes, you need to fully lift up both brakes with your foot. The tricycle is mobile
once you hear a click after pushing up both brakes.
• The left brake controls the left-hand side rear wheel and the right brake controls the right-hand
side rear wheel.
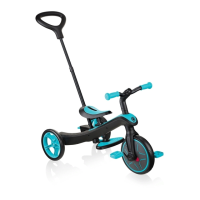
TRANSFORM GUIDED TRIKE TO TRAINING TRIKE (A-B)
When the child is old enough to pedal, take off the push bar, and put the front wheel in locked mode
to allow pedalling.
1. Press the red button at the bottom of the frame to remove the parent handle.
2. Remove the footrest by turning the knob 90 degrees, then press the spring-loaded button on
the left-side of the saddle stem.
You can store the footrest at the back of the seat by sliding it into its dedicated spot.
Warning! Remove footrest when the child’s heel is interfering with it while pedaling.
8
ENGLISH
 Loading...