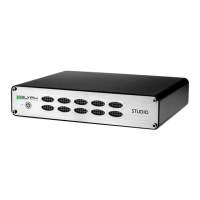
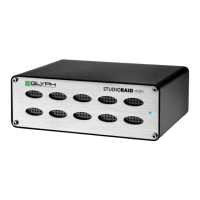
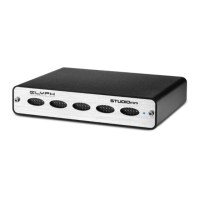
StudioRAID Quickstart
Here are instructions for changing the RAID mode of your StudioRAID.
Note: By following these instructions you will be erasing any data previously stored on the StudioRAID.
Please back up before proceeding.
-If connected, safely eject
StudioRAID from your desktop.
-Power off StudioRAID and disconnect all FireWire, USB, and eSATA cables from the unit.
-Move the recessed switch to your desired setting on the rear of the device, either a RAID 0 or RAID 1.
You may need to use a paper clip or similar tool as the switch is recessed.
-Next, connect the power adapter only. Do not power on the StudioRAID yet.
-Using a paper clip or other tool, press and hold the "SET" button on the back panel.
-While continuing to hold the "SET" button, power on your StudioRAID and slowly count from 1 to 10.
-Release the "SET" button and reconnect your USB 3.0, FireWire, or eSATA cable to the StudioRAID.
That's it! Your StudioRAID should now show up in Disk Utility (on Mac) or Disk Management (on Windows)
and be ready to format. You can always call us at 800-335-0345.
4. Power up the StudioRAID and power up your computer.
5. If you’re using Mac OS X, the icon should mount on your desktop. If you’re using Windows, please follow
the formatting instructions for Windows later in this manual.