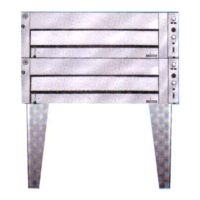
3. INSTALLATION INSTRUCTIONS
INSTALLATION OF THE OVEN
A. Before Assembly and Connection
1. Check for damage,
2. Check crates for handling damage. After carefully uncrating, check for
“concealed” damage. Report any damage immediately to carrier and to
dealer.
3. Check electrical supply.
B To assemble Legs
1. Tilt oven over to left hand side and attach two legs on right hand side with four
(4) bolts.
2. Lift up left hand side of oven and attach legs there the same way.
PLEASE NOTE: Level the oven by adjusting the socket feet.
C Electrical Connection
(FOR AUTHORISED TECHNICIANS ONLY)
1. Make sure that it corresponds with the specified rating plate.
2. Connect supply conduit to control panel.
3. Connect supply lines to the terminal block in the oven.
4. When the circuit breaker is on all power is fed to all components.
5. Ego simmerstat overrides the thermostat so in heating up the simmerstat
should be on full for the thermostat to operate.
NOTICE
PLEASE RETURN YOUR WARRANTY CARD
FAILURE TO DO SO WILL VOID
WARRANTY ON THE EQUIPMENT
IM010B1/p5