
C
Crystal JamesAug 16, 2025
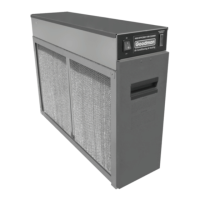
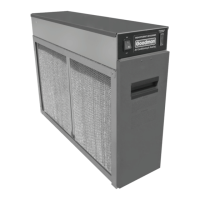
What to do if my Goodman Air Cleaner unit does not function correctly and both power and performance lights are OFF?
- EEmily PattersonAug 16, 2025
If your Goodman Air Cleaner isn't working and both the power light and performance indicator light are OFF, first ensure the system fan is turned on. Next, check the wiring to make sure it's properly connected and that the plug is inserted into a powered receptacle. If those aren't the issue, test the power switch for continuity with an ohmmeter and replace if defective. Finally, check the safety interlock by removing the door and pressing it with a screwdriver; if the lights come on, bend the interlock lever towards the front and close the door.