2019 | Condential and Proprietary | Do not distribute
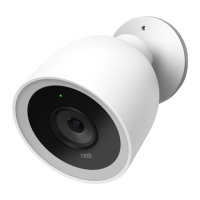
This is your comprehensive guide to installing the Nest Cams.
Don’t have time to read through the steps? Go to the Additional Resources section to
watch the installation videos for each Nest Cam.
CONNECT CAMERA TO THE APP AND WI-FI
Impoant: Conrm with the customer that the live feed is coming through crystal clear from
Nest Cams chosen location. Walk it up the ladder or hold it in place and have the customer check
the feed on their device. If signal strength is weak, look for another acceptable location or take
the oppounity to talk to the customer about the benets of full home mesh-wi coverage
provided by Google Wi.
Step 1: Sta with the Nest app
Conrm the phone or tablet is connected to the same Wi-Fi network as the camera
If customer is new to Nest:
● Download the app from the Apple App Store or Google Play.
● Open the app and create an account.
● Tap Add New on the Nest app home screen.
If customer already owns a Nest product:
● Tap Seings in the top right corner of the app home screen.
● Select Add product .
Step 2: Scan the QR code and pick location name
The app will ask you to scan the camera’s QR code with the phone. You can also simply tap Continue without
scanning and enter the camera’s serial number and entry key instead. These numbers are next to the QR code.
The app will then ask you to pick a location name from a list, or type in your own by selecting Custom at the boom.
Impoant: Have the customer write down the serial number and entry key, and save this information with their
impoant documents or use an online storage service like Google Drive. Having these numbers on-hand will be a
big help when troubleshooting.
Installation guides
Step by step
 Loading...