2019 | Condential and Proprietary | Do not distribute
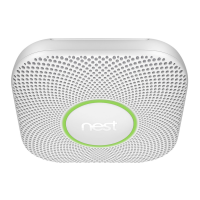
Remove the clear plastic dust cover and hold Nest Protect against the backplate
and turn it clockwise. You’ll feel the tabs drop into place and grip the backplate.
Continue turning until it’s square with the wall or ceiling. Install the rest of the Nest
Protects if you have more.
Tip: To remove your Nest Protect (for cleaning or baery replacement), turn it
counterclockwise until it disconnects from the backplate.
Step 5: Install the Nest Protect
Press the buon on the Nest Protect and it will tell you what to do next. If there
are more than one Protect, the others in the home should speak up and conrm
they’re all connected.
Note: All the Nest Protects can communicate if they’re within 50 (15 m) of
each other inside a home. If wireless inteerence or range is an issue, add more
Nest Protects..
Step 6: Press to test
Screw the Nest backplate to the ceiling or wall using the included screws. The Nest screws
are self-tapping, so there’s no need to drill pilot holes in wood, plaster and other relatively
so materials.
Tip: The backplate’s Nest logo must face away from the ceiling and towards the user, or you
won’t be able to aach the Nest Protect to it.
Step 4: Install the Nest Protect backplate
 Loading...

