www.ga
insc
h
a
.c
n
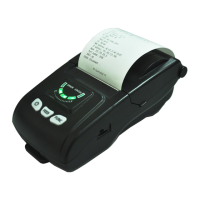
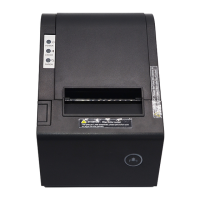
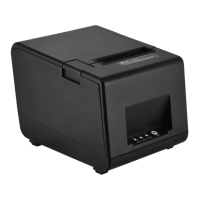
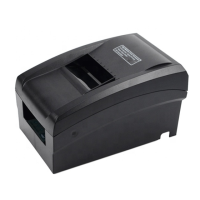
Printer parts:
1.Error indicator (red)
2.Battery status indicator (Green)
3.Status indicator (Blue)
4.Power button
5.Feed button
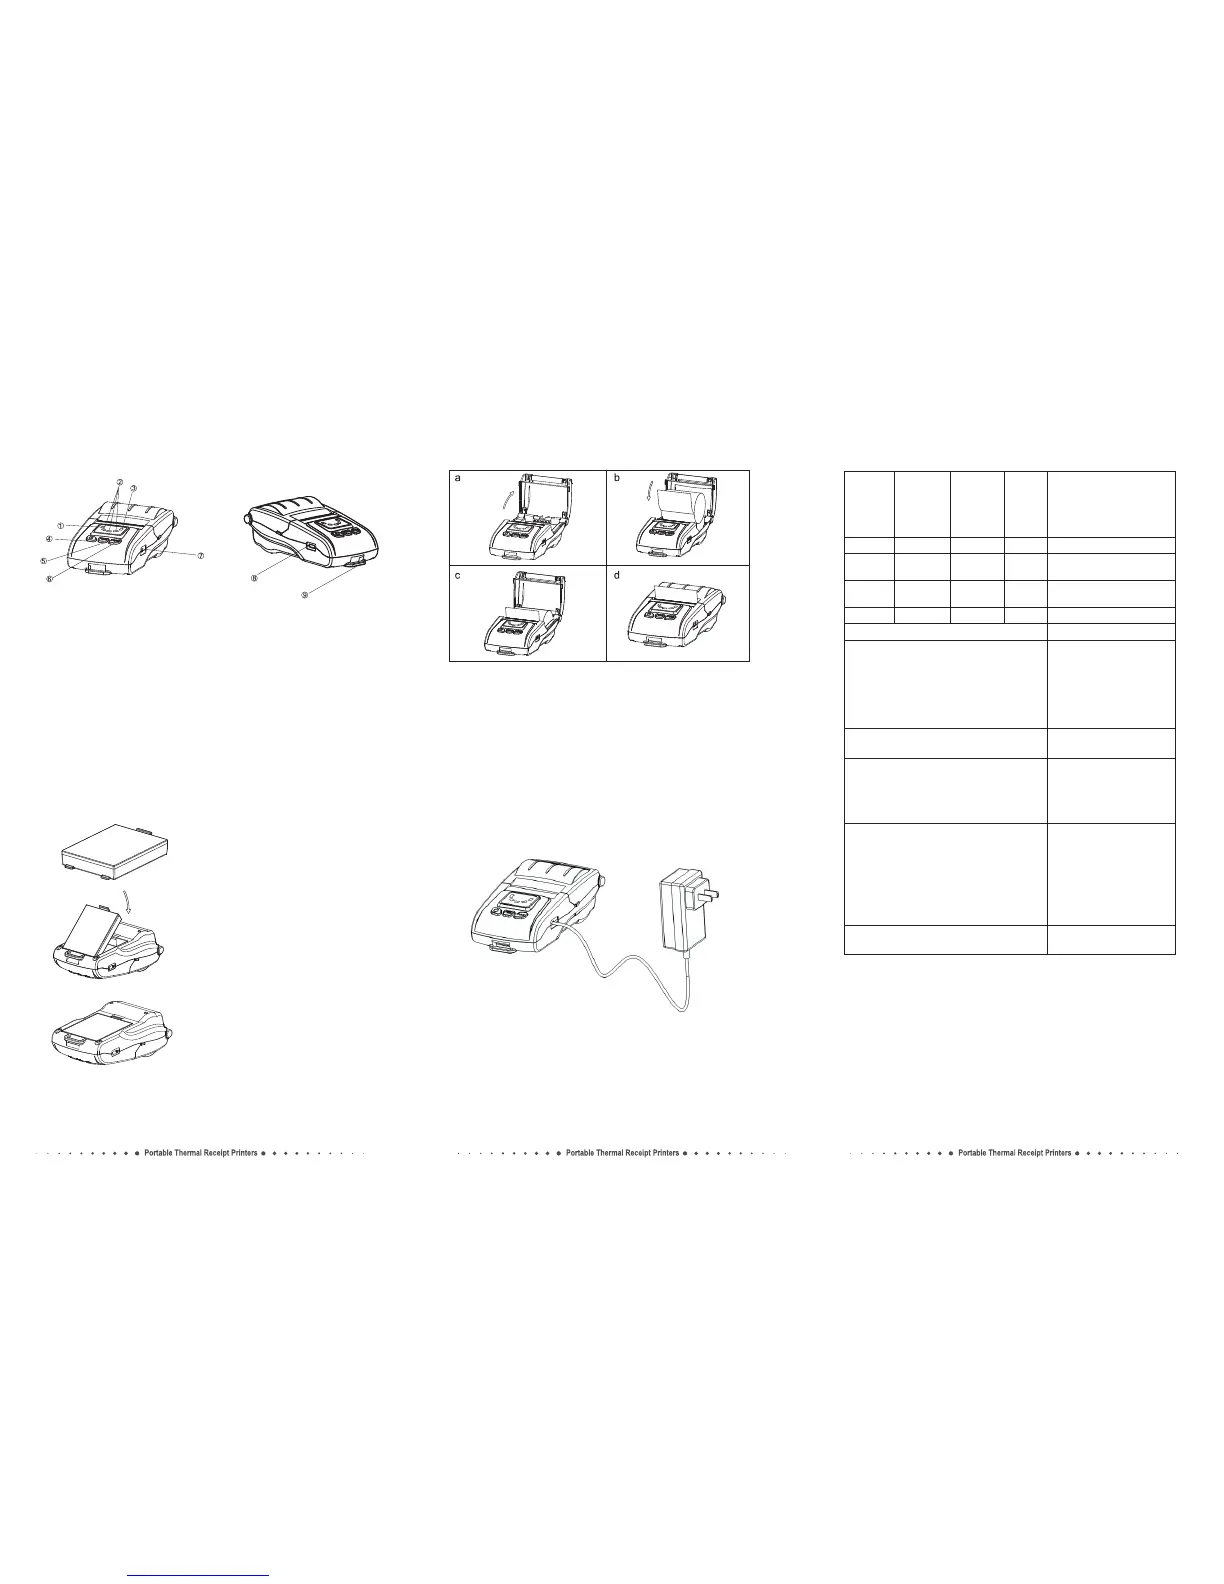
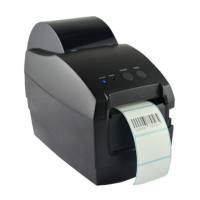
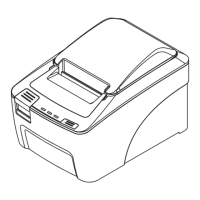
Paper Roll Installation
a.Open the top cover as shown in the picture.
b.Install the paper roll correctly as shown in the picture.
c.Pull the leading edge 5mm of the paper outside the slot.
d.Close the top cover.
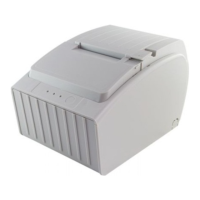
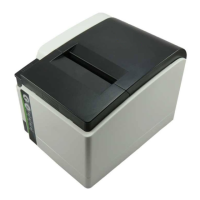
Battery Installation
1. Specified battery.
2. Install the battery as the picture
showing direction.
3. Push the battery into the slot until
you hear it snap in place.
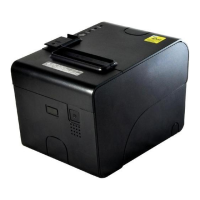
Battery Charging
Indicators, Beeper and Buttons:
1. Turn off the printer power.
2. Plug the supplied power adapter into the printer ’s power
input socket properly, and then connect AC power.
3. Turn on the printer power and then it starts to charge.
NOTE: Charge the battery must be in the state of power-on.
Printer
Input: AC100-220V
Output: DC9V/1A
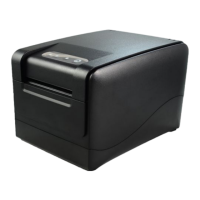
6.Function key button
7.Power port
8.USB port
9.Hook
Status
ERROR
indicator
(Red)
Battery
status
indicator
(Green)
STATUS
indicator
(Blue)
Beeper
OFF
Blinking
OFF
OFF
OFF
ON
ON
ON
OFF
OFF
OFF
ON
No
Yes
No
No
Printer power off.
Printer power on, but out
of paper.
Printer is powered on and
in normal print mode.
Bluetooth/WiFi connected.
Long press the power button for 3 seconds.
Note:The printer can not be printed without using battery.
Printer power ON/OFF.
Pr e s s th e P OWE R b utt o n and F U NC
b u t t o n s i m u l t a n e o u s l y, w a i t f o r t h e
green lights light in turn, then release the
POWER button firstly. the red light and blue
light lights up in turn, after the blue light
dims, re l e a s e t h e F U N C bu t t o n ; r e d
light dims, the printer motor will vibrate.
Factory data reset
To feed paper manually, press the FEED
button.
Paper feed
Hexadecimal Dumping
Press th e FEED bu tt on and the PO WE R
button si m u l t a n e o u s l y, w a i t f o r a l l th e
lights are bright, then release the POWER
butto n firs tly, wait for STATUS indicator
(blue light) dims, then release the FEED button.
Print Self-test page
Press the FEED button and the POWER
button simultaneously, wait for all the
lights are bright, then release the POWER
bu t t o n firstly ; af t e r th e b l u e l i g h t
and red light dims in turn, then release the
FEE D butt on , me anwhi le the pri nter
prints out "Hexadecimal Dump" page, then
printer is changed to Dump mode.
Interface information
Turn the printer, press the function
button.
on