To download this User’s Guide in English, Spanish, or French, or to get answers to frequently asked questions, visit the support section at:
www.gpx.com
Para descargar este Manual del Usuario en inglés, español y francés, o para obtener respuestas a preguntas frecuentes, visite la sección
de apoyo en: www.gpx.com
Pour télécharger ce guide de l’utilisateur en anglais, espagnol ou français, ou pour obtenir des réponses à des questions fréquemment
posées, consultez la rubrique d’assistance sur: www.gpx.com
For Warranty Information and the most up-to-date version of this User’s Guide, go to www.gpx.com
Customer Service: 1-888-999-4215 | Email Support: prodinfo@dpiinc.com | Email Parts: partsinfo@dpiinc.com
Copyright © 2018 Digital Products International (DPI, Inc.) All other trademarks appearing herein are the property of their respective
owners. Specications are subject to change without notice.
International Support
Protect for Today
Made
Green
Saving Radio Presets
1. Tune to the desired AM or FM frequency (see above steps).
2. Press and hold the Prog button. The display will begin ashing a preset. Ex: "P01".
3. Press the
buttons to select the preset to be saved. (P01 to P23).
4. Press the Prog button to save that preset.
5. With the radio ON, press the Play button to cycle through radio presets.
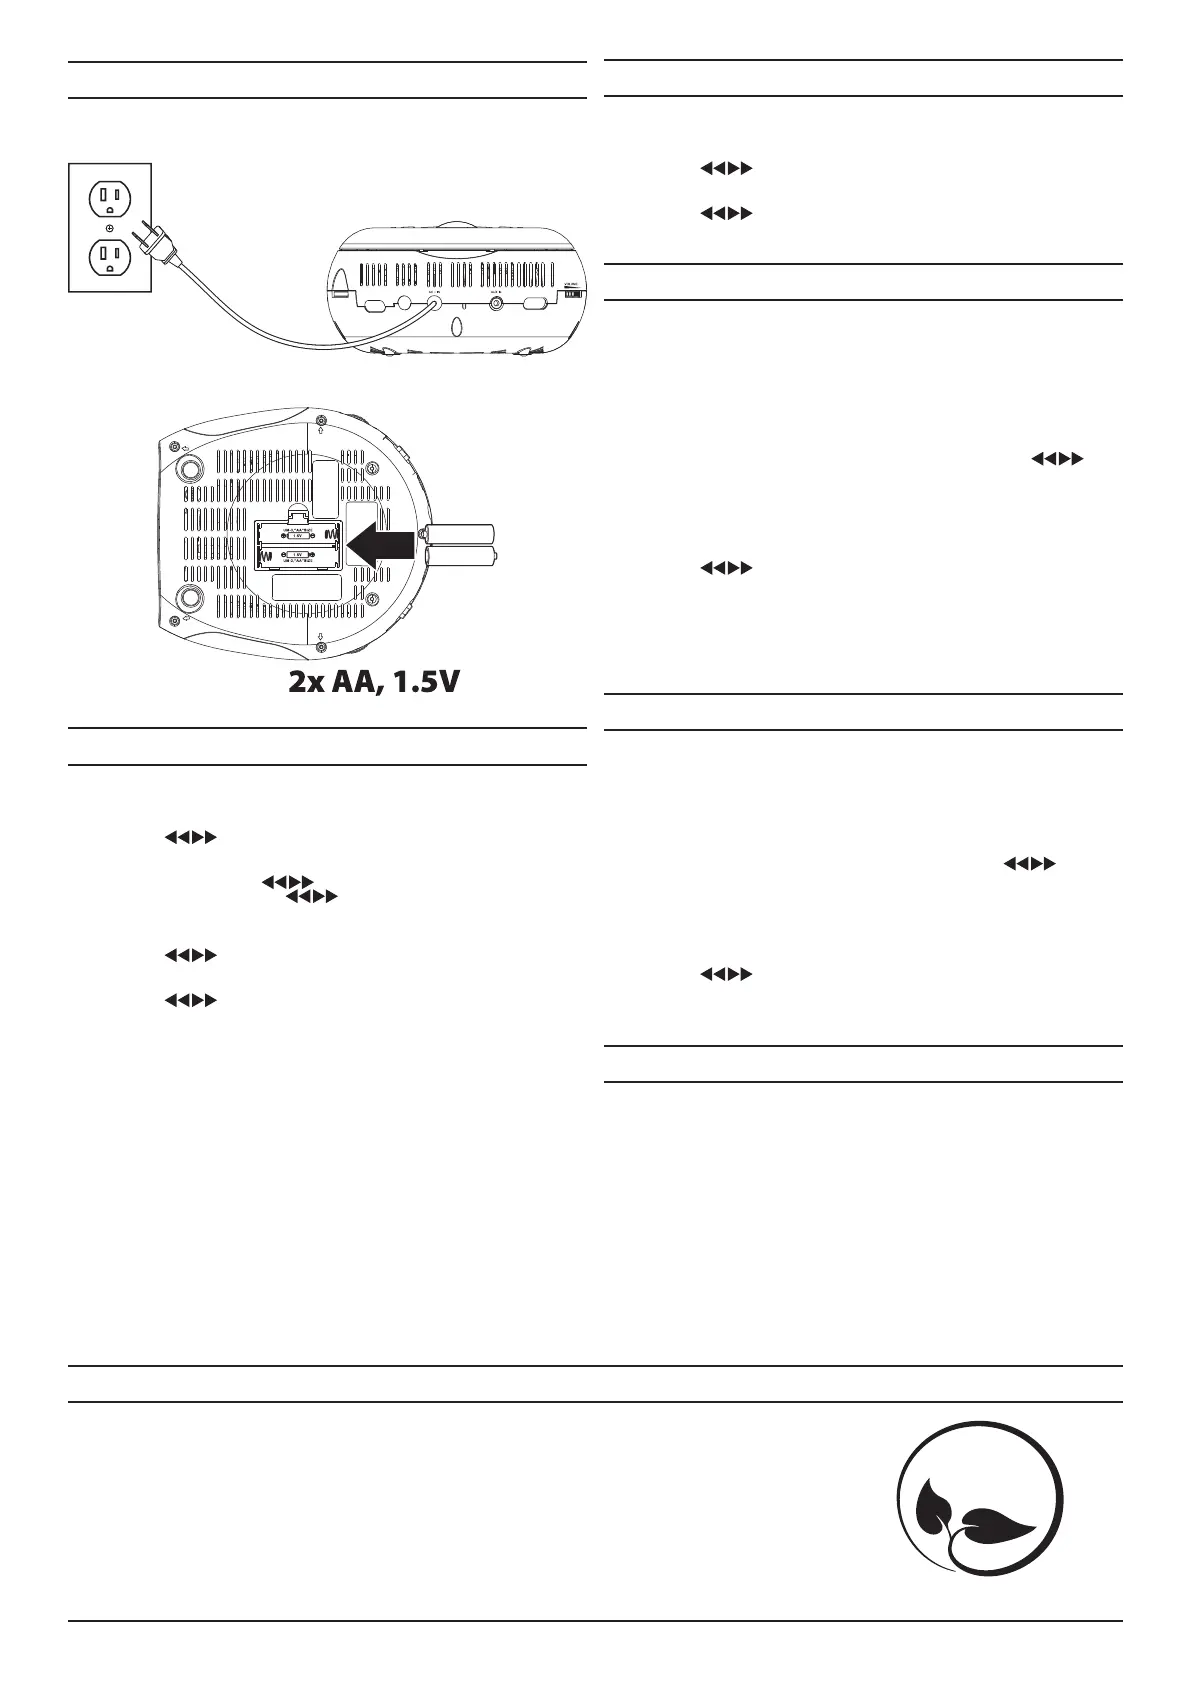
Power and Batteries
Requires 2 AA, 1.5V batteries (not included).
Plug the AC power cord into a standard power outlet.
Clock
Setting the Clock
1. With the unit OFF, press and hold the Stop/Time button until the display ashes.
2. Press the
buttons to adjust the hour. Note the PM indicator on the display.
3. Press the Stop/Time button to set.
4. Press the
buttons to adjust the minute.
5. Press the Stop/Time button to nish setting the time.
Alarm and Sleep Timer
Setting the Alarm
1. With the unit OFF, press and hold the AL1 or AL2 button until the display ashes.
2. Press the
buttons to select CD, buzzer (bb), or the radio.
3. Press the AL1 or AL2 button.
4. If using the radio, press the
buttons to adjust the radio frequency.
If using the CD player, press the
buttons to select the CD track. Be sure a CD is
loaded in the unit.
5. Press the AL1 or AL2 button.
6. Press the
buttons to adjust the hour. Note the PM indicator on the display.
7. Press the Stop/Time button to set.
8. Press the
buttons to adjust the minute.
9. Press the Stop/Time button to nish setting the alarm time.
10. Use the Volume dial to set the volume of the alarm, except when set to Buzzer.
11. Once the set alarm time is reached, the alarm will sound. To set the other alarm, follow
the above steps and choose the alarm not currently set.
Snooze and Alarm Reset
After the alarm sounds:
Press the Snooze button to delay the alarm for several minutes.
OR
Press the Power button to turn the alarm o until the set alarm
time is reached again.
Disabling the Alarm
Press the AL1 or AL2 buttons to turn the alarm ON or OFF.
FM Radio
Radio Reception
An FM antenna is built into the clock radio. To improve radio reception, adjust the position of
the clock radio.
Tuning the FM Radio
1. Press the Power button to turn the unit on.
2. Press the Source button to switch to Radio mode, then press the
buttons to
select the desired frequency, or press and hold to scan for the next available frequency.
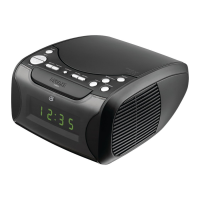
CD Player
Note: This unit is not compatible with MP3 CDs.
Loading and Playing a CD
1. Open the CD Door.
2. Place a CD into the unit, label side facing up.
3. Close the CD Door.
4. Press the Source button to switch to CD mode.
5. Press the Play/Pause button to begin playing the loaded CD. Press the
buttons to skip tracks or press and hold to search through a track.
Programming a CD
1. Press the Stop button to stop the CD during play.
2. Press the Prog button, “P01” will begin to show on the display.
3. Press the
buttons to select a track.
4. Press the Prog button to save the selected track to the program. Repeat this step to
program up to 20 tracks.
5. When you are nished programming, press the Play button to begin your program. The
Prog Indicator will light on the display.
6. Press Stop to stop playing. Press Stop again to cancel the program, the Prog indicator
on the display will turn OFF.
Aux In
Using the Audio Input
Requires a 3.5mm audio cable (not included).
1. With the unit powered ON, connect a 3.5mm audio cable to the Aux In on the rear of
the unit and the audio output on an audio device. The unit will automatically detect
the connection and switch to AUX mode.
2. Use the controls on the connected device to play your audio through the unit. Use the
Volume dial to adjust the volume.
Setting the Sleep Timer
1. Press the Sleep button to set the sleep timer (90, 60, 30, 15 min or OFF).
2. Once the set sleep time has expired the clock radio will automatically power o.
 Loading...