14
CLEANING
• Before cleaning, turn off and unplug the appliance.
• Remove Bean container by turning it counterclockwise until loose.
• Remove the Coffee container and lid assembly.
• Remove lid and lid cap.Wash removable parts by hand or in the dishwasher.
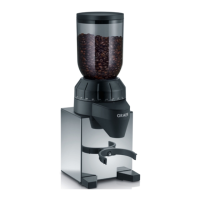
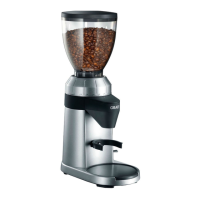
ASSEMBLING YOUR COFFEE GRINDER
Place the coffee grinder base on a at, level surface. Carefully screw in the assem-
bled bean container into the well on the top of the coffee grinder. Place the lid
onto the top of the bean container. Plug the appliance into a 220-240 Voltage 50
- 60 Hz AC outlet only. Your coffee grinder is now ready for use.
USING YOUR COFFEE GRINDER’S CONTROL
The control buttons are located on the top of the coffee grinder.
• Be sure the unit is unplugged. Put the bean container on top of the coffee grin-
der. Turn the bean container clockwise until the bean container clicks into place.
• Remove Bean Container lid.
• Fill Bean Container to top, making sure that the lid closes securely.
(Max ll is 225 g).
• Plug Cord into outlet.
• Turn the Bean Container to clockwise for more ne grind, and anticlockwise for
more coarse grind. Note: Use coarse grind for percolator/French press, medium
grind for automatic drip, and ne grind for espresso.
• Position Start / Stop button to desired number of cups. Take into account that,
based on personal preference, you can make your coffee stronger or weaker by
adjusting cup selection.
• Press and release Start / Stop button to begin grinding. Please note: A safety
feature of the grinder does not allow it to operate unless the Bean Container and
Coffee Container are properly in place.
• Grinding will automatically stop upon completion.
• To manually stop the operation, press and release Start / Stopp button and the
unit will stop.
• Remove Coffee Container, make coffee, and enjoy!
AFTER-SALES SERVICE
If your Graef unit is damaged, please get in touch with your specialist dealer or
with a Graef after-sales service at +49 (2932) 97 03 688 or write an e-mail to
service@graef.de.