4.12
4.13
PCF
PU
T
CPV
PLAYA PLAYA
PU
PCF
2º
T
2º
PCF
PV
PU
1º
EN
* Important! Before assembly, deburring,
using a file and sandpaper, the end of each
edge.
Screw the upright support (PV) to the appro-
priate bottom and top joining-pieces with 3 T
screws each. Repeat this procedure until the
* Important! Before assembly, deburring, us-
ing a file and sandpaper, the ends of each
PLY.
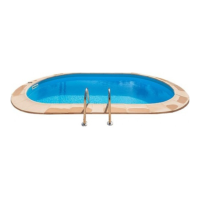
Installing the trim pieces PLAYA (PLY):
Take care that the trim pieces do not fall into the
pool during fitting, as they may damage the lin-
half-circle is completed. Join the section-piec-
es together and check by looking at the rib-
bing on the wall-plating that the upright
supports are properly vertical.
NB: Check that the 3 + 3 (top and bottom) T
screws are all fitted on each upright support
er. Fit each trim piece supported on two consec-
utive PU with the rounded part outwards. Each
trim piece has four holes (two inside and two
outside) for fixing to the union pieces. Start fix-
ing each trim piece to the union pieces, but only
place the inside screws (1) on each side (and do
not tighten down, so that there is some flexi-
bility between them). When all the trim pieces
and joining-piece all around the pool. Fill the
pool to a depth of 2 cm of water and extend the
liner to eliminate all wrinkles.If the water does
not lie evenly over the whole of the pool bottom,
the ground is not level enough. Remove the lin-
er and level the ground.
have been placed, check again that the vertical
sections are properly vertical. If not, correct their
position. Next, place the outside screws (2) and
fasten down all the screws in the structure.
WARNING: Do not climb onto, walk or sit on,
jump or dive off the TRIM finishing pieces.
installation
PLY PLY
23


 To Next Page