52
EN
41 42 43 44
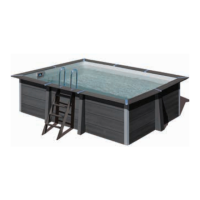
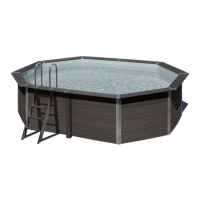
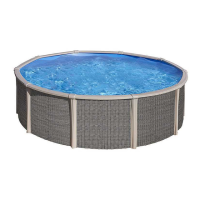
PLACEMENT OF THE EXTERNAL LADDER
- Remove the ladder from the box with great care. Look for 8 screws (4 x 25 mm) and two hooks in the box:
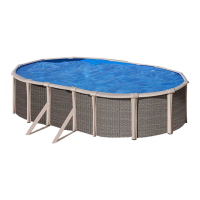
- Place the ladder against the pool wall (photo 41) and make a mark as shown (Photo 42). Measure 2 cm from the ladder and 1 cm from the marks of the
panel. (photo 43). Here you will make the upper hole for the hook. It should look like the (photo 42).
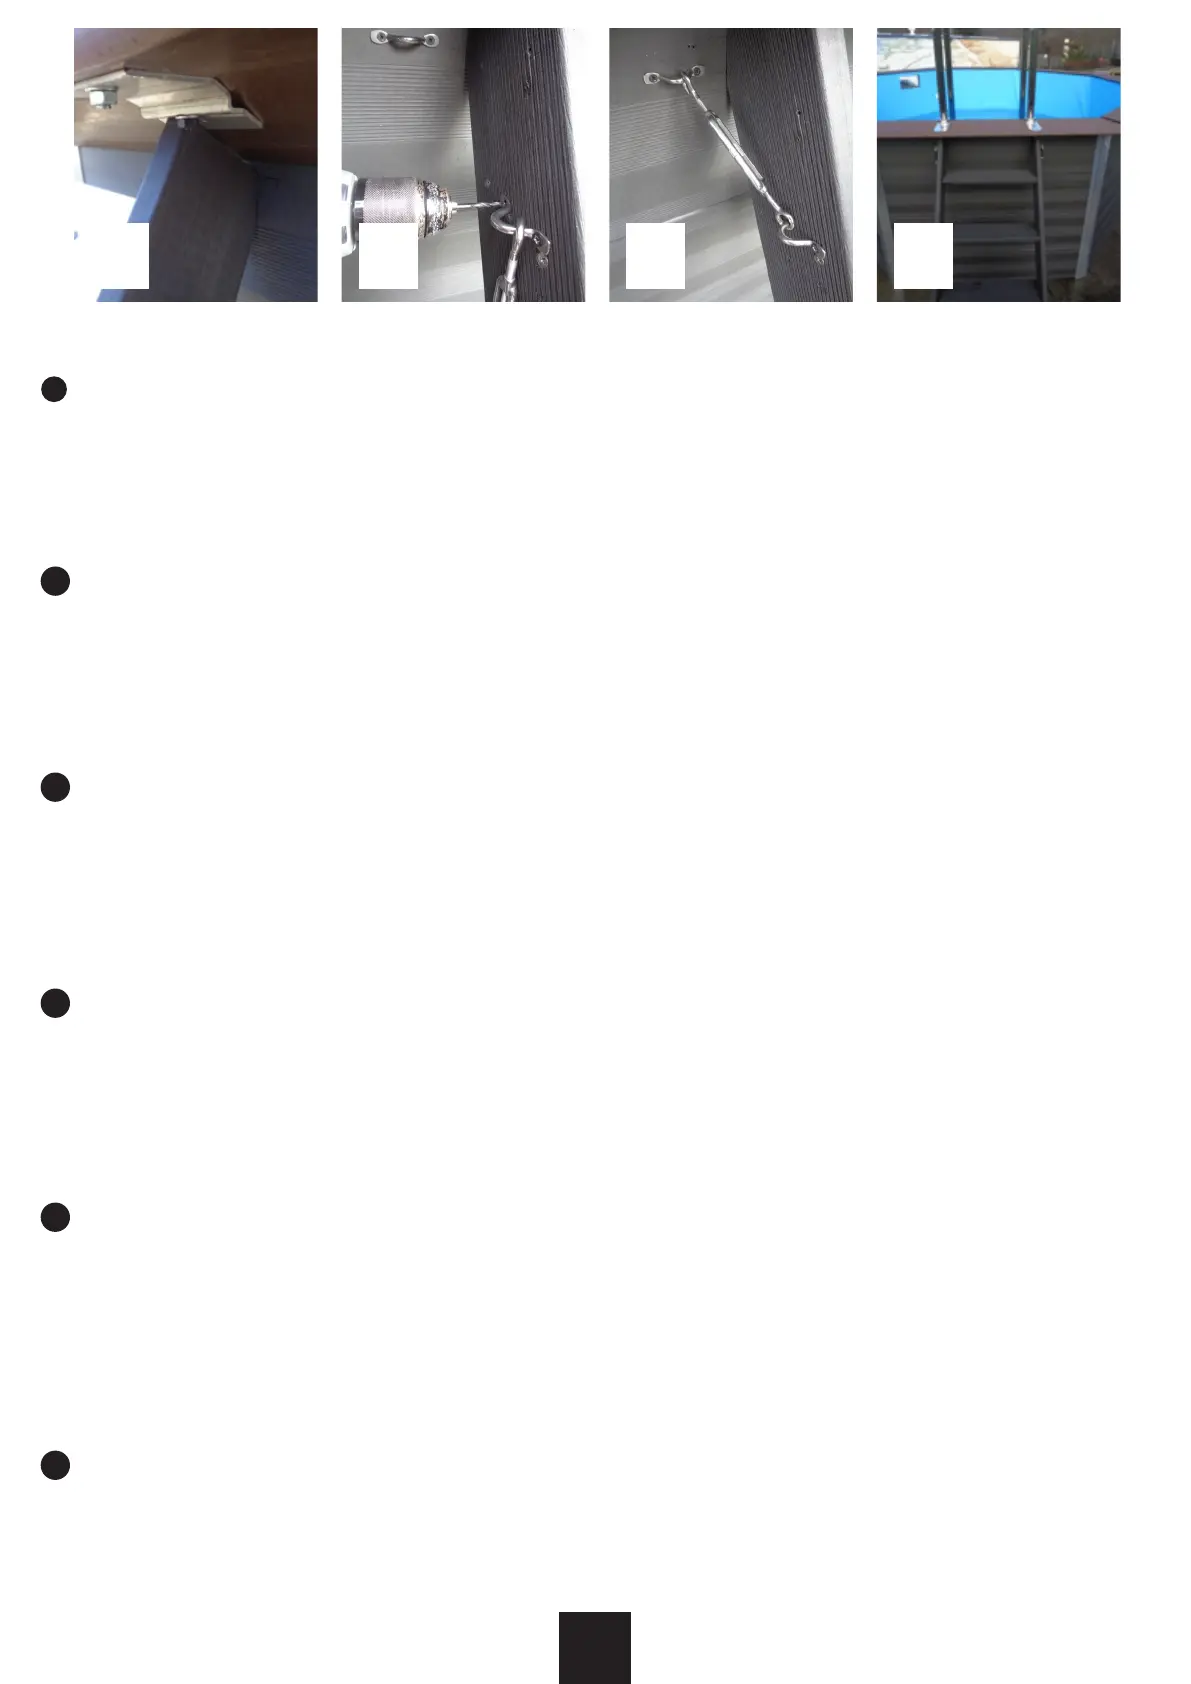
Look for the hook and insert it as shown on photo 44. Follow the same procedure to secure it to the handrail (photo 43).
MONTAŻ DRABINKI ZEWNĘTRZNEJ
- Wyjmij drabinkę z opakowania z zachowaniem szczególnej ostrożności. W pudełku znajduje się 8 śrub (4 x 25 mm) i dwa haki:
- Przyłóż drabinkę do ściany basenu (zdjęcie nr 41) i wykonaj oznaczenia jak na rysunku (zdjęcie nr 42). Odmierz odległość 2 cm od drabinki i 1 cm od ozna-
czeń na panelu (zdjęcie nr 43). W tym miejscu należy wykonać górny otwór na hak. Powinien on wyglądać jak na zdjęciu nr 42.
Znajdź hak i włóż go tak, jak pokazano na zdjęciu nr 44. Postępuj w ten sam sposób, aby przymocować go do poręczy (zdjęcie nr 43).
PLACEMENT OF THE EXTERNAL LADDER
- Remove the ladder from the box with great care. Look for 8 screws (4 x 25 mm) and two hooks in the box.
- Place the ladder against the pool wall (photo 41) and make a mark as shown (Photo 42). Measure 2 cm from the ladder and 1 cm from the marks of the
panel. (photo 43). Here you will make the upper hole for the hook. It should look like the (photo 42).
Look for the hook and insert it as shown on photo 44. Follow the same procedure to secure it to the handrail (photo 43).
PLASAREA SCARII EXTERNE
- Scoatei scara din cutie cu mare grijă. Căutai 8 șuruburi (4 x 25 mm) și două cârlige în cutie.
- Așezai scara de peretele bazinului (foto 41) și marcai-o așa cum se arată (fotograa 42). Măsurai la 2 cm de scară și la 1 cm de semnele panoului. (foto
43). Aici vei face gaura superioară pentru cârlig. Ar trebui să arate ca (foto 42).
- Căutai cârligul și introducei-l așa cum se arată în fotograa 44. Urmai aceeași procedură pentru a-l xa de balustradă (foto 43).
PLACERING AV DEN EXTERNA STIGEN
- Ta bort stegen ur lådan med stor försiktighet. Leta efter 8 skruvar (4 x 25 mm) och två krokar i lådan.
- Placera stegen mot poolväggen (foto 41) och markera som visas (foto 42). Mät 2 cm från stegen och 1 cm från panelens märken. (foto 43). Här gör du det
övre hålet för kroken. Det ska se ut som (foto 42).
Leta efter kroken och sätt in den som visas på foto 44. Följ samma procedur för att fästa den i ledstången (foto 43).
PL
CS
SK
RO
SV
 Loading...