51
37 38 39 40
8
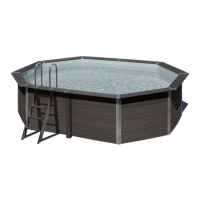
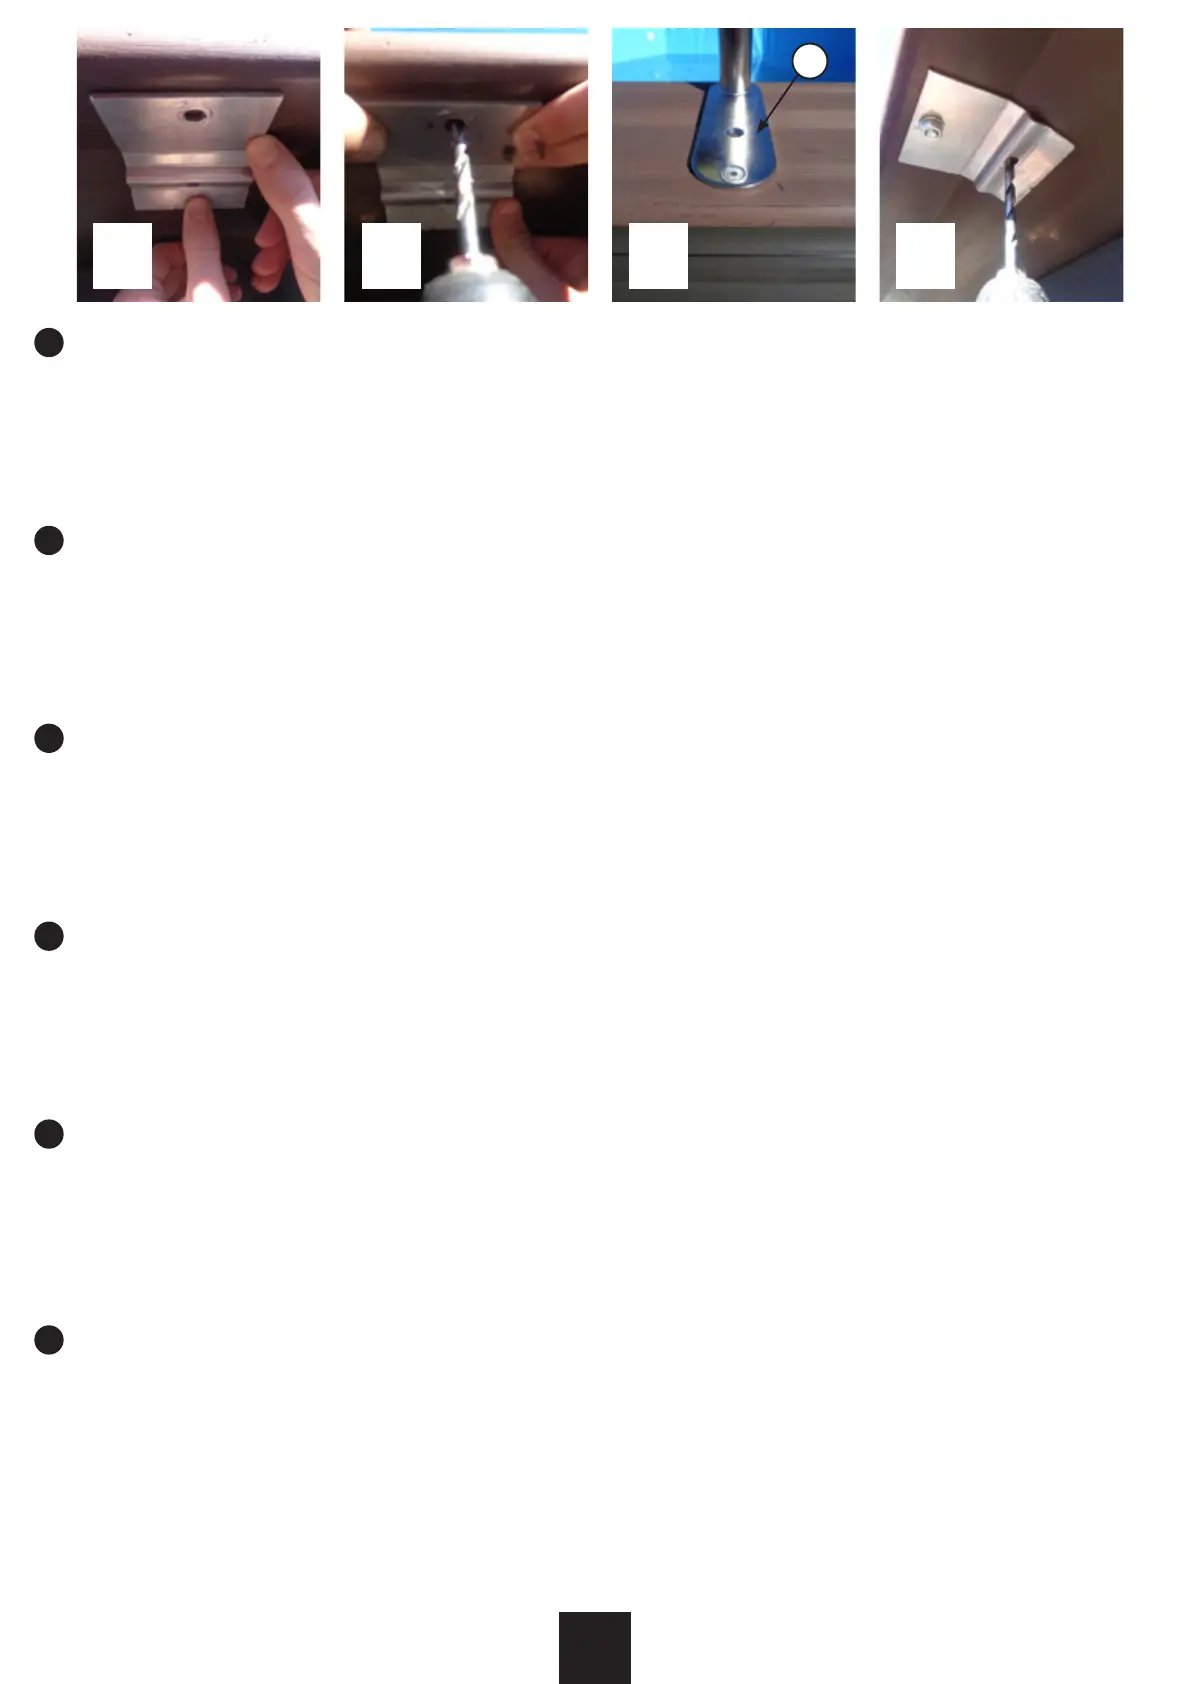
PLACEMENT OF THE INTERNAL LADDER
- Take out the ladder and follow the installation instructions. Think about where you want to have the entry for your swimming pool. You can also mount it and put it into
pool without attaching the fastenings to see how it looks. Just support it on the shore.
- Look for two metal plates. These parts are essential to correctly ax the ladder.
Put them on place panels (photo 37) and make a hole from the bottom using the proper drill bit Nº 10 (photo 38).
- Place part 8, the fastening, so that it coincides with the hole. Use the short bolt and secure it with a nut and washer. (photo 39).
-Finish securing the plate by making another hole and securing it with a long screw bolt. (photo 40).
- Once one of the ladder’s fastenings is secured, introduce the other fastening. Make a mark where the screw hole should be made. This step is very important, as it must
match the distance between the ladder rails.
MONTAŻ DRABINKI WEWNĘTRZNEJ
- Wyjmij drabinkę z opakowania i postępuj zgodnie z instrukcją montażu. Zastanów się, gdzie chcesz mieć wejście do basenu. Możesz również założyć ją w basenie bez
przykręcania, aby zobaczyć jak wygląda. Wystarczy podeprzeć ją na brzegu.
- Poszukaj dwóch metalowych blaszek. Elementy te są niezbędne do prawidłowego zamocowania drabinki.
Przyłóż je do panelu (zdjęcie nr 37) i wykonaj otwór od spodu za pomocą wiertła nr 10 (zdjęcie nr 38).
- Następnie zamontuj część nr 8 (mocowanie) umieszczając ją tak, aby pokrywała się z otworem. Użyj krótkiej śruby i zabezpiecz ją uszczelką oraz nakrętką (zdjęcie nr 39).
-Dokończ mocowanie blaszki, wykonując kolejny otwór i zabezpieczając go długą śrubą (zdjęcie nr 40).
- Po zabezpieczeniu jednego z mocowań drabiny, wprowadzić drugie mocowanie. Zaznacz miejsce, w którym ma być wykonany otwór na śrubę. Ten krok jest bardzo ważny,
gdyż musi on odpowiadać odległości pomiędzy poręczami drabinki.
PLACEMENT OF THE INTERNAL LADDER
- Take out the ladder and follow the installation instructions. Think about where you want to have the entry for your swimming pool. You can also mount it and put it into
pool without attaching the fastenings to see how it looks. Just support it on the shore.
- Look for two metal plates. These parts are essential to correctly ax the ladder.
Put them on place panels (photo 37) and make a hole from the bottom using the proper drill bit Nº 10 (photo 38).
- Place part 8, the fastening, so that it coincides with the hole. Use the short bolt and secure it with a nut and washer. (photo 39).
-Finish securing the plate by making another hole and securing it with a long screw bolt. (photo 40).
- Once one of the ladder’s fastenings is secured, introduce the other fastening. Make a mark where the screw hole should be made. This step is very important, as it must
match the distance between the ladder rails.
PLASAREA SCARII INTERNE
- Scoatei scara și urmai instruciunile de instalare. Gândii-vă unde dorii să avei intrarea pentru piscina dvs. De asemenea, îl putei monta și pune în piscină fără a atașa
elementele de xare pentru a vedea cum arată. Sprijină-l pe mal.
- Căutai două plăci metalice. Aceste pări sunt eseniale pentru xarea corectă a scării.
Punei-le pe panourile de poziie (foto 37) și facei o gaură de jos folosind burghiul corespunzător nr. 10 (foto 38).
- Așezai partea 8, xarea, astfel încât să coincidă cu gaura. Folosii șurubul scurt și xai-l cu o piuliă și o șaibă. (foto 39).
-Finalizai xarea plăcii făcând o altă gaură și xând-o cu un șurub lung. (foto 40).
- Odată ce una dintre xările scării este xată, introducei cealaltă xare. Facei un semn unde ar trebui să e făcută gaura șurubului. Acest pas este foarte important, deoare-
ce trebuie să se potrivească distanei dintre șinele scării.
PLACERING AV DEN INTERNA STIGEN
- Ta ut stegen och följ installationsanvisningarna. Tänk på var du vill ha posten till din pool. Du kan också montera den och lägga den i poolen utan att fästa fästena
för att se hur den ser ut. Stöd bara det på stranden.
- Leta efter två metallplattor. Dessa delar är viktiga för att korrekt fästa stegen.
Placera dem på platspaneler (foto 37) och gör ett hål från botten med rätt borrkrona Nº 10 (foto 38).
- Placera del 8, fästet, så att det sammanfaller med hålet. Använd den korta bulten och säkra den med en mutter och brickan. (foto 39).
-Sluta fästa plattan genom att göra ett nytt hål och fästa det med en lång skruvbult. (foto 40).
- När en av stegen är fäst, introducera den andra fästet. Markera var skruvhålet ska göras. Detta steg är mycket viktigt eftersom det måste matcha avståndet mellan stege.
PL
EN
CS
SK
RO
SV
 Loading...