5
to the flat position, hold onto the handle until
the grill touches the countertop.
INSTALLING COOKING PLATES
Put the Grill & Griddle in the flat position. Insert
each plate individually.
Find the metal holding brackets at the center of
the housing. Tilt the back end of the plate and
line up the cutouts with the metal brackets. Slide
the plate beneath the brackets and push down
on the front end of the plate. You should hear it
snap into place. Turn the Grill & Griddle 180°
and install the matching plate into the upper
housing the same way.
NOTE: The Grill & Griddle offers a variety
of cooking options using removable cooking
plates. If your model includes waffle plates,
simply unplug the Grill & Griddle, let it cool,
remove the griddle plates and install the plates
of your choosing. Waffle plates are only
available on some models.
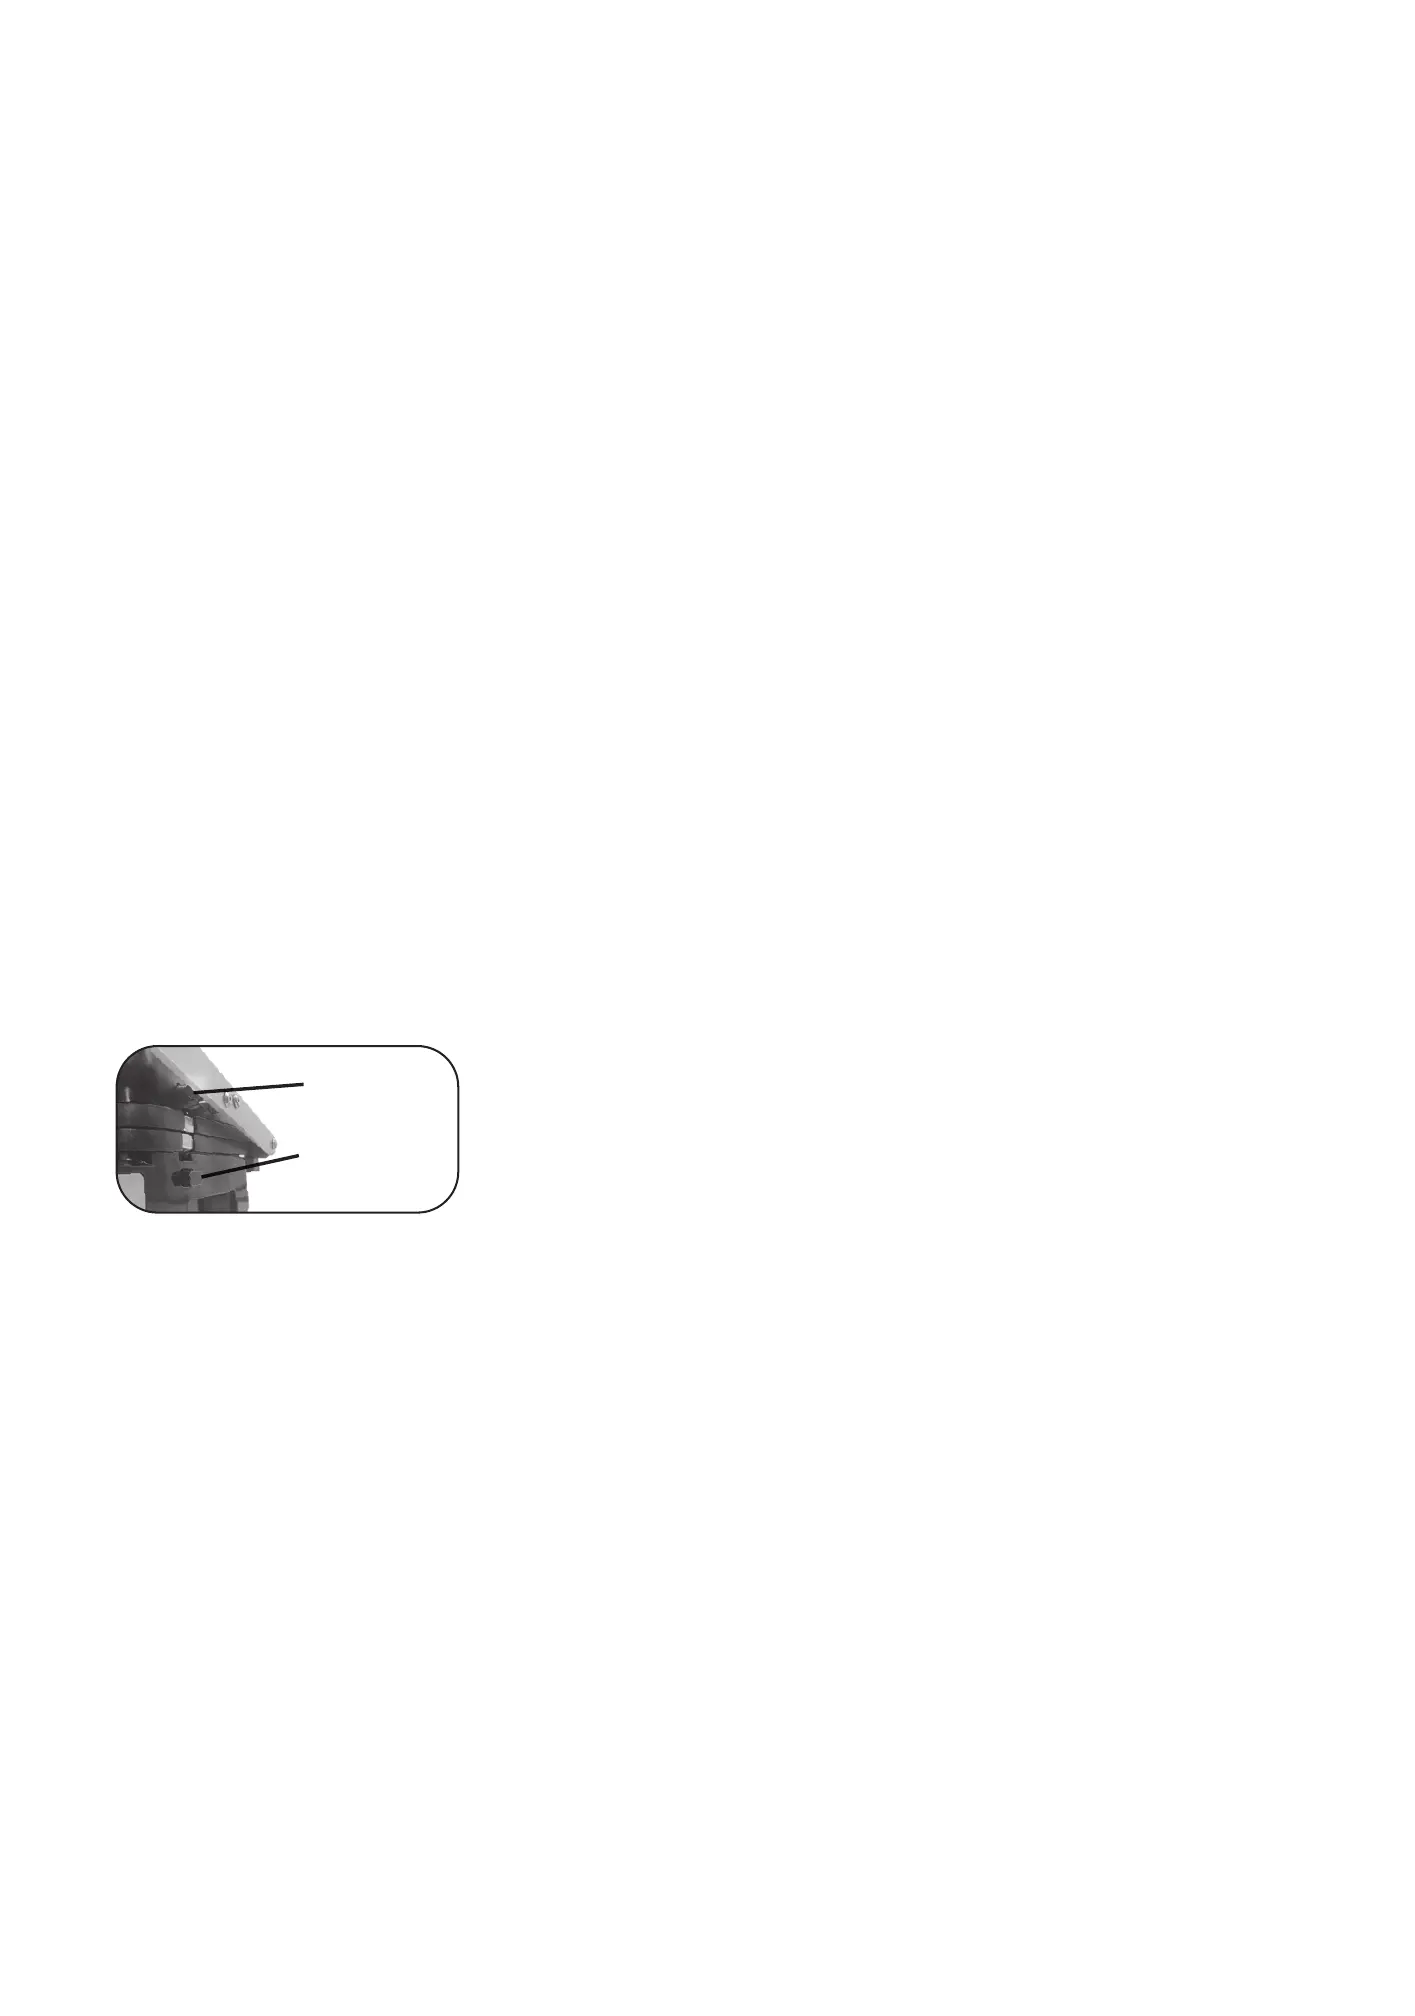
REMOVING COOKING PLATES
Put your Grill & Griddle in the flat position. Find
the plate release buttons on one side. Press one
button firmly and the cooking plate will pop up
from the base. Grab the cooking plate with both
hands, slide it from under the metal brackets and
lift from the base. Press on the other button to
release the other cooking plate the same way.
DRIP TRAY
Excess grease and fats from your food will
run off the cooking plates, through the grease
spout and into the drip tray. Dispose of grease
and fats safely after cooking. The drip tray is
dishwasher safe.
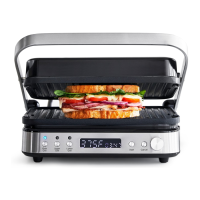
OPERATION
Once your Grill & Griddle is properly
assembled, plug the cord into a standard
electrical outlet and you will be ready to get
cooking.
The LED will illuminate with OFF, just to show
there is power to the Grill & Griddle, but no
cooking function is selected yet.
Put your Grill & Griddle in the preferred
cooking position and use the temperature
control to choose your cooking temperature.
Settings range from Low (175°F) to Sear
(450°F).
If you wish to use the Grill & Griddle in the flat
position but you do not need the entire surface,
it is recommended that you use the bottom
plate.
To start using your Grill & Griddle, press the
function of which plate(s) you will need, both
upper or lower. Default timer and temperature
will appear on the LED display. Turn the dial
to adjust your temperature. To adjust your
countdown timer, push the dial in, and turn the
dial to select the number of minutes. Press the
start button, and you will notice the LED screen
will display Pre. Once it’s done preheating,
it will beep five times and temperature and
time will flash on the LED display. Press start
and add your food to the plate(s). (Note: If the
start button is not pressed within 15 seconds
of setting time and temperature, the Grill &
Griddle will go into standby mode and OFF
will appear on the display.)
When the countdown timer runs out, the Grill
& Griddle will beep again five times and the
LED screen will display done. Press the Cancel
button at any time to stop cooking, and the LED
screen will display OFF.
As the Grill & Griddle will become hot during
use, always use caution when operating the
Grill & Griddle. Always use the front handle
to open the Grill & Griddle, as this part of the
handle is designed to stay cool to the touch
while cooking. The top cover will become hot
during use—
DO NOT TOUCH THE COVER OR
ARMS DURING OR IMMEDIATELY
AFTER COOKING
The top cover should not be touched during or
immediately after cooking. Use an oven mitt if
you need to adjust the cover to prevent burns.
The base of the Grill & Griddle will become
warm, but it will not burn you. If you need to
move the Grill & Griddle for any reason during
cooking, handle it from the base only.
Allow the Grill & Griddle to cool before
handling (at least 30 minutes).
NOTE: During first use, the Grill & Griddle
may have a slight odor and it may smoke
a little. This is perfectly normal and will
disappear with use.
Upper plate
release button
Lower plate
release button
 Loading...