10 – English
MAINTENANCE
WARNING!
Risk of the grinding disc com-
ing loose and causing personal
injury. Ensure the power supply
is connected so that the grind-
ing disc rotates in the right
direction, that is, sharpening is
performed downwards-back-
wards.
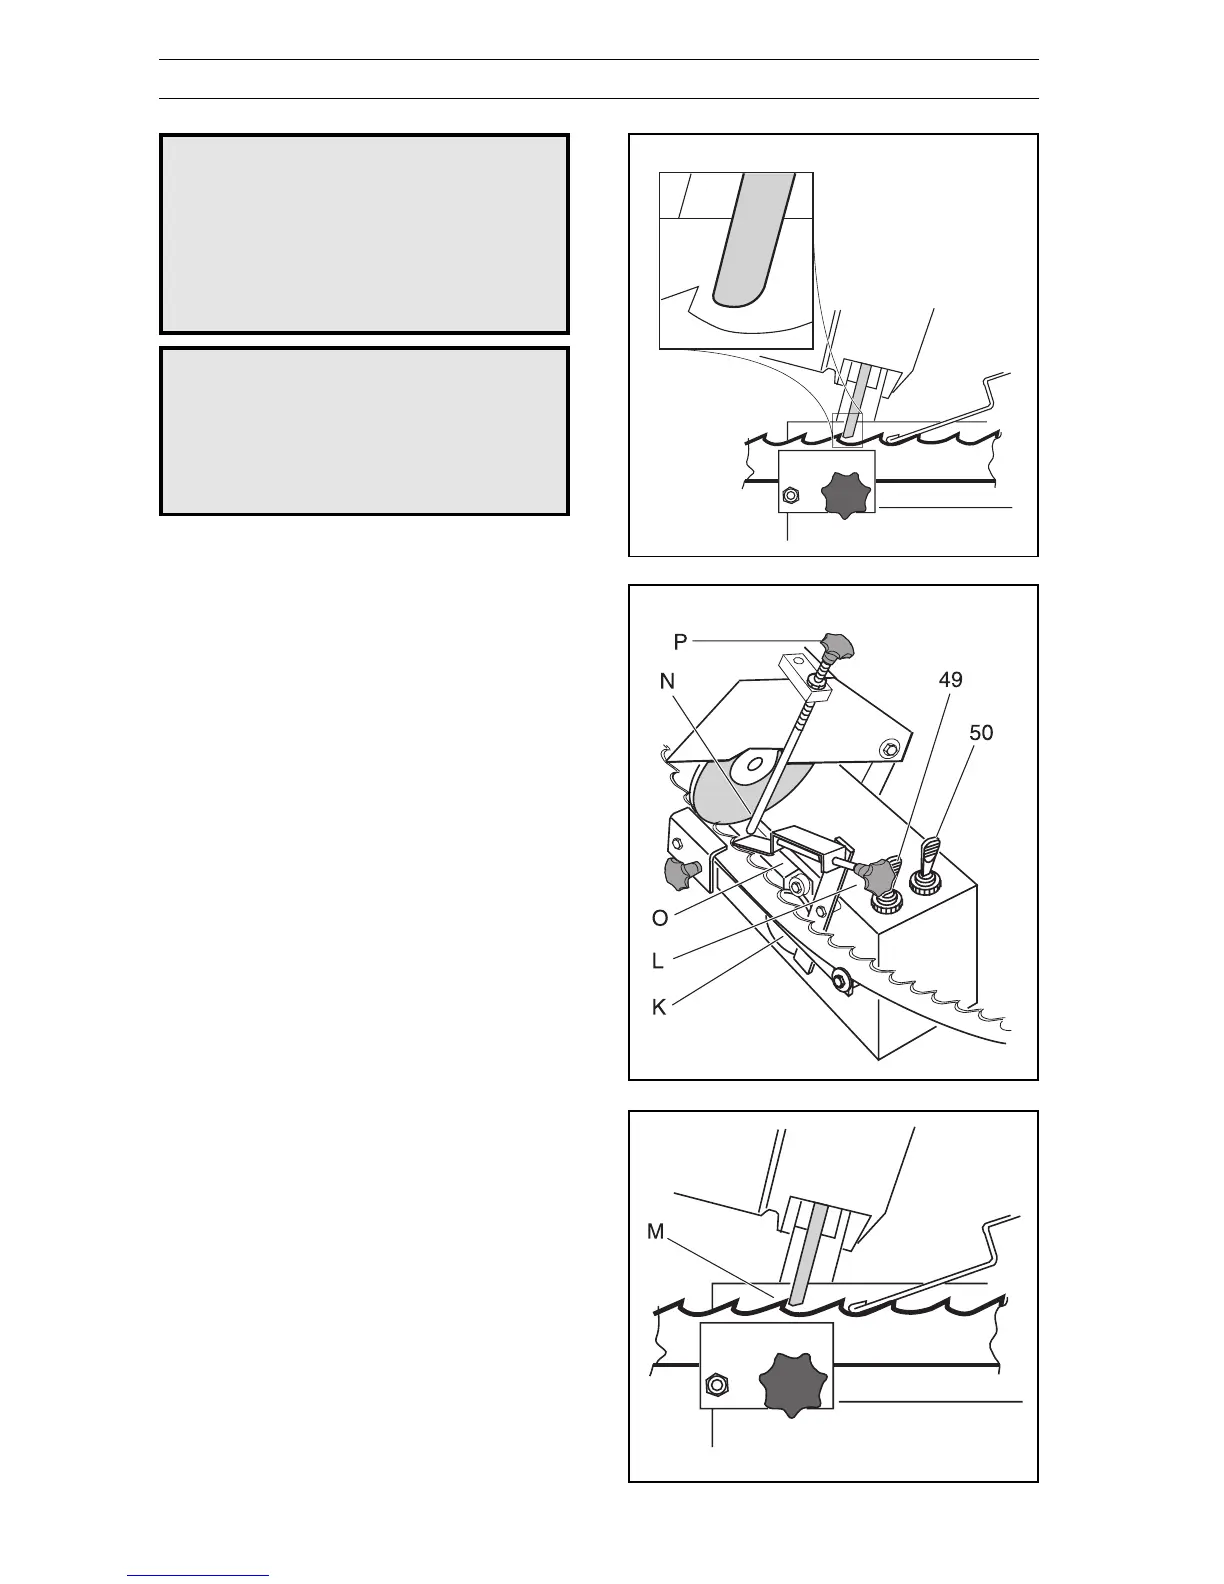
7. Start the feed with the power switch (49). The
feed cam wheel (K) should rotate anticlock-
wise. If this is not the case, the connection
cables have been interchanged.
8. Stop the feed and check where the grinding
disc goes down against the bandsaw blade.
9. Adjust the knob (L) until the grinding disc just
touches the inside of the saw tooth (M).
Points 7 and 8 above may need to be re-
peated.
10. Insert the lifter (N) in the appropriate hole in
the lever (O) and start the feed. Adjust the
knob (P) until the grinding disc just touches
the entire tooth valley while fed.
11. Stop the feed and turn both knobs 1/2 turn
anticlockwise.
CAUTION! Do not grind to heavily. This can
destroy the hardening of the teeth. Each turn
of the adjuster screws corresponds to a
grinding depth of 0.75 mm. The maximum
grinding depth per sharpening is 0.1-0.2 mm.
If the bandsaw blade is very worn, grind
several times.
WARNING!
Risk of damaging the grinding
disc or bandsaw blade, which
can result in personal injury.
The grinding disc must not be
running during the procedure
set out in points 8-11 below.
!
!
FIG. 88
FIG. 86
FIG. 87