4
Cleaning mode
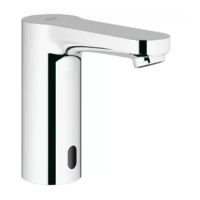
Cleaning mode is activated when the hand is held for 5 s at
a distance of 3 - 7 cm in front of the sensor system. Water flow
is interrupted for 3 minutes.
When a user enters the detection zone again for 5 s or after
the time has elapsed, the water flow is initiated again.
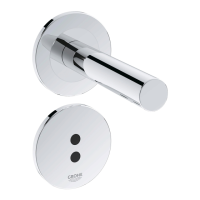
Automatic safety shut-off
After 60 s (factory setting) of continuous detection of an object,
the infrared electronics automatically stop the water flow.
Automatic flushing (factory setting: not activated)
Automatic flushing serves to ensure water hygiene in the event
of long-term non-utilisation of the fitting. and activates water
flow for 1 - 10 minutes, 1 or 3 days after the last use.
Safety note:
Ensure free draining in the case of activated automatic
flushing.
Maintenance
Inspect and clean all components and replace if necessary.
Shut off the water supply and switch off the voltage
supply.
I. Transformer, see fold-out page III, Fig. [14].
1. Remove cover (A), see fold-out page II, Fig. [1].
2. Disconnect plug-in connector between transformer (E) and
electronics, see fold-out page III, Fig. [14].
3. Detach upper part (E) of transformer from base (E1).
Assemble in reverse order.
II. Solenoid valve, see fold-out page III, Figs. [15] and [16].
1. Remove cover (A), see fold-out page II, Fig. [1].
2. Disconnect plug-in connector between solenoid valve (D)
and electronics, see fold-out page III, Fig. [15].
3. Remove solenoid valve (D).
4. Remove and clean filter (D2), see Fig [16].
Assemble in reverse order.
III. Electronic, see fold-out page III, Fig. [17].
1. Remove escutcheon (J).
2. Remove screws (K), pull out electronics (H) and disconnect
the plug-in connectors.
Assemble in reverse order.
IV. Remove mousseur (13 943) using a spanner and clean,
see fold-out page I.
Assemble in reverse order.
Replacement parts, see fold-out page I (* = special
accessories).
Care
For directions on the care of this fitting, please refer to the
accompanying Care Instructions.
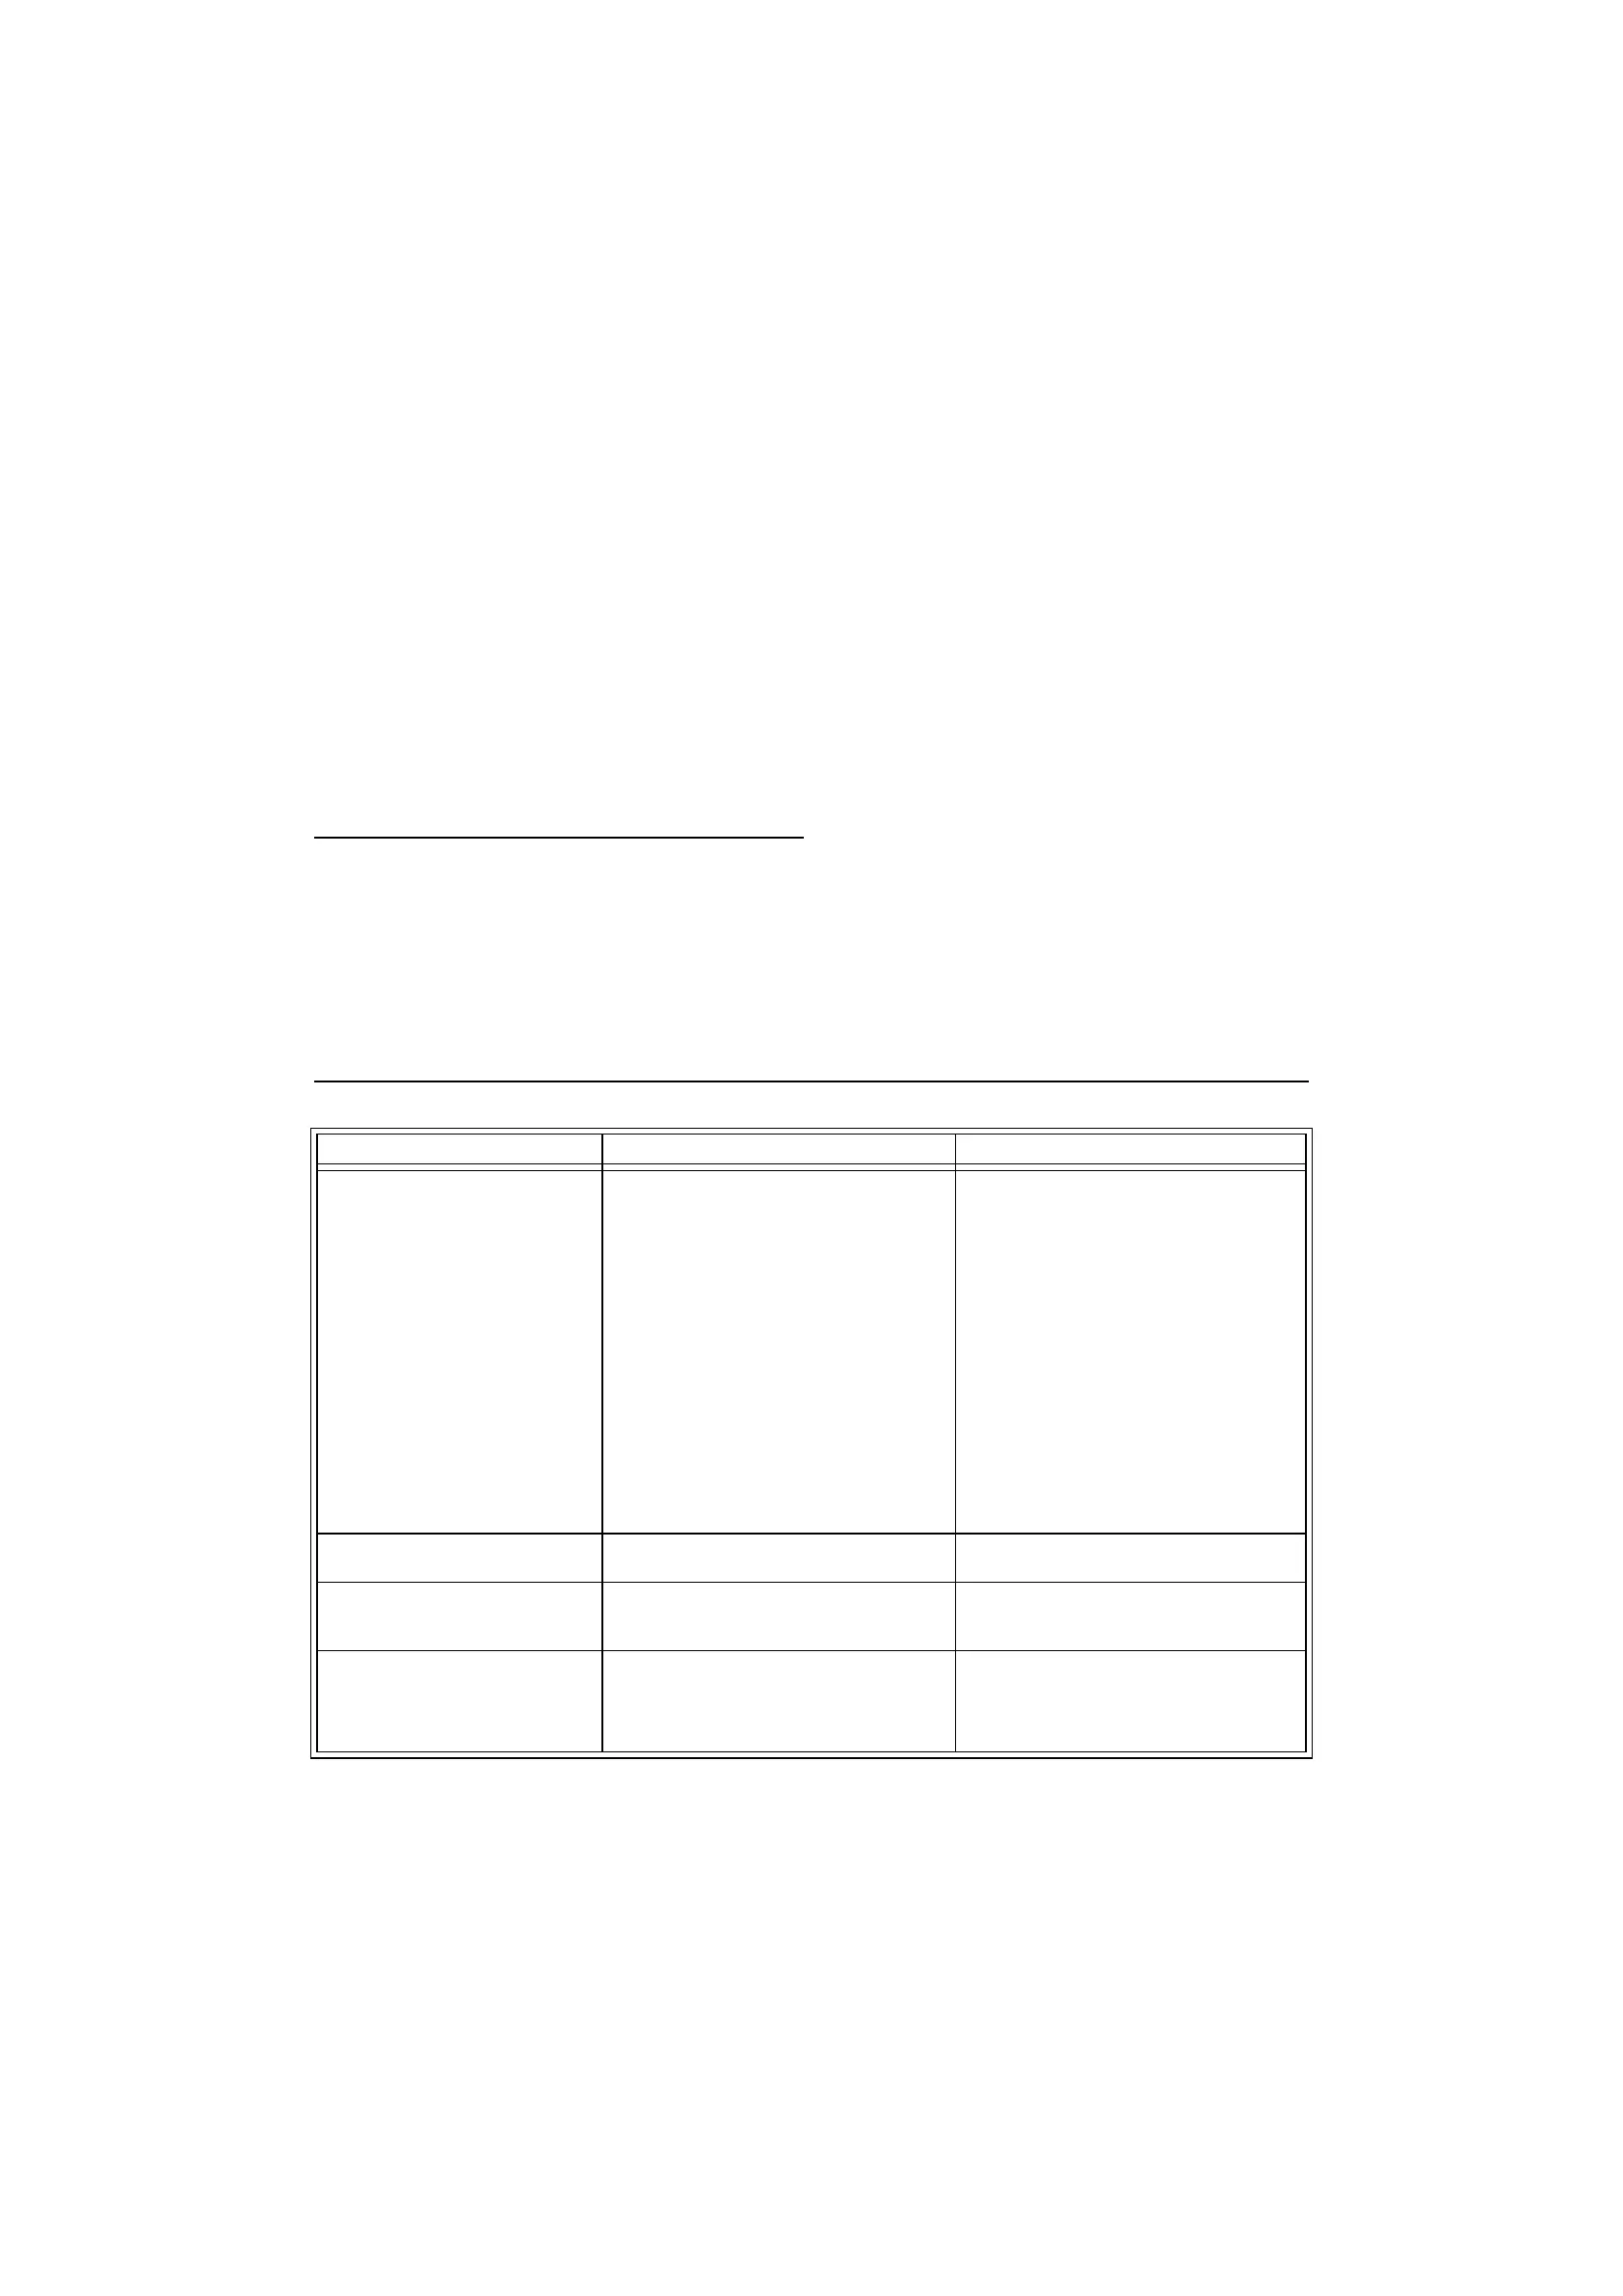
Fault/ cause/ remedy
Fault Cause Remedy
Water not flowing • Water supply interrupted - Open isolating valve.
• Filter in solenoid valve blocked - Clean filter, see Solenoid valve
maintenance
• Plug-in connector without contact - Attach plug-in connector
• The detection zone of the sensor system
is set too low
- Increase detection zone using
remote control (special accessory,
Prod. no.: 36 206)
• Solenoid valve defective - Replace solenoid valve, see Solenoid
valve maintenance
• No voltage - Switch on power supply or check plug-in
connectors
• Electronics defective - Replace electronics, see Electronics
maintenance
• Transformer defective - Replace transformer, see Transformer
maintenance
Water flowing continuously • Solenoid valve defective - Replace solenoid valve, see Solenoid
valve maintenance
Undesired water flow • The detection zone of the sensor system
is set too high
- An opposing object is detected. Reduce
detection zone using remote control
(special accessory, Prod. no.: 36 206)
Flow rate too low • Filter or mousseur dirty - Clean or replace, see Solenoid valve
and mousseur maintenance
• Isolating valve not fully open - Open isolating valve fully
• Water supply restricted - Check supply lines, open isolating valve