Do you have a question about the Grohe Eurocube 39736000 and is the answer not in the manual?
Illustrates and lists parts needed for top mount installation, including screws, caps, hinges, washers, and plugs.
Guidance on using a bolt and water (preferably soapy) to ease the installation of black rubber plugs.
Instructions for inserting the rubber plugs into the designated holes in the toilet seat.
Critical warning to keep the flange above the surface and prevent the plug from falling through.
Steps for installing the washer into the hinge and snapping the hinges into the seat.
Instructions for placing the seat with attached hinges onto the toilet bowl and aligning it correctly.
Guidance on inserting screws into the seat hinges and tightening them securely with a screwdriver.
Procedure to open the seat and cover, press internal buttons, and pull them off the hinges.
Instructions for fitting the decorative caps over the installed hinges for a finished look.
Steps to place the seat back onto the bowl and click it securely onto the hinges.
Illustrates and lists parts for bottom mount installation, including screws, caps, hinges, washers, plugs, and nuts.
Instructions for installing the washer into the hinge assembly for bottom mount.
Guidance on threading winged nuts, rubber washers, and plugs onto bolts, finger-tightening only.
Steps to snap hinges with washers into the designated holes on the underside of the seat.
Instructions for positioning the seat with hinges onto the toilet bowl and aligning it correctly.
Procedure for tightening the hinge using a screwdriver while holding the nut in place.
How to open the seat and cover, press internal buttons, and pull them off the hinges.
Instructions for fitting the decorative caps over the installed hinges for a finished look.
Steps to place the seat back onto the bowl and click it securely onto the hinges.
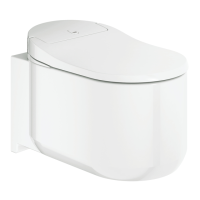
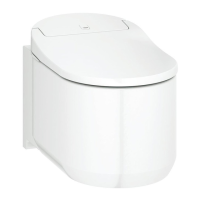
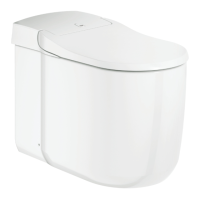
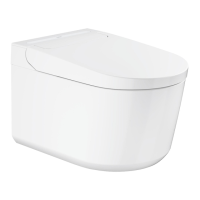
| Type | Wall-Hung Toilet |
|---|---|
| Flush Type | Dual Flush |
| Material | Ceramic |
| Color | Alpine White |
| Installation Type | Wall-Mounted |
| Certification | EN 997 |
| Coating | GROHE PureGuard |
| Product Type | Toilet |



 Loading...