VOL01
|
page 1.0
6. Locate the yellow wire marked as 12V on the VOL01 harness (picture1).
7. Using blue colored Posi-Tap clip provided with your package, connect the constant POWER wire that comes from
the main stereo harness (picture 2) to the yellow 12V wire on your VOL01 harness). Refer to scheme 4 below and
make sure to create a secure connection between those wires.
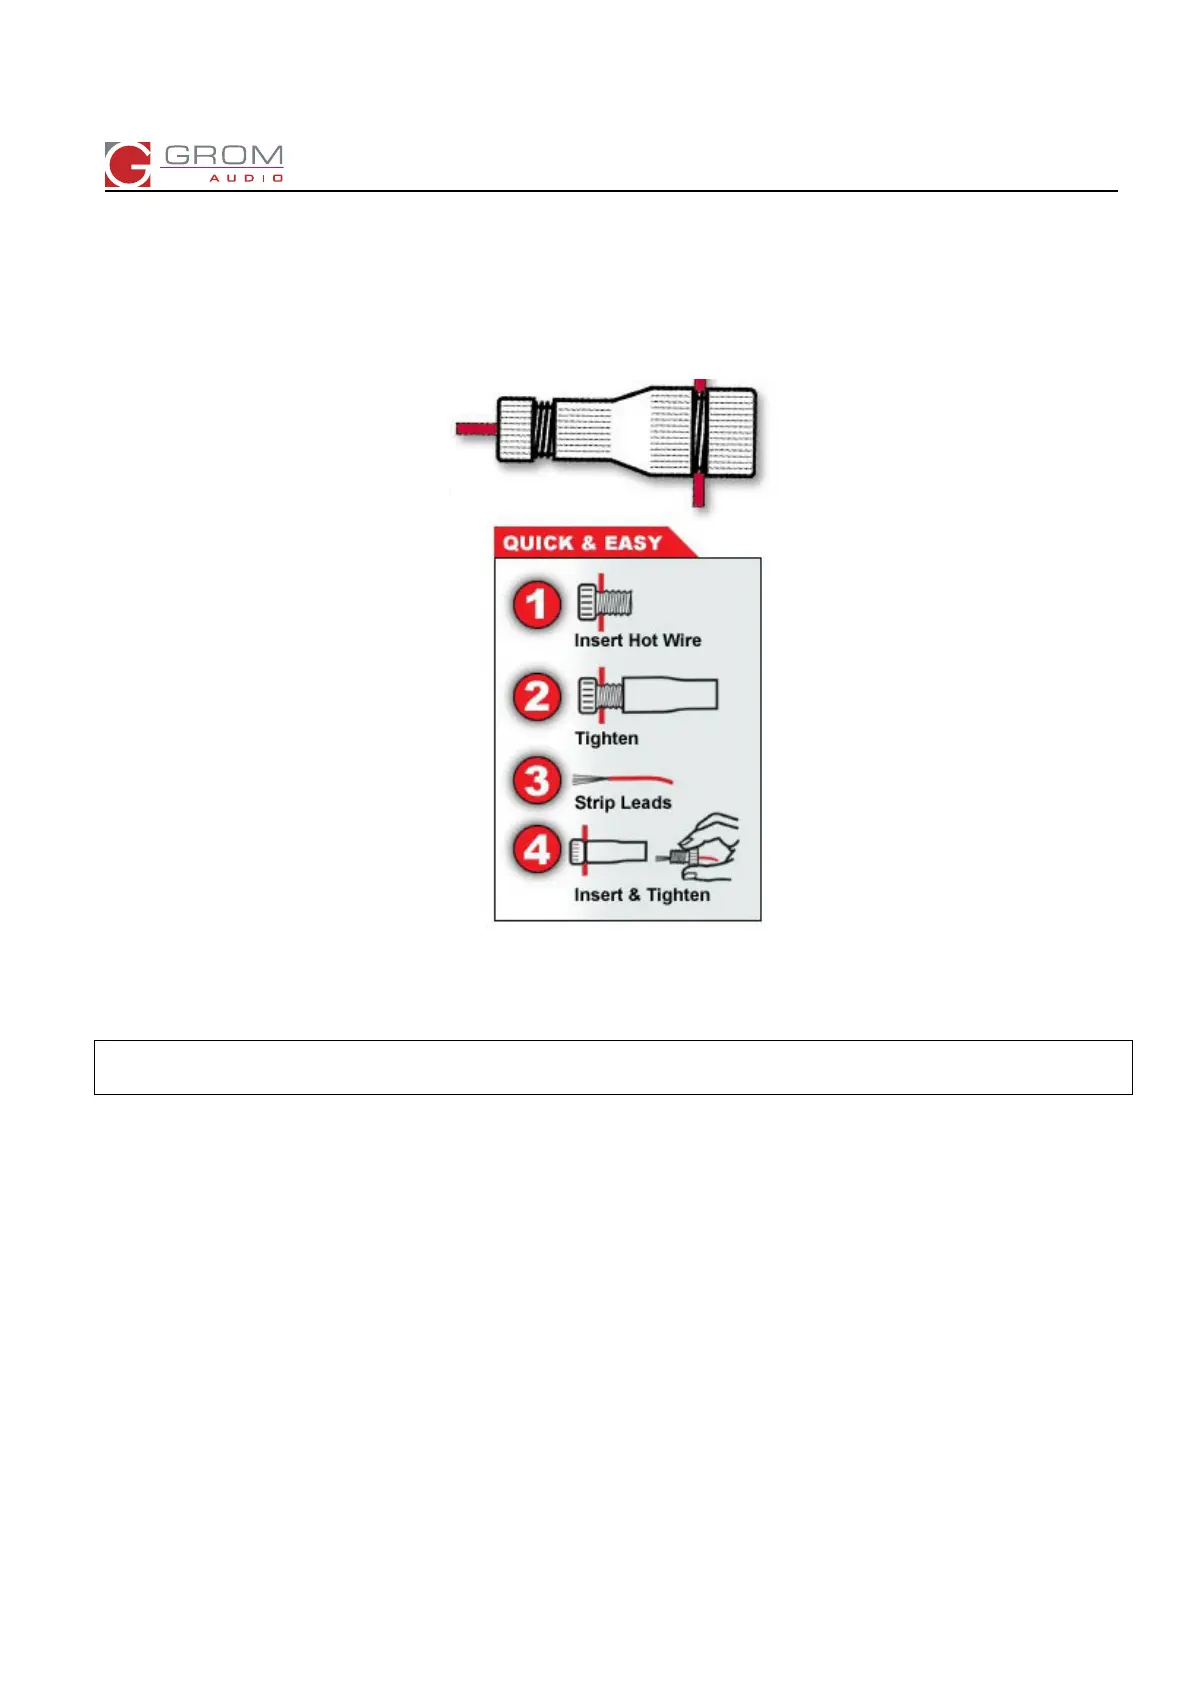
Scheme 4. How to connect the wires using Posi-Taps.
The wire that comes from your stereo is a “CONSTANT / HOT” wire referring to the scheme 4.
Attention: Don’t forget to strip the free hanging 12V wire on your vehicle specific harness VOL01.
WARNING! NEVER CUT ANY WIRES THAT COME FROM YOUR STEREO!
8. If you have any problems with using Posi-Taps please take a look at the installation demonstration here:
http://gromaudio.com/docs/posi-tap.pdf or contact us for help.
9. Locate black ground wire on VOL01 harness, secure wire to radio / chassis ground.
10. Route the GROM harness VOL01 to the bottom compartment or glove box and connect the GROM unit to the
vehicle specific harness (VOL01).
Note: You might want to leave the GROM unit in the dashboard compartment (make sure that there is enough
space) and just route the USB and the other cables out; or you can place the GROM unit in the easily
accessible place and secure it with the Velcro stripes.
 Loading...