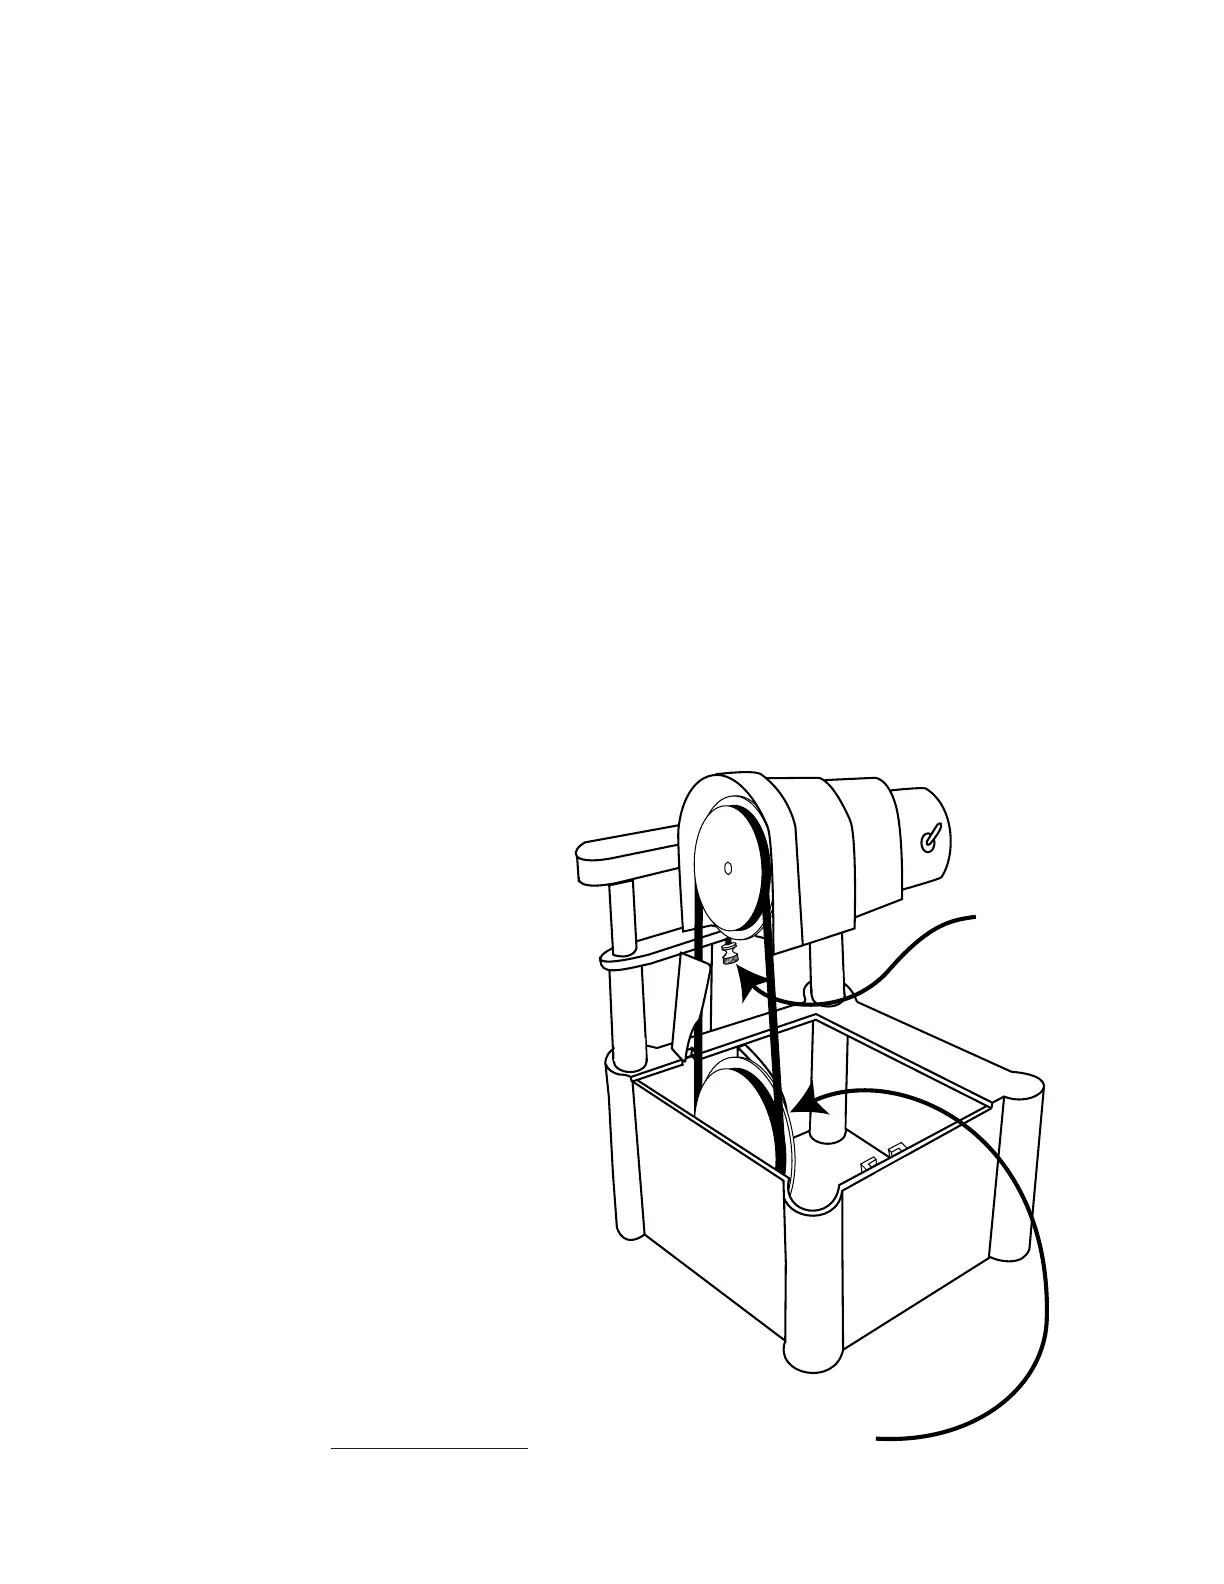
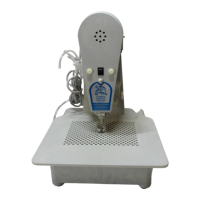
(Upper Wheel)
Adjustment
Screw
Lower Wheel
Adjustment
Knob
project for a dramatic effect. Also, mosaic work in tile, or tile in combination with other materials,
is easily accomplished.
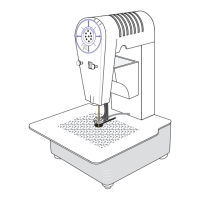
Cleaning the Saw~
The glass dust that results from your cutting is carried to the bottom of the saw where it combines
with the water to form a slurry. When the water becomes objectionably dirty you should clean out
this slurry as follows:
• Remove Platform & Cover.
• Remove Blade.
• Remove Top Assembly by pulling straight up.
• Pour out dirty water outside. Do not pour into plumbing as the slurry can cause clogs.
• Use a paper towel to remove heavy slurry if required.
• Rinse out Bottom Assembly with a garden hose if desired.
• Do not use solvents to clean any part of the saw. Soapy water is all that is required.
• If you remove the Guide Holder, clean it thoroughly before replacing to insure that it ts ush.
Adjustments~
The Upper Wheel and the Lower Wheel are both adjustable for tilt. Normally, you will only need to
adjust the Upper Wheel. You may need to make this adjustment from time-to-time in order to keep
the blade positioned near the rear of the Upper Wheel.
UPPER WHEEL
• Turn Adjustment Screw to raise or
lower the Top Assembly as required to
tension the Blade.
• Because the Motor is mounted on a
pivot, the angle of the Upper Wheel will
change as the tension is increased or
decreased.
• The change in angle will cause the
blade to run to the front or the rear of the
Upper Wheel.
• Turn the Upper Wheel by hand while
turning the Adjustment Screw, until the
Blade runs near the rear of the Upper
Wheel.
• Turn on the saw and continue turning
the Adjustment Screw to lower the Top
Assembly until you hear a change in sound
indicating that the Blade is hitting the
shoulder on the Upper Wheel. Back off on the
Adjustment Screw until the noise diminishes.
LOWER WHEEL
• Lower Wheel. The tilt for the Lower Wheel is preset at
the factory and should not be adjusted unless you know that