Insert
Finger
Guard
in Slot
Motor
Assembly
Assembly Step 4
Installing your rst Blade:
Remove the two nylon screws from the Front Cover and lift off the Front Cover.
The Rotor may stop in any position (A). Turn the Rotor by hand until the Blade Chuck is in its
lowest position (B). (Note: it is not necessary to remove the Front Cover when changing blades.
Just pull down on the old blade until the nut appears).
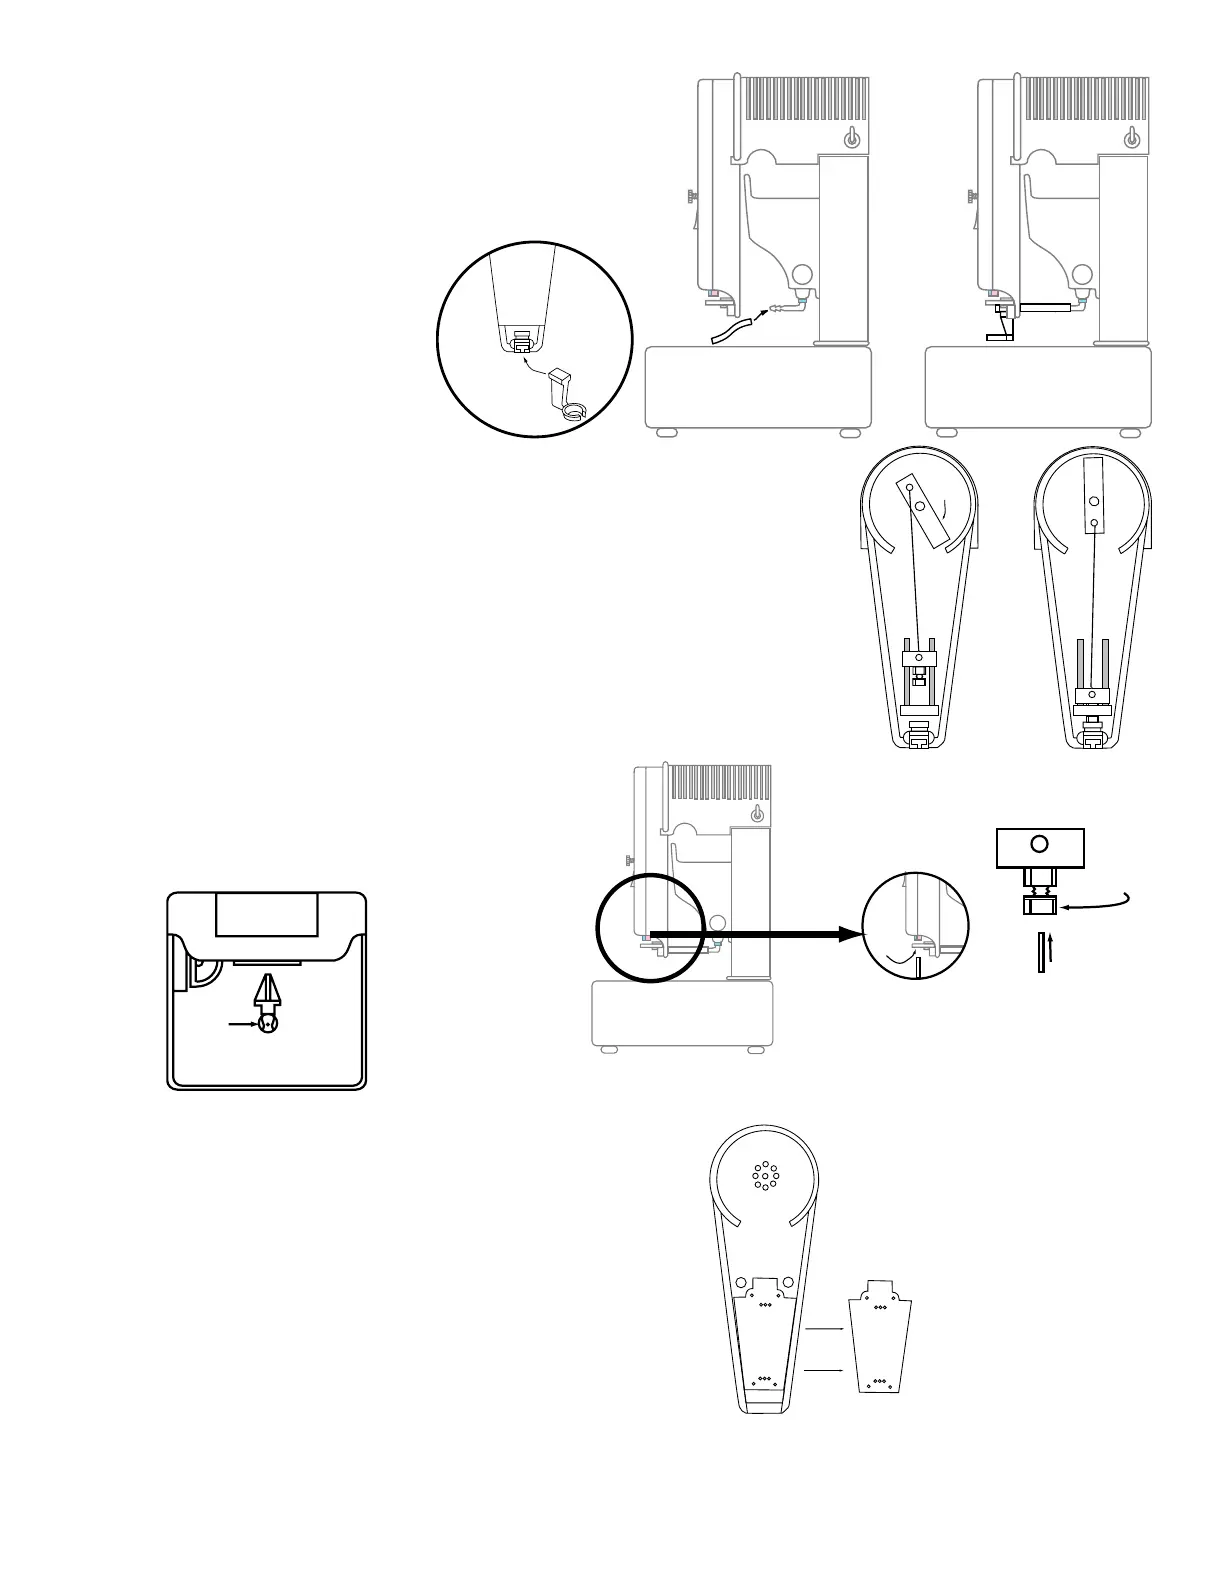
Assembly Step 3
Push the short piece of tubing from your parts bag onto the barbed tting
at the bottom of your water tray.
Thread the other end of the tubing trough the hole just
below the blade guide.
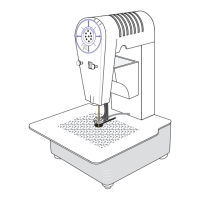
Take the nger guard from your parts bag and push
it into the “T” shaped slot at the bottom of the motor
assembly.
Assembly Step 5
Turn the Front Cover face down. Remove the four screws that secure the Battery Holder
Lid. Lift off the Battery Holder Lid.
Install two AA ashlight batteries (not included) into the battery holder. Be careful to
follow the polarity shown on the battery holder. Turn the switch on. If the lamp does
not light, one or both of your batteries may be installed backwards.
Re-install the Battery Holder Lid. Start screws by twisting counter-clockwise until you feel
the threads drop into place. Then twist the screws clockwise until they are snug tight.
Over tightening will strip the treads. Never operate the saw with the Battery Holder Lid
removed, as the batteries may fall into the mechanism.
Re-install the Front Cover and tighten the two plastic screws which you removed earlier.
Remove the bottom guide by pulling forward on the guide. Drop the
unpainted end of a new blade into the bottom guide hole (C).
Thread the top painted end of the blade into the hole in the top guide (D).
Continue pushing the blade up into the blade chuck until it stops. Tighten
the 7/16” nut snugly with the provided wrench. Replace the bottom guide. To
remove a worn blade reverse this process.
Blade Chuck
7/16" Nut
Insert
Blade
D
Front View
A B
 Loading...