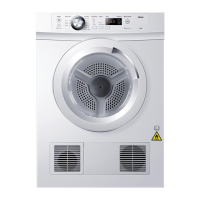
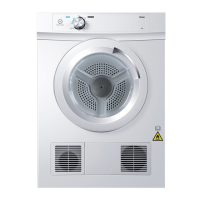
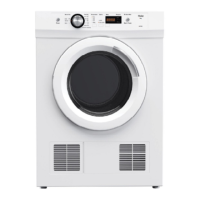
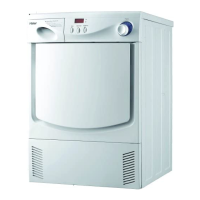
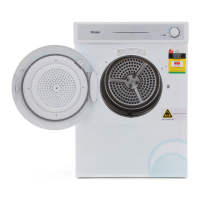
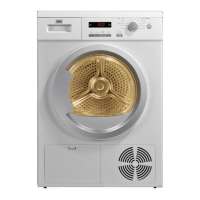
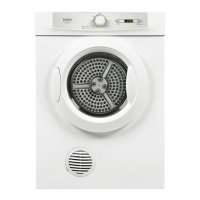
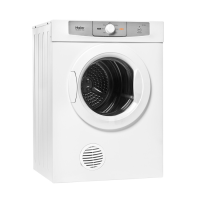
This document is a user guide for Haier Vented Clothes Dryers, specifically models HDV60AWW1 (6 kg capacity) and HDV70AWW1 (7 kg capacity), intended for use in New Zealand and Australia. It provides comprehensive information on safety, operation, maintenance, and installation.
Function Description
The Haier Vented Clothes Dryer is designed for drying garments that can be tumble dried, following the instructions on garment care labels. It operates by tumbling clothes in a heated drum to remove moisture, with exhaust air vented either to the front or rear of the appliance. The dryer offers various drying cycles and options to cater to different fabric types and desired dryness levels.
Important Technical Specifications
- Models: HDV60AWW1, HDV70AWW1
- Capacity:
- HDV60AWW1: 6 kg (maximum dry weight)
- HDV70AWW1: 7 kg (maximum dry weight)
- Electrical:
- Volts: 220-240V
- Hz: 50 Hz
- Amps (maximum): 10A
- Rated Power (W): 1770W
- Waterproof Degree: IPX4
- Dimensions (Product):
- Overall height: 830mm (including dial and door when closed)
- Overall width: 600mm
- Overall depth: 565mm
- Depth of open door: 970mm
- Cavity Dimensions (Minimum):
- Height: 850mm
- Width: 630mm
- Depth (flush with front panel): 565mm
- Depth (in cupboard): 605mm
- Clearance Dimensions:
- Minimum door clearance to adjacent wall: 335mm
- Minimum gap clearance to adjacent product or cabinetry: 20mm (applies to sides, top, and rear)
- Ambient Temperature: Must be between 5°C and 35°C for operation.
- Venting: Configurable for front or rear venting. External venting requires a 100mm diameter flexible plastic pipe, maximum two meters in length with no more than three 90-degree bends. Exhaust air must not be discharged into a flue used for other fuel-burning appliances.
Usage Features
Control Panel:
The control panel features a cycle selector knob, a display, and several buttons:
- Dry Level Button: Allows selection of three dryness levels:
- H1: Damp/Dry: For garments that will be ironed.
- H2: Dry: For most garments, ready to wear.
- H3: Extra Dry: For large, bulky, and durable items.
- Anti-crease Button: Adds periodic tumbles after the cool-down phase to minimize wrinkles, useful if items cannot be removed immediately.
- Iron Ready Button: Sets a notification when garments reach an optimal moisture level for ironing. The icon flashes, and the machine beeps every 5 minutes.
- Delay Button: Sets a delayed start time for the cycle. Not recommended for damp, non-colorfast items.
- Favourite Button: Saves personalized program and modifier settings. Press for 3 seconds to save; the Favourite icon will illuminate. To restore default settings, press "Iron ready" and "Dry level" simultaneously for 3 seconds.
- Start/Pause Button: Starts or interrupts the selected program.
- Key Lock Button: Disables control panel buttons (except Start/Pause and Power) to prevent accidental changes. Activated by pressing Dry level and Anti-crease simultaneously.
- Power Button: Turns the machine on (by turning the knob to any position except OFF) or off (by turning to OFF).
- Display: Shows cycle information, options, remaining time, error codes, and notifications.
- Key Lock Indicator: Illuminates when Key Lock is active.
- Clean Filter Indicator: Lights up when the lint filter needs cleaning.
- Anti-crease Indicator: Illuminates when the Anti-crease option is active.
- Iron Ready Indicator: Illuminates when the Iron Ready option is active.
- Delay Indicator: Illuminates when the Delay function is active.
- Favourite Indicator: Illuminates when a saved favourite setting is in use.
Drying Cycles:
The dryer offers several autosensing and timed cycles:
- Mixed (H-3 default): For loads with different types of clothes and fabrics.
- Cotton (H-3 default): For garments made of cotton fabrics.
- Synthetics (H-2 default): For garments made with synthetic fabrics or blends.
- Delicate (H-2 default): Gentle cycle for delicate garments.
- Towels (H-3 default): For thick, durable, and absorbent items.
- Bedding (H-3 default): Features a reverse pattern to dry bed sheets.
- Durable (H-3 default): For durable fabric made of cotton or synthetic blends.
- Express 30 (n/a default): Fast fixed-time cycle for small loads of light garments.
- Time Dry (n/a default): Timed cycle using hot air.
- Air Dry (n/a default): Timed cycle using cold air to freshen garments.
Dry Preparation:
- Sorting: Sort items by similar fabric types and drying times. Separate lint givers (e.g., towels, flannelette sheets) from lint collectors (e.g., synthetics, corduroy, polyester cottons). Separate colored items from white/light items.
- Before Loading: Check pockets for damaging items (lighters, matches, sharp objects). Close zippers, hooks, and fastenings. Remove loose bra wires. Turn screen-printed clothing inside out. Ensure the lint filter is clean.
- Loading: Load garments individually, shaking them out to prevent tangling and ensure even drying. Allow enough room for free tumbling. Do not overload.
- Drying Times: Small loads are inefficient. Heavier items take longer. Spinning wash loads at high speeds reduces drying time. Check bulky items during the cycle and reposition if necessary.
Maintenance Features
Lint Filter Cleaning:
- Clean the lint filter after every dry cycle.
- Steps:
- Remove the lint filter from the drum.
- Open the lint filter.
- Clean lint residuals from the filter.
- Warning: Do not operate the dryer with a damaged or missing lint filter, as this can cause damage to the appliance.
Cleaning the Dryer:
- Wipe the outside and control panel with a damp cloth.
- Do not use organic solvents or corrosive agents.
Cleaning the Drum:
- If fabric care agents or calcium build-up form a film inside the drum, use a damp cloth and some detergent to remove it.
- Do not use organic solvents or corrosive agents.
Installation
The dryer can be installed in three ways:
- Freestanding: On a solid, level surface with 20mm clearance on each side.
- Stacked: On top of a Haier front-load washing machine of the same width, using a supplied stacking kit. Requires drilling two 2.9mm holes in the washing machine's top panel.
- Wall Mounted (Inverted): Above a washer or tub, using a wall mounting kit. Inverting allows access to the control panel.
- Mounting Steps:
- Mark bracket positions on the wall, ensuring a minimum 50mm clearance from the ceiling.
- Secure wall hanging brackets to studs (or a timber slat if studs are too far apart). The distance between bracket centers should be 555mm.
- Remove one screw from each side of the dryer's back, then reuse these screws with two more from the kit to fasten hanging hooks in place.
- Remove plastic plugs from the back of the dryer and screw in the provided spacers.
- Mount the dryer on the wall brackets with assistance.
- Fit the inverted control panel (supplied accessory) over the existing panel.
- Adjust the display for inverted viewing by pressing and holding the 'Anti-crease' and 'Delay' buttons for three seconds. Repeat to revert to factory setting.
Venting Options:
- Front Venting: The dryer is factory-set for front venting. Adequate room ventilation is required to prevent moisture build-up.
- Rear Venting: Provides optimum efficiency by preventing moist air recirculation, reducing condensation, and minimizing lint accumulation in the room.
- Requires changing the dryer from front to rear venting setup by removing the front-left outlet grille and replacing it with the outlet cover from the rear-left.
- Connect the narrow end of the hose connector to the dryer's duct pipe mouth at the back.
- Connect the flexible hose to the wide end of the connector and secure with a clip.
- Extend the flexible hose through the duct hole, ensuring it is not twisted.
Safety Information:
- Fire Hazard Warnings:
- If stopping the dryer mid-cycle, immediately remove and spread out clothes to cool. Do not leave hot clothes bunched up.
- Do not dry items with industrial chemicals, flammable liquids, or oils.
- Clean the lint filter before every cycle.
- Do not dry rubber-backed articles, foam rubber, fiberglass, shoes with rubber/plastic, shower caps, waterproof covers, or textiles, as these can spontaneously combust when heated.
- Oil-affected items can spontaneously ignite. If unavoidable, wash in hot water with extra detergent and use the cool-down cycle. Do not pile or stack hot oil-affected items.
- Never dry an electric blanket or other electrical items unless explicitly stated on the care label.
- General Warnings:
- Appliance is heavy; two people recommended for moving/installation.
- Not for commercial use.
- Supervise children; do not allow them to play with or climb inside the drum.
- Do not swing on or put weight on the door.
- Only dry garments recommended for machine drying.
- Do not operate with wet hands or bare feet.
- Do not place dripping wet clothing on or in the appliance.
- Remove lighters, matches, and other items from pockets.
- Fasten zippers, loose threads, and protect embellishments.
- Do not place garments with metal reinforcements unless in a laundry bag.
- Unplug before maintenance.
- Ensure no undesirable objects are inside the drum before starting.
- Do not operate with a damaged lint filter.
- Ensure adequate ventilation if ducting outdoors to prevent backflow of gases from fuel-burning appliances.
- Electrical Shock Hazard:
- Ensure the cable does not contact water or moisture.
- Do not supply through an external switching device (e.g., timer) or a regularly switched circuit.
- Ensure accessibility to the plug or incorporate a switch in fixed wiring for disconnection.
- Review rating plate for correct voltage and current.
- Installation Warnings:
- Install in a well-ventilated, dust-free environment.
- Do not install on a plinth (unless genuine Haier part).
- Do not use extension cords or portable electrical outlet devices.
- Install on a solid, level surface (not textured floor coverings like carpet).
- Do not expose to frost, external heat sources, or direct sunlight.
- Do not install where ambient temperature drops below 5°C, outdoors, or in damp locations.
- Do not install behind a lockable door, sliding door, or a door that inhibits full opening. If behind a cabinetry door, it must be hinged on the same side as the dryer with 30mm clearance from the handle, and the cabinetry door must remain open during operation.
This comprehensive guide ensures users can safely and effectively operate and maintain their Haier Vented Clothes Dryer.